
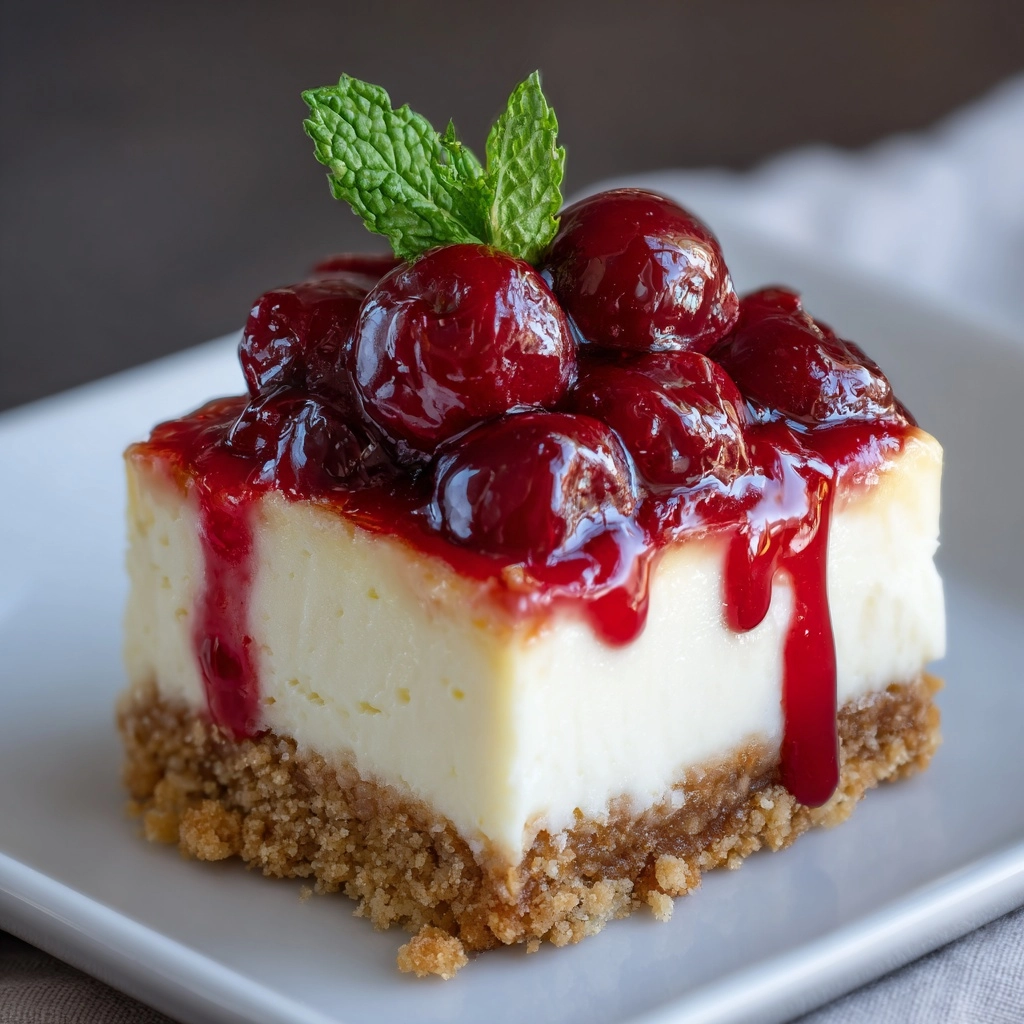
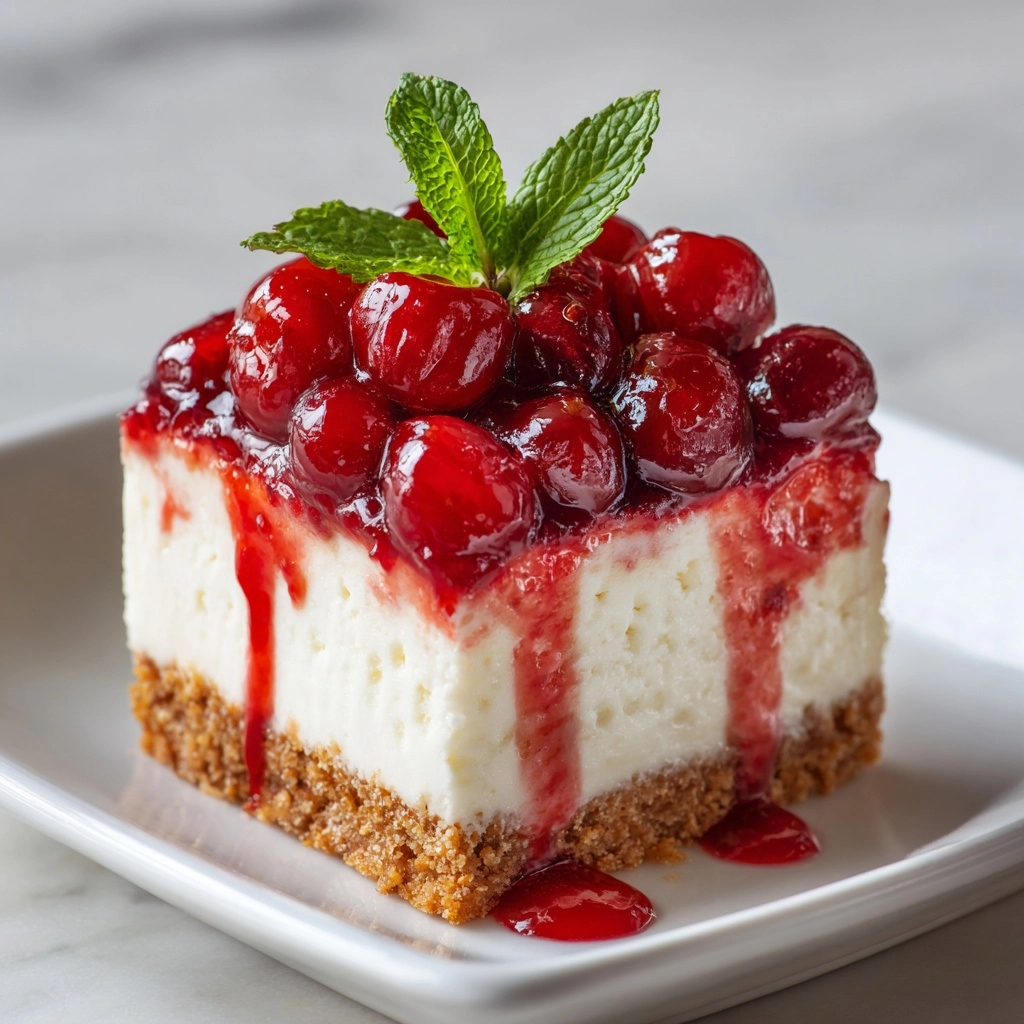
If you adore no-bake desserts that impress with every luscious bite, then Cherry Cheesecake Lush is about to become your new favorite! Imagine layers of buttery graham cracker crust, silky cheesecake mousse, rich cheesecake pudding, dreamy whipped topping, and vibrant cherries all coming together for the ultimate treat. This delightful, fuss-free recipe is a celebration of creamy, tangy, sweet flavors with a pop of color, and it’s just the thing for potlucks, birthdays, or any night you want to treat yourself.
Ingredients You’ll Need
This gorgeous dessert comes together with just a handful of pantry and fridge staples. Each ingredient shines, adding its own magic for flavor, texture, or that signature cherry-topped look you can’t resist.
- Graham cracker crumbs: These form the irresistible buttery base for your Cherry Cheesecake Lush, offering a contrast to the creamy layers above.
- Unsalted butter (melted): Mixing the crumbs with butter creates a moist crust that’s easy to press and slice.
- Cream cheese (softened): The star of the cheese layer, this brings a tangy richness and smoothness that makes every forkful decadent.
- Powdered sugar: Adds the perfect amount of sweetness without graininess to the cheesecake filling.
- Whipped topping (thawed): This makes the filling airy and light and also creates a pretty, fluffy top layer.
- Cherry pie filling: A topping of glossy, sweet-tart cherries is what makes this dessert pop, both in flavor and color.
- Instant cheesecake pudding mix: Infuses even more cheesecake flavor while adding structure and creaminess.
- Cold milk: Helps thicken the pudding layer, making it extra velvety.
- Vanilla extract: Rounds out all the creamy layers with a warm, comforting note.
How to Make Cherry Cheesecake Lush
Step 1: Prepare the Crust
Start by mixing together the graham cracker crumbs with the melted butter in a medium bowl until every crumb glistens. Pour this mixture into a 9×13-inch baking dish and press it firmly into an even layer. If you like a little extra crunch, you can briefly bake this crust, but it’s absolutely delicious as a classic no-bake base too!
Step 2: Make the Cheesecake Layer
In a separate bowl, beat the softened cream cheese until it’s completely smooth and creamy. Next, add the powdered sugar and vanilla extract, whipping it all together until the mix is light and fluffy. Gently fold in half of your whipped topping, and then spread this dreamy cheesecake layer right over your crust.
Step 3: Whip Up the Pudding Layer
Using another clean bowl, combine the instant cheesecake pudding mix with the cold milk. Whisk briskly for about 2 minutes—watch as it thickens into a rich, spoonable pudding. Pour and spread it carefully over the cheesecake layer, smoothing it out to the edges.
Step 4: Add the Whipped Topping
Take the rest of the whipped topping and dollop it over the pudding. Spread it out gently so as not to disturb the layers below. This creates a billowy, cloud-like finish that makes Cherry Cheesecake Lush especially irresistible.
Step 5: Top with Cherry Pie Filling
Open up your can of cherry pie filling and spoon it evenly over the whipped topping. Those glossy red cherries are the jewel-like final touch! Cover the dish and pop it in the fridge for at least 4 hours or—if you can stand the wait—even overnight. This lets all those gorgeous layers set to perfection.
How to Serve Cherry Cheesecake Lush
Garnishes
Right before serving, you can really make your Cherry Cheesecake Lush pop with a few simple toppings. Sprinkle a handful of extra graham cracker crumbs over the cherries, drizzle with a little melted chocolate, or nestle in a few fresh mint leaves for a stunning finish. Each garnish adds flare and a touch of elegance for every slice.
Side Dishes
This lush, creamy dessert is the star of any table, so keep your sides simple. Think of light, fresh accompaniments: a bowl of mixed berries, a platter of crisp cookies for nibbling, or even a scoop of vanilla ice cream if you’re going all out. A glass of cold milk, cup of coffee, or bubbly lemonade all pair beautifully!
Creative Ways to Present
For extra wow-factor, try crafting individual servings in mini jars or dessert glasses—those gorgeous layers look especially tempting in clear containers. Or, serve with extra cherry pie filling on the side for guests to spoon on themselves. Cherry Cheesecake Lush cupcakes (in muffin tins) are also great for parties!
Make Ahead and Storage
Storing Leftovers
If you’re lucky enough to have leftovers, simply cover your baking dish tightly with plastic wrap or a lid and refrigerate. Cherry Cheesecake Lush keeps beautifully for up to 3 days, and the flavors become even more deeply infused as it sits.
Freezing
For longer storage, you can freeze individual portions or the entire pan. Cover well with both plastic wrap and foil. When ready to enjoy, thaw overnight in the fridge—keep in mind the texture might soften slightly, but the taste stays fabulous.
Reheating
There’s no need to reheat this sweet treat! Cherry Cheesecake Lush is best served cold, straight from the fridge. Simply slice and savor; let any frozen portions thaw fully before serving for the creamiest texture.
FAQs
Can I use homemade whipped cream instead of whipped topping?
Absolutely! Whip up your own sweetened cream until stiff peaks form and use it in place of the store-bought topping for a more homemade touch. You’ll need about 3 cups of whipped cream to substitute the container in Cherry Cheesecake Lush.
What can I do if I can’t find cheesecake pudding mix?
No cheesecake pudding? No problem. Vanilla pudding mix is a great stand-in—just add an extra splash of vanilla extract or a squeeze of lemon juice to amp up the tangy cheesecake flavor.
How far ahead can I make Cherry Cheesecake Lush?
This dessert is made for advance prep! You can assemble it up to 24 hours before serving. In fact, letting it chill overnight is the secret to those perfectly defined, dreamy layers.
Can I make this dessert gluten free?
Definitely! Simply substitute gluten-free graham crackers for the crust and double-check the pudding mix and cherry pie filling for any hidden gluten. Your Cherry Cheesecake Lush will still be just as scrumptious.
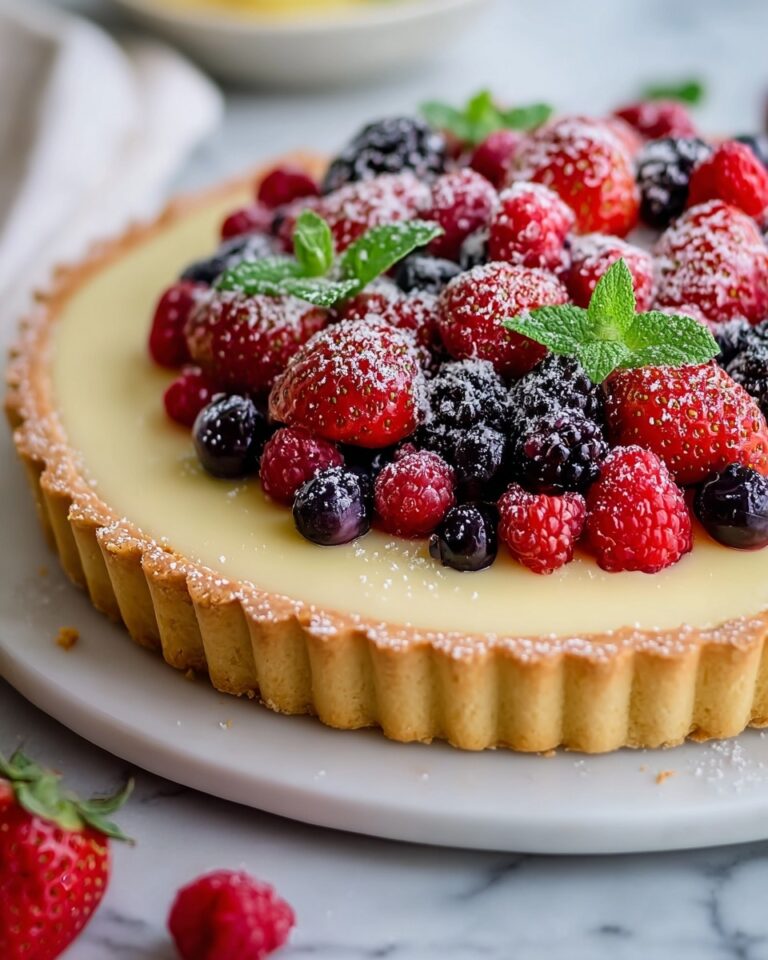
Can I change up the fruit topping?
Why not? Blueberry, mixed berry, or strawberry pie fillings are all delicious alternatives. Feel free to get creative with whatever is in season or your personal favorite—each version brings a new twist to the classic Cherry Cheesecake Lush.
Final Thoughts
I can’t wait for you to dig your spoon into this dreamy, creamy Cherry Cheesecake Lush and fall in love with every sweet, tangy, cherry-filled bite. It’s an easy, showstopping dessert that’s perfect for sharing, but don’t be surprised if it disappears before you know it. Happy no-bake baking, and enjoy every layer!
Print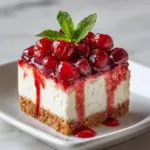
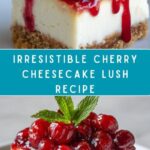
Cherry Cheesecake Lush Recipe
- Prep Time: 20 minutes
- Cook Time: 0 minutes
- Total Time: 4 hours 20 minutes
- Yield: 12 servings
- Category: Dessert
- Method: No-Bake
- Cuisine: American
- Diet: Non-Vegetarian
Description
Indulge in the creamy decadence of this Cherry Cheesecake Lush, a luscious no-bake dessert with layers of graham cracker crust, creamy cheesecake filling, velvety pudding, and a sweet cherry topping. Perfect for any occasion!
Ingredients
Graham Cracker Crust:
- 1 ½ cups graham cracker crumbs
- ½ cup unsalted butter, melted
Cheesecake Layer:
- 1 package (8 oz) cream cheese, softened
- 1 cup powdered sugar
- 1 teaspoon vanilla extract
- 1 container (8 oz) whipped topping, thawed
Pudding Layer:
- 1 package (3.4 oz) instant cheesecake pudding mix
- 1 ½ cups cold milk
Topping:
- 1 can (21 oz) cherry pie filling
Instructions
- Graham Cracker Crust: Mix graham cracker crumbs and melted butter, press into a 9×13-inch dish.
- Cheesecake Layer: Beat cream cheese until smooth, add sugar, vanilla, and half of whipped topping. Spread over crust.
- Pudding Layer: Whisk pudding mix and milk until thick, spread over the cream cheese layer.
- Top Layer: Spread the remaining whipped topping over the pudding layer, then spoon cherry pie filling on top.
- Cover and refrigerate for at least 4 hours before serving.
Notes
- You can use vanilla pudding mix as a substitute.
- For a crunchier crust, bake at 350°F for 8 minutes and cool before layering.
Nutrition
- Serving Size: 1 square
- Calories: 310
- Sugar: 22g
- Sodium: 280mg
- Fat: 18g
- Saturated Fat: 10g
- Unsaturated Fat: 6g
- Trans Fat: 0g
- Carbohydrates: 34g
- Fiber: 1g
- Protein: 3g
- Cholesterol: 35mg