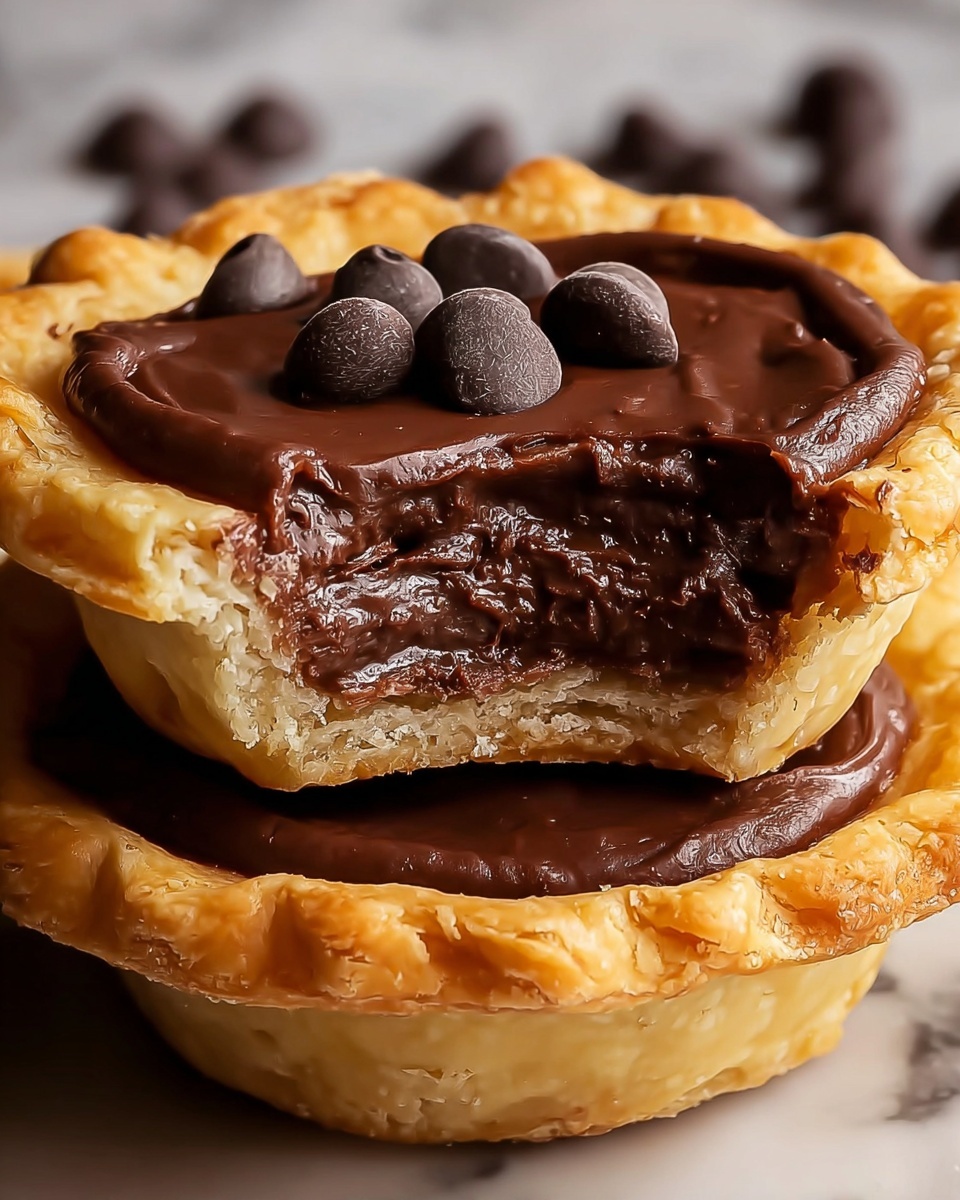
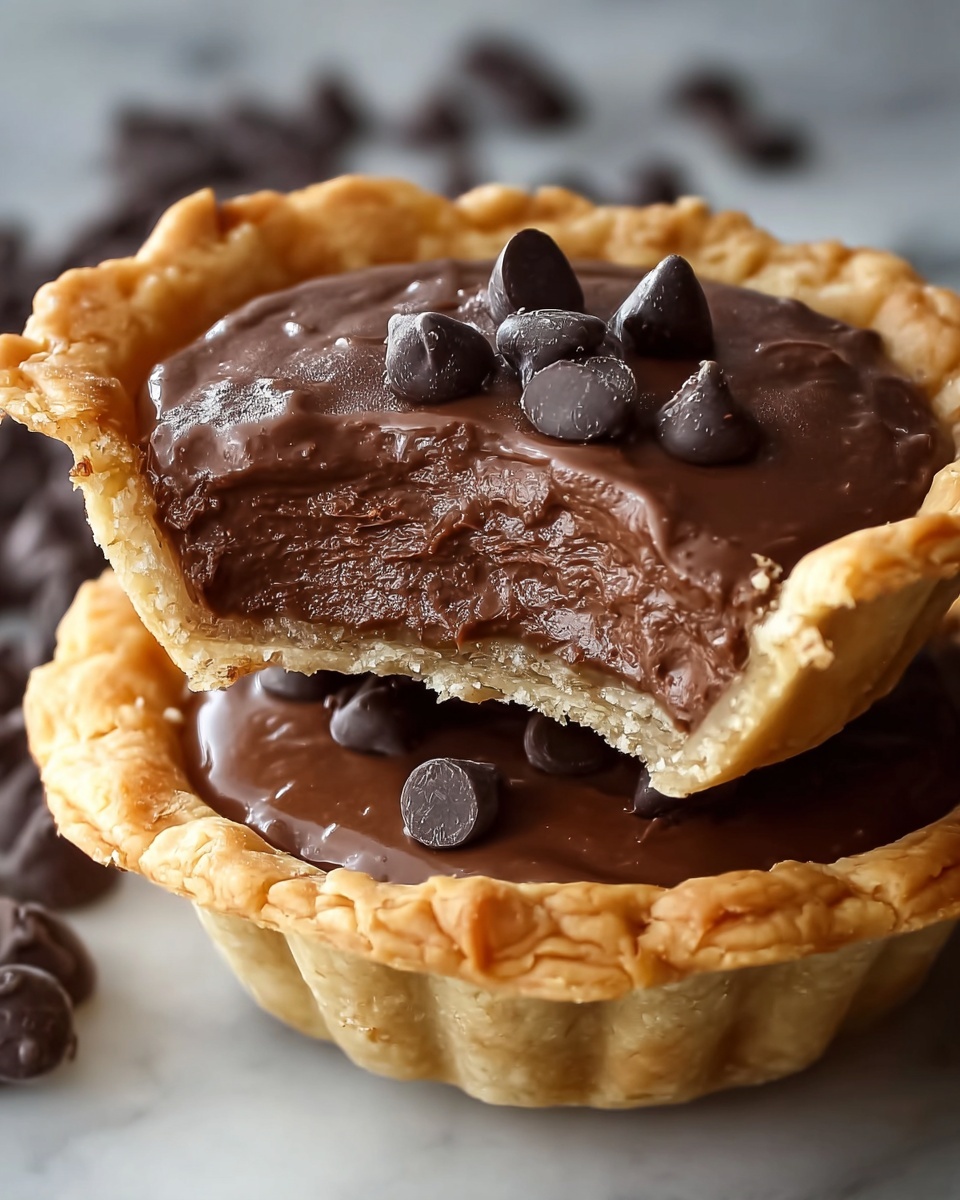
If you’ve ever dreamed of combining flaky pastry with rich, melty chocolate in a handheld delight, then this Chocolate-Filled Hand Pies Recipe is going to become your new obsession. These little parcels of joy pack all the warm, gooey chocolate goodness tucked inside a crisp, golden crust, perfect for sharing or sneaking a few all to yourself. Whether you’re after a quick treat for guests or a cozy dessert to brighten your day, these hand pies deliver on flavor, texture, and simplicity in every bite.
Ingredients You’ll Need
Getting the right ingredients for this Chocolate-Filled Hand Pies Recipe is surprisingly simple, yet crucial to achieve that perfect balance between flaky, sweet, and creamy. Each ingredient plays a specific role—bringing texture, flavor, and that irresistible touch we all crave in a dessert.
- Refrigerated Pie Crusts: Convenient and buttery, these provide the flaky base that encases our chocolate treasure flawlessly.
- Granulated Sugar: A little sprinkle on top adds just enough sweetness and a satisfying crunch once baked.
- Semi-Sweet Chocolate Chips: The heart of the filling, offering smooth, luscious pockets of chocolate in every bite.
- Heavy Cream: Adds richness to the chocolate filling, making it decadently smooth and creamy.
- Vanilla Extract: Enhances the flavor depth of the chocolate, giving it a warm, comforting aroma.
- Powdered Sugar (optional): Perfect if you prefer your filling a touch sweeter and silkier.
How to Make Chocolate-Filled Hand Pies Recipe
Step 1: Prepare the Pie Crust
Start by rolling out your pie crust sheets on a lightly floured surface. This simple step ensures your dough is easy to work with and doesn’t stick, so your hand pies will come out picture-perfect. Once rolled, use a round cutter or the rim of a glass to punch out 8 to 10 circles, about 4-5 inches in diameter. These will be the perfect size for your hand pies—small enough to handle, big enough to hold plenty of chocolate.
Step 2: Make the Chocolate Filling
In a small bowl, gently combine the semi-sweet chocolate chips with heavy cream. Melt the mixture slowly—either in a microwave with short bursts or over simmering water—stirring frequently until silky smooth. Stir in the vanilla extract, which magically elevates the chocolate flavor to something extraordinary. If you like your filling even sweeter, this is the moment to mix in the powdered sugar until fully incorporated. This luscious filling is the soul of the Chocolate-Filled Hand Pies Recipe, so take your time and make it smooth and rich.
Step 3: Fill and Seal the Pies
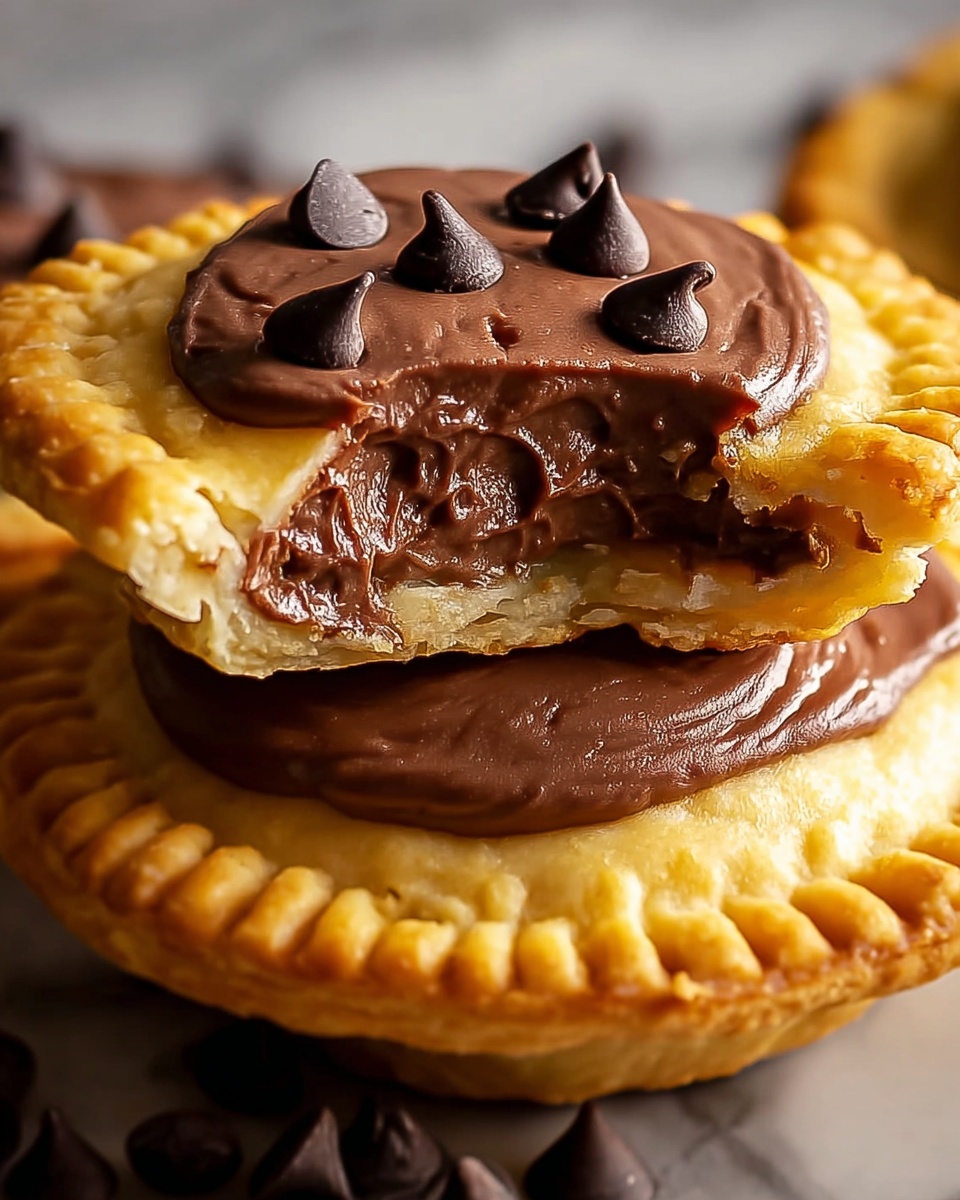
Place a spoonful of your warm chocolate filling onto the center of each pie dough circle. Then, fold the dough over to create a half-moon shape, gently pressing out any air around the filling. The next trick is sealing the edges: use a fork to press around the perimeter, creating a lovely scalloped edge while locking in that ooey-gooey chocolate goodness inside. This sealing is key to keeping the filling from leaking during baking.
Step 4: Add a Finishing Touch
Before these beauties go into the oven, sprinkle the tops lightly with granulated sugar. This little sprinkle doesn’t just add subtle sweetness, but as the pies bake, it caramelizes slightly, giving the crust a beautiful golden color and a delicate crunch that’s incredibly satisfying.
Step 5: Bake Until Golden
Pop your hand pies onto a baking sheet lined with parchment paper to prevent sticking. Bake for about 12 to 15 minutes until the crust turns a gorgeous golden brown and smells fantastic. This crisp, flaky exterior contrasts wonderfully with the warm, molten chocolate inside, making each pie a delightful little package of dessert joy.
How to Serve Chocolate-Filled Hand Pies Recipe
Garnishes
To elevate your Chocolate-Filled Hand Pies Recipe, consider dusting them with a light coating of powdered sugar just before serving—or drizzle a bit of melted white chocolate for a pretty contrast. Fresh berries or a sprig of mint on the side add a pop of color and freshness that balances the rich chocolate.
Side Dishes
These hand pies pair wonderfully with a scoop of vanilla ice cream or a dollop of whipped cream to add creaminess and coolness alongside the warm pies. Hot coffee or a steaming cup of milk also complement the chocolate perfectly, making for an irresistible treat during any time of day.
Creative Ways to Present
Get creative by serving these pies on a rustic wooden board alongside an assortment of dipping sauces like caramel or raspberry coulis. Wrapping them in colorful parchment paper and tying with a ribbon makes them ideal for gifting or serving at parties, adding a charming, homemade touch everyone will adore.
Make Ahead and Storage
Storing Leftovers
If you happen to have any leftovers from your Chocolate-Filled Hand Pies Recipe (though that rarely happens!), store them in an airtight container at room temperature for up to two days to keep the crust crisp and the filling just as decadent.
Freezing
You can freeze these pies before baking by placing them on a baking sheet to freeze individually, then transferring to a freezer bag. They’ll keep for up to a month, ready to be baked fresh whenever a chocolate craving strikes.
Reheating
Reheat leftovers in a preheated oven at 350°F (175°C) for about 8-10 minutes. This method keeps the crust flaky and the chocolate filling warmed through perfectly. Avoid the microwave if possible to maintain that delightful texture and prevent sogginess.
FAQs
Can I use homemade pie crust for this recipe?
Absolutely! Homemade pie crust works wonderfully and can add an extra layer of flavor. Just be sure it’s well-chilled before rolling out to make cutting and folding easier.
What types of chocolate work best for the filling?
Semi-sweet chocolate is ideal for balancing sweetness, but feel free to experiment with dark or milk chocolate based on your taste preferences.
Can I make these hand pies vegan or dairy-free?
Yes, using a dairy-free pie crust and replacing heavy cream with coconut cream or a non-dairy alternative will give you delicious vegan-friendly pies.
How do I prevent the filling from leaking during baking?
Make sure to press the edges firmly with a fork and avoid overfilling the pies. Also, removing excess air before sealing helps keep the filling contained.
Can these be made ahead and frozen baked?
While freezing the unbaked pies is best, you can freeze baked pies as well. Reheat them gently in the oven to refresh the crust and warm the filling before serving.
Final Thoughts
There is something truly special about making and sharing these Chocolate-Filled Hand Pies Recipe with people you love. They bring warmth, comfort, and a lovely homemade touch to any occasion. I encourage you to try them yourself—you’ll soon discover that their flaky crust and irresistible chocolate filling become your go-to favorite for satisfying those sweet cravings anytime.
Print
Chocolate-Filled Hand Pies Recipe
- Prep Time: 15 minutes
- Cook Time: 15 minutes
- Total Time: 30 minutes
- Yield: 8-10 servings
- Category: Dessert
- Method: Baking
- Cuisine: American
Description
Delight in these easy-to-make Chocolate-Filled Hand Pies featuring flaky pie crusts enveloping a luscious semi-sweet chocolate filling. Perfect as a decadent snack or dessert, these hand pies combine a buttery golden crust with a rich creamy chocolate center, lightly sweetened and baked to perfection.
Ingredients
Pie Crust
- 1 package (2 sheets) Refrigerated Pie Crusts (or homemade if preferred)
Chocolate Filling
- 1/2 cup Semi-Sweet Chocolate Chips (or chopped chocolate)
- 2 tbsp Heavy Cream
- 1/2 tsp Vanilla Extract
- 1/4 cup Powdered Sugar (optional, for added sweetness)
Topping
- 1 tbsp Granulated Sugar (for sprinkling on top)
Instructions
- Preheat Oven: Begin by preheating your oven to 375°F (190°C) to prepare for baking the hand pies.
- Cut the Dough Circles: Roll out the pie crusts on a lightly floured surface. Using a round cutter or the rim of a glass, cut the dough into circles approximately 4-5 inches in diameter, yielding 8-10 pieces from the two sheets.
- Prepare the Chocolate Filling: In a small microwave-safe bowl, gently melt the semi-sweet chocolate chips with the heavy cream in short bursts, stirring between each to achieve a smooth, creamy consistency.
- Add Flavor and Sweeten: Stir the vanilla extract into the melted chocolate. If desired, add the powdered sugar to sweeten the filling further and mix until the texture is smooth.
- Fill the Dough Circles: Spoon a small amount of the chocolate filling onto the center of each dough circle, being careful not to overfill to prevent leakage.
- Fold and Seal: Fold each dough circle in half over the filling to create a half-moon shape. Press the edges together firmly.
- Crimp Edges: Use a fork to press along the edges, sealing the hand pies securely and giving them a decorative finish.
- Prepare for Baking: Place the hand pies on a baking sheet lined with parchment paper or a silicone baking mat.
- Add Topping: Lightly sprinkle the tops of the hand pies with granulated sugar for a sweet, golden crust finish.
- Bake: Bake in the preheated oven for 12-15 minutes, or until the crust is golden brown and flaky.
- Cool and Serve: Remove the pies from the oven and allow them to cool slightly before serving to enjoy the melty chocolate inside.
Notes
- You can substitute homemade pie crusts if preferred for a fresher taste.
- For a dairy-free version, use dairy-free chocolate and cream alternatives.
- Ensure the edges are well sealed to prevent filling leakage during baking.
- Feel free to add chopped nuts or a pinch of cinnamon to the chocolate filling for extra flavor.
- Hand pies are best enjoyed warm but can be stored in an airtight container for up to 2 days.


