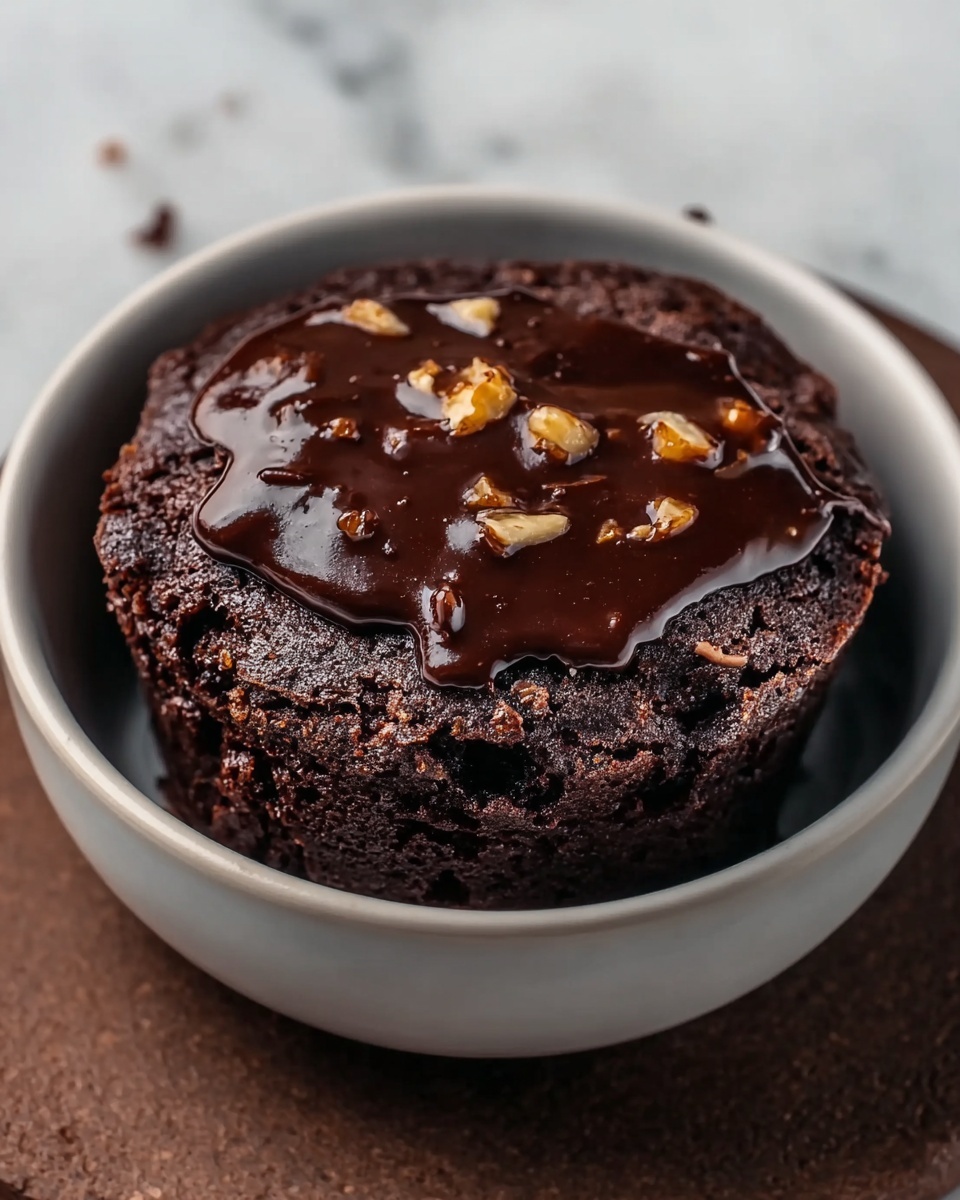
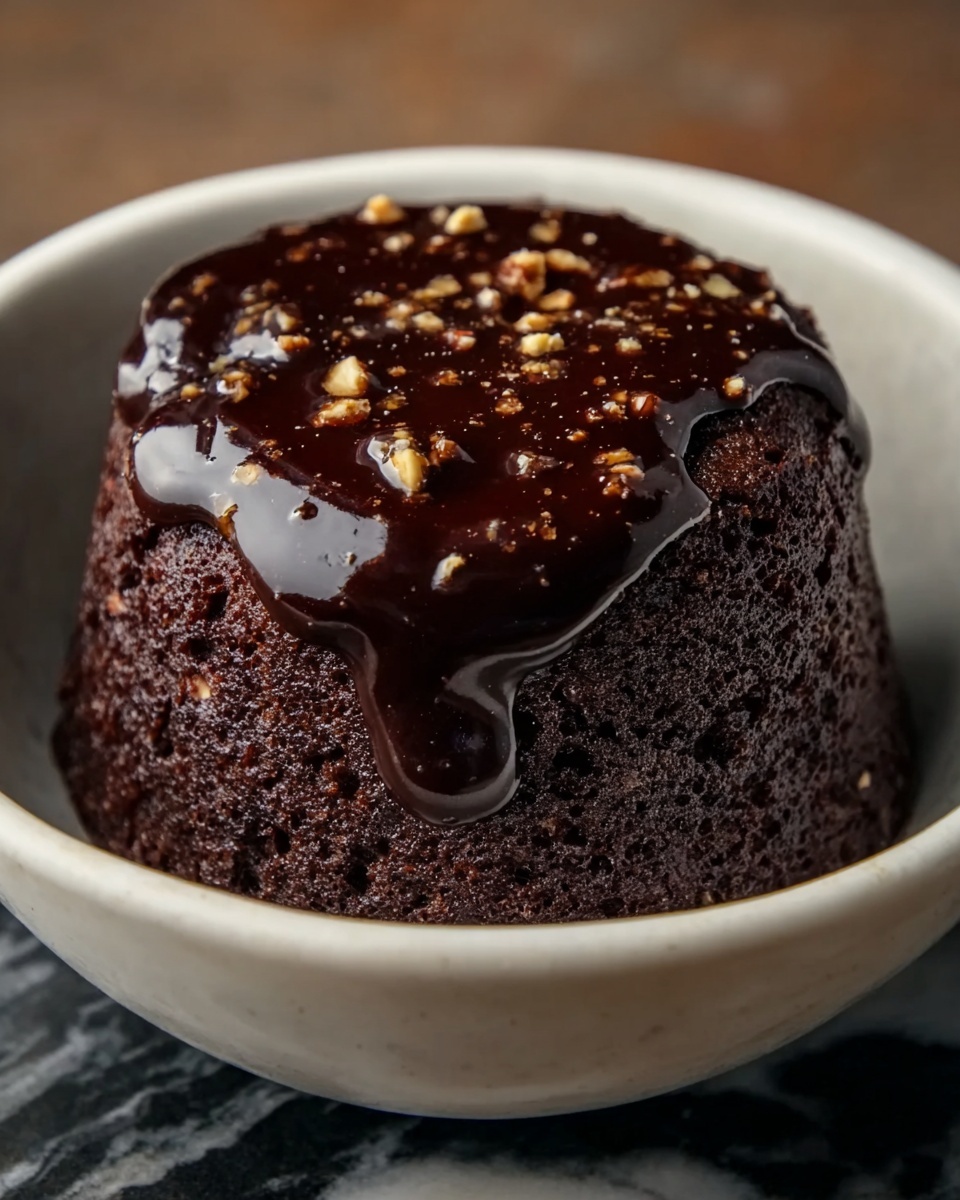
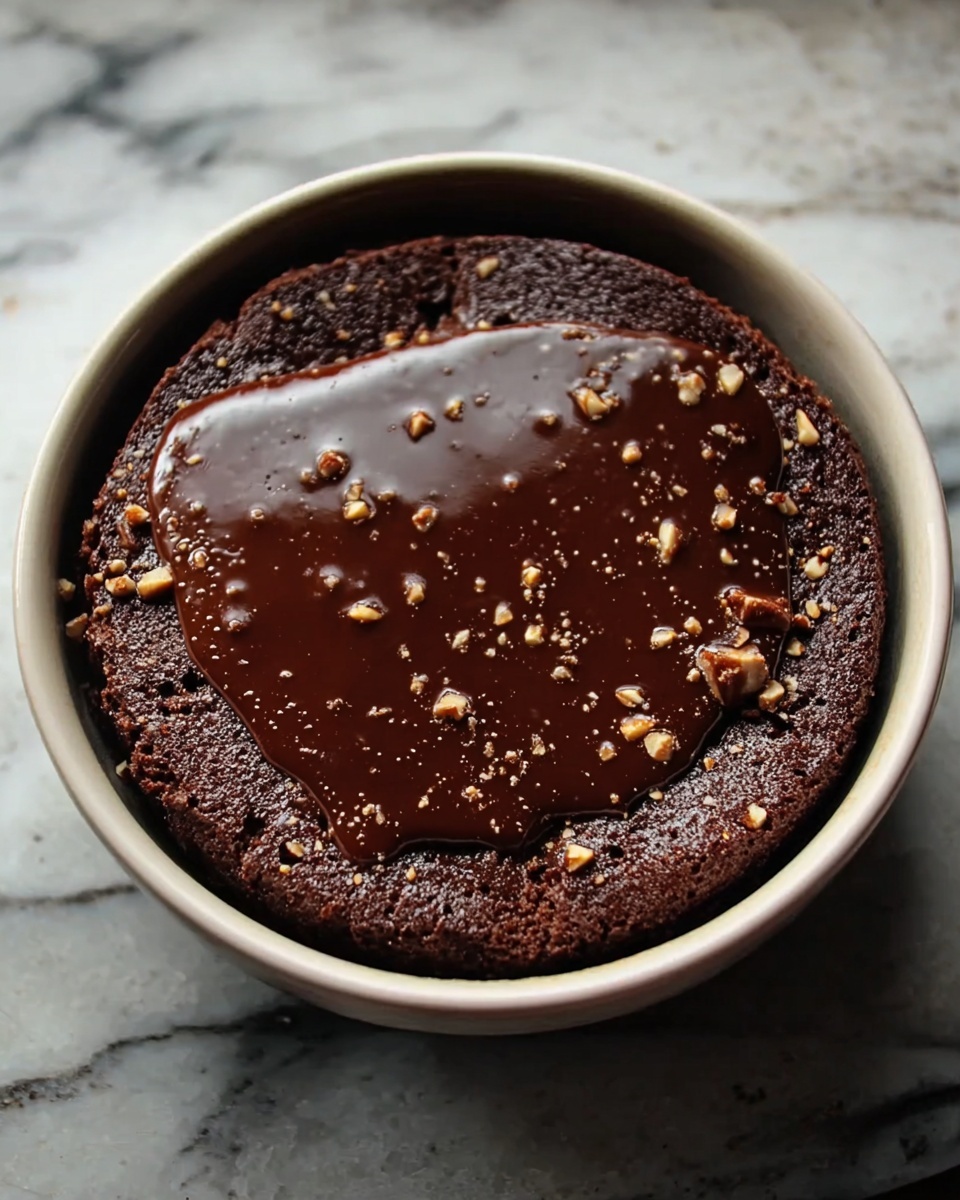
If you have a sudden chocolate craving and want something quick, indulgent, and utterly satisfying, this Flourless Chocolate Mug Brownie Recipe is your new best friend. Imagine a rich, fudgy, and deeply chocolatey brownie whipped up in just minutes, without the need for flour or any complicated baking equipment. It’s a cozy, one-serving treat that delivers all the joy of traditional brownies but with a silky, dense texture that feels like a decadent dessert hug. Perfect for lonely evenings, unexpected guests, or when you just need a sweet pick-me-up ASAP.
Ingredients You’ll Need
The magic behind this Flourless Chocolate Mug Brownie Recipe lies in its simple yet essential ingredients. Each one plays a crucial role to bring out that gorgeous fudgy texture and intense chocolate flavor you crave. From the richness of cocoa powder to the smoothness of vegetable oil, these pantry staples make dessert effortless and irresistible.
- 2 tablespoons unsweetened cocoa powder: This packs the deep chocolate punch and keeps everything flourless yet fabulously chocolaty.
- 2 tablespoons granulated sugar: Balances the cocoa’s bitterness for just the right sweetness.
- 2 tablespoons milk (or dairy-free milk): Adds moisture and helps bind everything together.
- 2 tablespoons vegetable oil (or melted butter): Provides richness and keeps the brownie wonderfully tender.
- 1/4 teaspoon vanilla extract: Elevates the flavor with a subtle warm note.
- Pinch of salt: Enhances the chocolate’s depth and balances sweetness.
- 1/4 teaspoon baking powder (optional): For those who want a brownies with a slightly fluffier texture.
- 2 tablespoons chocolate chips (optional): Fold in for pockets of melted chocolate, making every bite gooey heaven.
How to Make Flourless Chocolate Mug Brownie Recipe
Step 1: Mix the Batter
Start by grabbing a microwave-safe mug that’s at least 12 ounces to avoid spillage. Combine the cocoa powder, sugar, milk, vegetable oil, vanilla extract, salt, and baking powder if you’re using it. Whisk everything together thoroughly until the batter is smooth and there are no lumps hiding in the mix. This simple step ensures your brownie bakes up evenly with that silky, fudgy texture we love.
Step 2: Add Chocolate Chips
This step is totally optional but highly recommended if you adore extra gooey bites. Gently fold in the chocolate chips so that they’re evenly distributed throughout the batter. Watch how they melt into little pockets of richness during cooking—it’s pure chocolate bliss!
Step 3: Microwave the Brownie
Pop your mug in the microwave and cook it on high for one minute to one minute and thirty seconds. The timing depends on your microwave’s power, so start with one minute and check if the center has just set but still looks a bit soft—this gooeyness will make it heavenly. Overcooking can dry it out, so keep an eye on it the first time you try this recipe.
Step 4: Cool and Enjoy
After microwaving, let the brownie sit and cool for a couple of minutes. This pause helps it set perfectly while still being warm and gooey. Now’s the moment to add any toppings you love—go wild or keep it simple, the choice is yours!
How to Serve Flourless Chocolate Mug Brownie Recipe
Garnishes
Sprinkle some powdered sugar on top for a fancy touch, add a scoop of vanilla ice cream to balance the intense chocolate, or dollop whipped cream for that classic dessert vibe. Even a drizzle of caramel or chocolate sauce compliments this rich brownie beautifully, enhancing its decadence without overpowering the dense chocolate soul.
Side Dishes
A quick fresh berry salad or a few slices of banana make delightful, refreshing companions to this brownie. The tartness and natural sweetness of fruit contrast nicely with the rich chocolate, adding dimension to your dessert experience without adding complexity.
Creative Ways to Present
If you want to impress guests or just have fun, serve the brownie in little glass jars or ramekins topped with mini marshmallows toasted under a broiler for a campfire-inspired treat. You can also swirl peanut butter into the batter before microwaving for a luscious surprise or sprinkle chopped nuts on top for texture. The possibilities are endless and all delicious!
Make Ahead and Storage
Storing Leftovers
This brownie is best enjoyed fresh, but if you do have leftovers, cover your mug tightly with plastic wrap or transfer the brownie into an airtight container. Store it in the refrigerator for up to two days. Keep in mind it will firm up further, losing some of its warm gooey charm but still tasting delightful.
Freezing
While this brownie is ideal for immediate indulgence, you can freeze portions by scooping the baked brownie into a freezer-safe container. Freeze for up to one month. Thaw overnight in the fridge and then reheat to regain that fresh-from-the-microwave softness and flavor.
Reheating
To bring your brownie back to life, microwave it in short 10-second bursts until just warmed through. Avoid overheating to prevent drying out. A quick warm-up revives the gooey texture and makes it feel like a brand-new treat.
FAQs
Can I use other types of milk for this recipe?
Absolutely! This recipe is very flexible. Whether you prefer almond, soy, oat, or any other dairy-free milk, it works perfectly without compromising taste or texture.
Does the brownie taste very different without flour?
The flavor is intensely chocolatey and slightly richer due to the absence of flour. The texture is fudgier and more like a dense, rich truffle than a typical cakey brownie. It’s a delicious twist that chocolate lovers adore.
Can I make this recipe without a microwave?
If you don’t have a microwave, you can bake the batter in a small oven-safe dish at 350°F (175°C) for about 10-15 minutes. Keep a close eye to avoid drying out the brownie since ovens vary.
What if I don’t have baking powder?
You can skip the baking powder if you want a denser brownie. It’s optional and mainly adds a touch of fluffiness; the brownie will still be fudgy and delicious without it.
How can I make this recipe vegan?
Simply use a plant-based milk and replace the vegetable oil with melted coconut oil or vegan butter. Make sure your chocolate chips are dairy-free. You’ll have a vegan-friendly Flourless Chocolate Mug Brownie Recipe that’s every bit as good as the original.
Final Thoughts
Treat yourself to the effortless delight of this Flourless Chocolate Mug Brownie Recipe whenever the chocolate craving strikes. It’s fast, simple, and satisfies without the fuss or mess of traditional baking. Whether you keep it plain or unleash your creativity with toppings and sides, this quick dessert is sure to become a beloved classic in your kitchen.
Print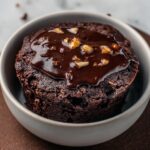
Flourless Chocolate Mug Brownie Recipe
- Prep Time: 5 minutes
- Cook Time: 1 to 1.5 minutes
- Total Time: 6 to 6.5 minutes
- Yield: 1 serving
- Category: Dessert
- Method: Microwave
- Cuisine: American
- Diet: Vegetarian
Description
A quick and easy Flourless Chocolate Mug Brownie that you can make in just minutes using your microwave. This single-serving recipe is rich, fudgy, and perfect for satisfying a chocolate craving without the need for flour or extensive baking. Optional chocolate chips add extra gooeyness, and you can customize it with your favorite toppings.
Ingredients
Main Ingredients
- 2 tablespoons unsweetened cocoa powder
- 2 tablespoons granulated sugar
- 2 tablespoons milk (or dairy-free milk)
- 2 tablespoons vegetable oil (or melted butter)
- 1/4 teaspoon vanilla extract
- Pinch of salt
- 1/4 teaspoon baking powder (optional, for a slightly fluffier texture)
- 2 tablespoons chocolate chips (optional, for extra gooeyness)
Instructions
- Mix Dry and Wet Ingredients: In a microwave-safe mug (12 oz size or larger), whisk together cocoa powder, sugar, milk, vegetable oil, vanilla extract, salt, and baking powder if using. This step ensures all the ingredients are well combined.
- Combine the Batter: Stir the mixture until the batter is smooth and homogeneous, with no lumps remaining.
- Add Chocolate Chips (Optional): Fold in chocolate chips gently for added gooey texture and richer chocolate flavor.
- Microwave Cooking: Place the mug in the microwave and cook on high for 1 to 1 and a half minutes. The brownie should be set but still slightly soft in the center for a fudgy texture.
- Cool Before Serving: Allow the brownie to cool for a couple of minutes to set completely. Optionally, top with ice cream, whipped cream, or a drizzle of chocolate syrup for extra indulgence.
Notes
- Use a microwave-safe mug of at least 12 oz capacity to prevent overflow during cooking.
- Baking powder is optional but helps make the brownie slightly fluffier if preferred.
- Adjust sugar quantity to taste for a less sweet or sweeter brownie.
- For dairy-free option, substitute milk with almond, soy, or oat milk, and use vegetable oil instead of butter.
- Cooking time may vary depending on the microwave’s wattage; start with 1 minute and increase time if needed.
- Do not overcook, or the brownie may become dry and rubbery.


