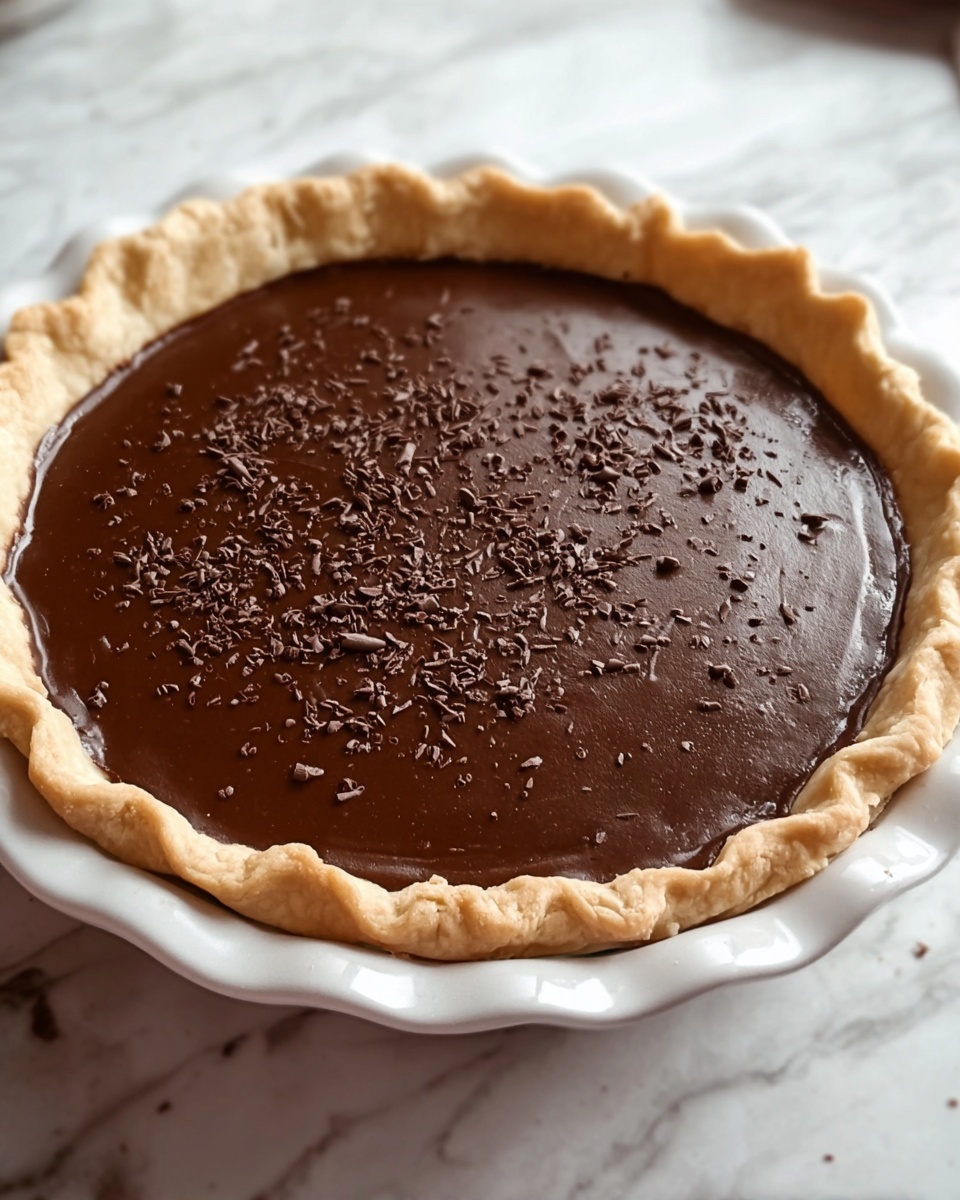
If you’re looking for a dessert that wraps you up in cozy memories and rich, chocolatey goodness, look no further than Grandma’s Delicious Chocolate Pie Recipe. This classic pie combines a silky smooth chocolate filling with just the right hint of sweetness and a luscious texture that makes every bite feel like a warm hug from the past. Whether you’re baking for a family gathering or simply craving something indulgent, this pie is a timeless treat that feels both comforting and special.
Ingredients You’ll Need
This recipe shines because it uses simple, everyday ingredients that come together magically. Each component plays a vital role: from the deep cocoa flavor to the creamy texture and the perfect balance of sweetness and vanilla aroma that makes the pie unforgettable.
- ½ cup cocoa: Provides the rich, chocolate flavor that’s the heart of the pie.
- ¼ cup cornstarch: Acts as the thickener to give that smooth, pudding-like consistency.
- 3 egg yolks: Contribute to the creamy texture and add a natural richness.
- 1 ½ cups sugar: Balances out the cocoa with the right level of sweetness.
- ¼ teaspoon salt: Enhances all the flavors, making the chocolate shine even brighter.
- 2 cups milk: Forms the silky base for the filling, making it luxuriously smooth.
- 1 teaspoon vanilla: Adds a warm, fragrant note that rounds out the flavors beautifully.
How to Make Grandma’s Delicious Chocolate Pie Recipe
Step 1: Mix the Dry Ingredients
Start by whisking together the cocoa, cornstarch, sugar, and salt in a medium saucepan. This dry mixture will form the foundation of the pie filling, ensuring the chocolate flavor is evenly distributed and the pie thickens just right.
Step 2: Add Egg Yolks and Milk
Next, slowly whisk in the egg yolks, then gradually pour in the milk while stirring constantly. This step is crucial—slow incorporation prevents lumps and helps create that silky texture we all love in Grandma’s Delicious Chocolate Pie Recipe.
Step 3: Cook Until Thickened
Place the saucepan over medium heat and cook the mixture, stirring frequently. As it heats, you’ll notice the filling beginning to thicken—this signals the magic happening. Keep stirring until the mixture is thick enough to coat the back of a spoon, giving that luscious pudding consistency.
Step 4: Remove from Heat and Add Vanilla
Once thickened, take the pan off the heat and stir in the vanilla extract. This final touch brings a fragrant, warm essence that truly elevates this timeless dish.
Step 5: Cool and Chill
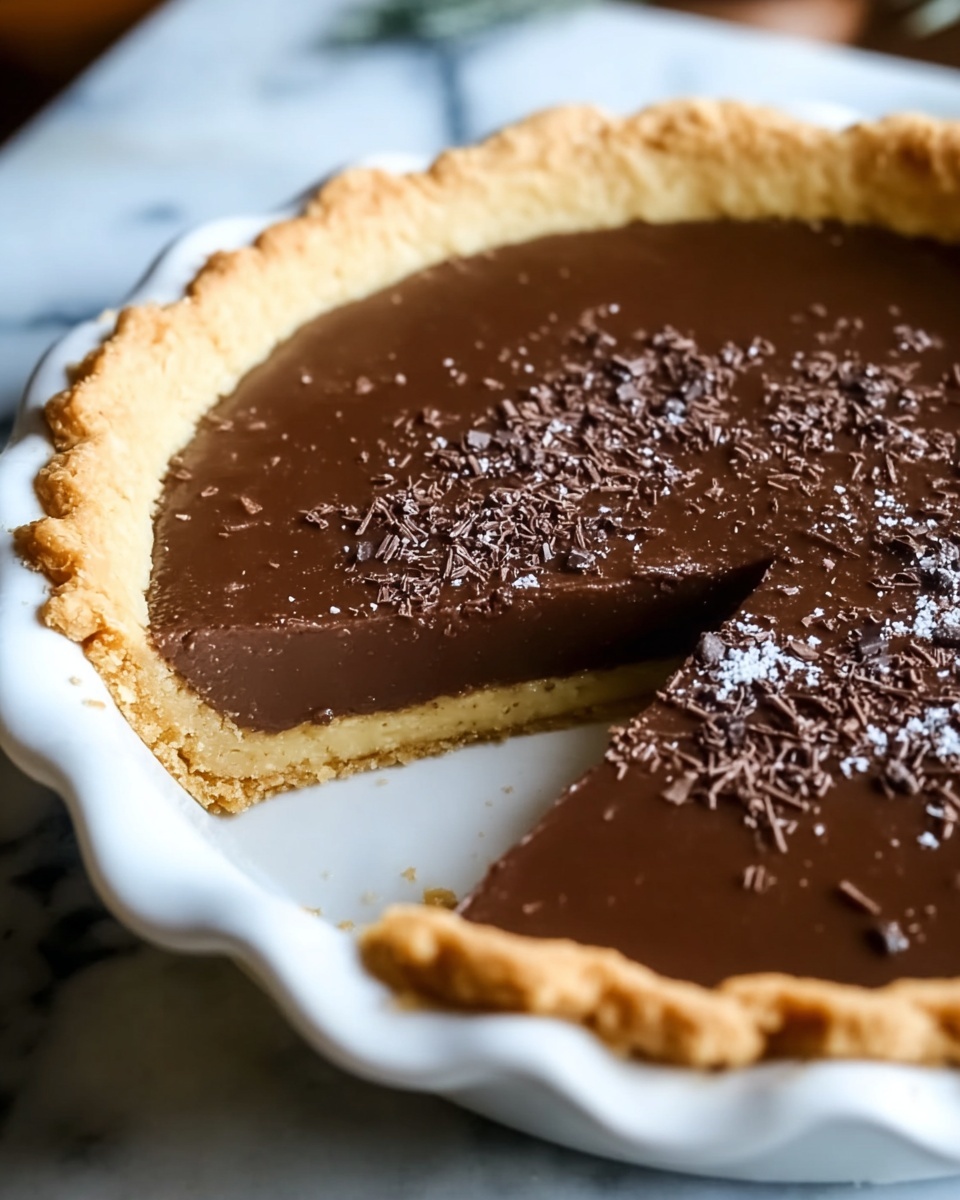
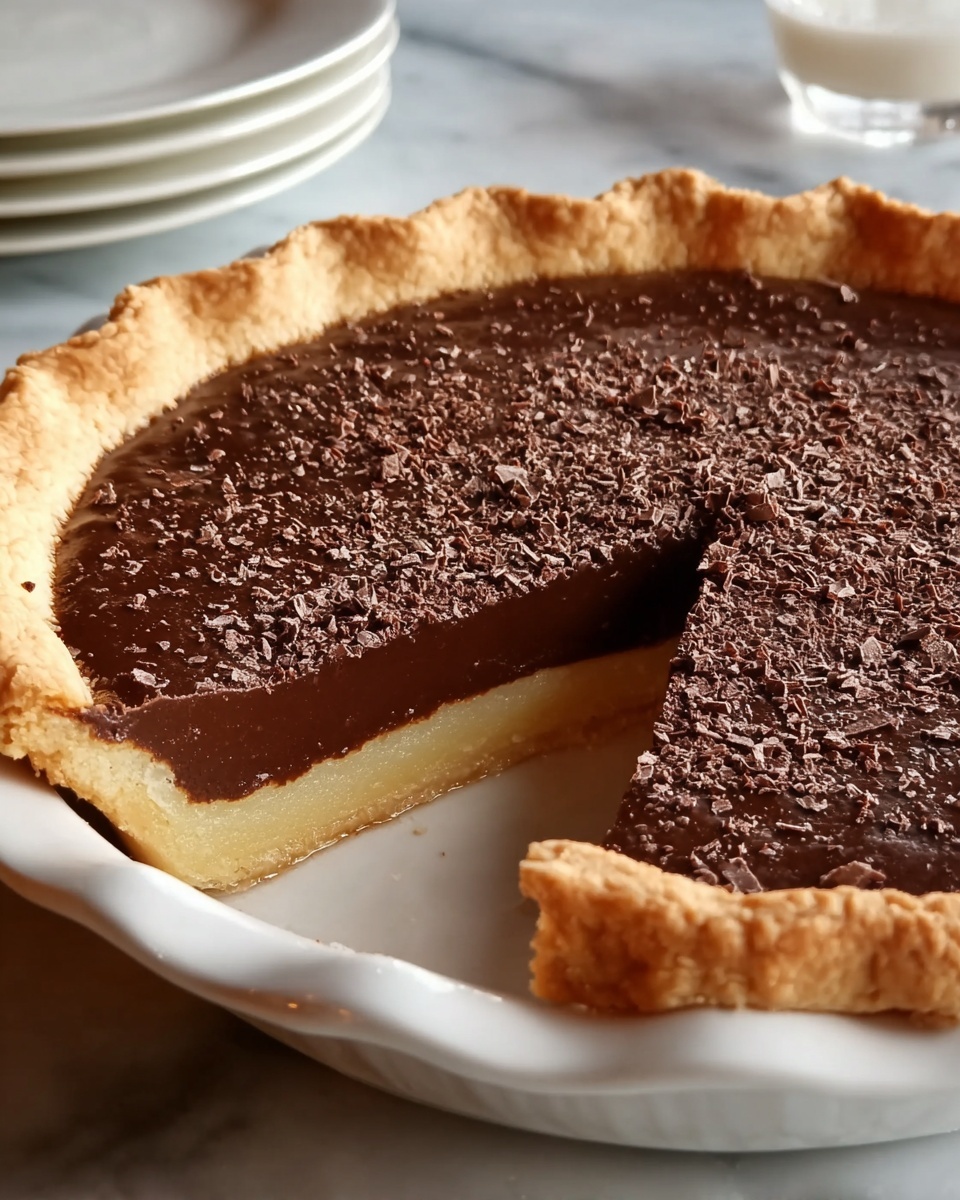
Pour the filling into a pre-baked pie crust of your choice and smooth the surface. To achieve the perfect set, cover the pie and chill it in the refrigerator for several hours or overnight. The pie’s texture will firm up to that signature creamy, sliceable perfection.
How to Serve Grandma’s Delicious Chocolate Pie Recipe
Garnishes
Top your pie with a generous swirl of freshly whipped cream to add a light, airy counterpoint to the dense chocolate filling. A sprinkle of shaved chocolate, toasted nuts, or a dusting of cocoa powder can add visual appeal and a little extra texture.
Side Dishes
This pie pairs beautifully with fresh berries or a simple fruit salad to balance the richness. A scoop of vanilla ice cream also complements the warm undertones of vanilla and cocoa, making every forkful a decadent experience.
Creative Ways to Present
For a festive touch, try serving slices in individual mason jars layered with whipped cream or fresh fruits. Alternatively, drizzle a little caramel or raspberry sauce on top to add a splash of color and flavor complexity that surprises and delights.
Make Ahead and Storage
Storing Leftovers
Once baked and chilled, cover the pie tightly with plastic wrap or foil and store it in the refrigerator. It will stay fresh for up to 3 days, making it easy to prepare in advance and enjoy at your leisure.
Freezing
You can freeze Grandma’s Delicious Chocolate Pie Recipe for longer storage. Wrap the pie securely in plastic wrap and then in foil to prevent freezer burn. It’s best consumed within 1 month of freezing for optimal flavor and texture.
Reheating
This pie is best enjoyed cold or at room temperature. If you prefer a warmer dessert, let it sit out for 10–15 minutes to take the chill off, but avoid microwaving as it can affect the creamy texture.
FAQs
Can I use a homemade pie crust or should I buy one?
You’re welcome to use either! A homemade crust adds a personal touch and can be tailored to your taste, but store-bought crusts are convenient and work perfectly well with Grandma’s Delicious Chocolate Pie Recipe.
What kind of cocoa powder is best?
Use unsweetened cocoa powder for the richest chocolate flavor. Dutch-processed cocoa will give a smoother, less acidic taste, but natural cocoa works beautifully too.
Is it necessary to pre-bake the pie crust?
Pre-baking the crust helps prevent it from becoming soggy once the filling is added. Blind baking for about 10 minutes ensures a crisp base that holds perfectly under the creamy chocolate filling.
Can this recipe be made dairy-free?
Yes! Substitute the milk with a creamy plant-based milk like almond or oat milk, and choose a dairy-free pie crust to keep it delicious and suitable for dairy-free diets.
How thick should the filling get before removing from heat?
The filling is ready when it’s thick enough to coat the back of a spoon and hold a gentle line when you run your finger through it. This ensures a smooth yet firm texture that sets beautifully once chilled.
Final Thoughts
Grandma’s Delicious Chocolate Pie Recipe is more than just a dessert — it’s a heartfelt tradition filled with warmth, nostalgia, and pure chocolate bliss. I hope you enjoy making and sharing this pie as much as I’ve enjoyed passing it along. Give it a try and see how a few simple ingredients can create something truly unforgettable.
Print
Grandma’s Delicious Chocolate Pie Recipe
- Prep Time: 10 minutes
- Cook Time: 15 minutes
- Total Time: 4 hours 25 minutes
- Yield: 8 servings
- Category: Dessert
- Method: Stovetop
- Cuisine: American
- Diet: Vegetarian
Description
Grandma’s Chocolate Pie is a classic, rich and creamy dessert featuring a smooth chocolate custard filling made from cocoa, cornstarch, and egg yolks, all cooked gently on the stovetop to perfection. This nostalgic recipe yields a silky, decadent pie perfect for any occasion.
Ingredients
Filling
- ½ cup cocoa powder
- ¼ cup cornstarch
- 3 egg yolks
- 1 ½ cups sugar
- ¼ teaspoon salt
- 2 cups milk
- 1 teaspoon vanilla extract
Pie Crust (optional)
- 1 pre-baked 9-inch pie crust (store-bought or homemade)
Instructions
- Prepare the dry ingredients. In a medium saucepan, combine ½ cup cocoa powder, ¼ cup cornstarch, 1 ½ cups sugar, and ¼ teaspoon salt. Mix thoroughly to ensure all dry ingredients are evenly distributed.
- Incorporate egg yolks. Add the 3 egg yolks to the dry mixture and blend them until smooth, creating a thick paste.
- Add milk and cook. Gradually pour in 2 cups of milk while whisking continuously to prevent lumps. Place the saucepan over medium heat and cook the mixture, stirring constantly with a whisk or wooden spoon, until it thickens and begins to bubble gently.
- Finish with vanilla. Remove the saucepan from the heat and stir in 1 teaspoon of vanilla extract for extra flavor.
- Fill the pie crust and chill. Pour the warm chocolate filling into a pre-baked 9-inch pie crust. Smooth the top and cover it with plastic wrap, pressing the wrap directly onto the filling to prevent a skin from forming. Refrigerate for at least 4 hours or until set.
- Serve. Once chilled and set, slice the pie and serve it as a delicious dessert. Optionally, add whipped cream or chocolate shavings on top.
Notes
- Use a whisk continuously while cooking to avoid lumps and scorching the custard.
- Pressing plastic wrap directly on the surface of the pie filling prevents a thick skin formation.
- For best texture, chill the pie for several hours or overnight.
- If desired, use a homemade or store-bought pre-baked pie crust to save time.
- This pie is delicious served with whipped cream or fresh berries.


