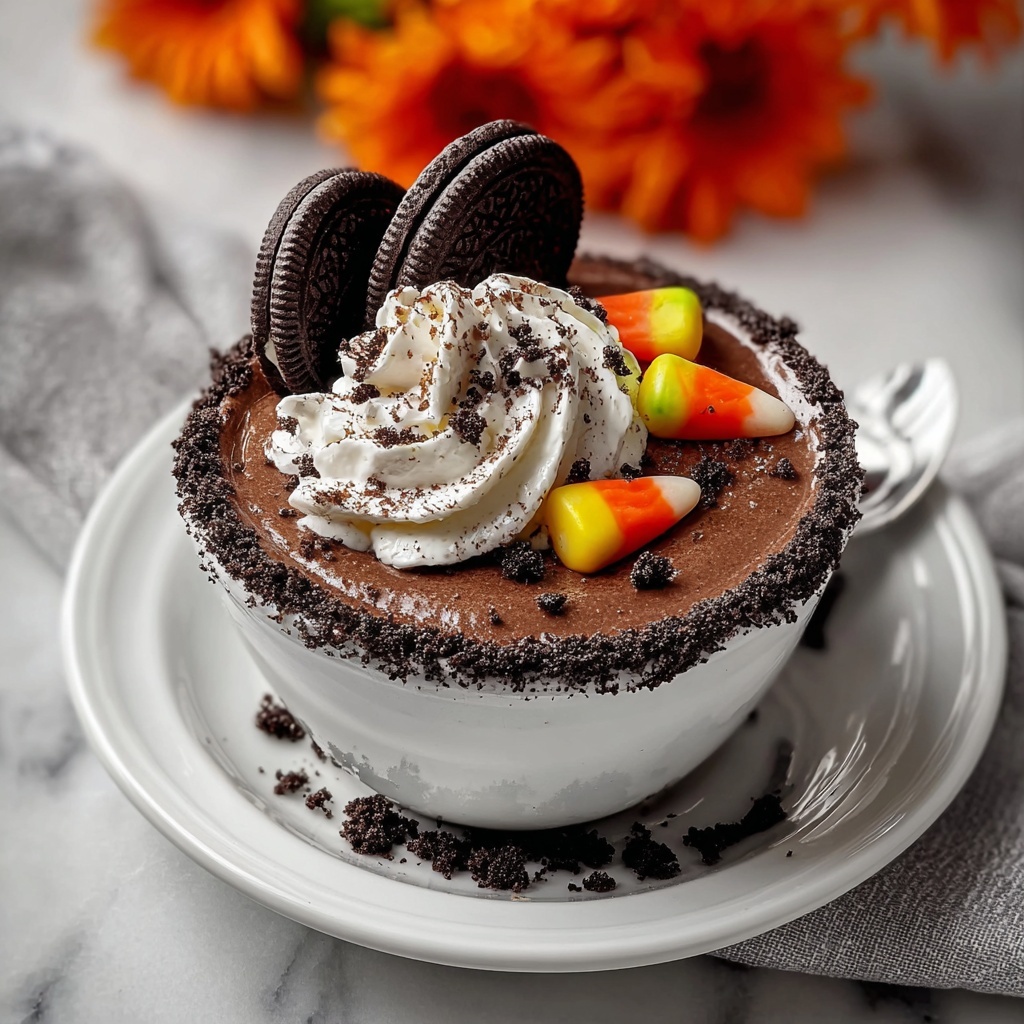
If you are looking for a fun, spooky, and absolutely delicious dessert to wow your friends and family, you’ve got to try this Graveyard Dirt Cups Recipe. This no-bake treat combines creamy chocolate pudding, whipped topping, and crushed Oreos to create layers of flavor and texture that taste like sweet, edible dirt. Topped with gummy worms and optional little edible decorations, these dirt cups are perfect for Halloween parties, themed gatherings, or anytime you want a playful, eye-catching dessert that’s as scrumptious as it is cute.
Ingredients You’ll Need
The beauty of this Graveyard Dirt Cups Recipe is how few and straightforward the ingredients are, yet each one plays a crucial role in bringing that beloved dirt cup flavor and texture to life. Get ready for simple pantry staples that come together quickly for a show-stopping dessert.
- Instant chocolate pudding mix (3.9 oz): Provides rich, chocolaty flavor and a smooth, creamy base for the cups.
- Cold milk (2 cups): Essential for mixing up the pudding to that perfect consistency without lumps.
- Oreo cookies (14.3 oz, crushed): The “dirt” element, bringing both crunch and familiar chocolate flavor.
- Whipped topping (8 oz, thawed): Adds a light, airy texture when folded into the pudding for that mousse-like feel.
- Gummy worms (12 pieces): The iconic finishing touch to create a creepy-crawly effect on top.
- Clear plastic cups (12 small): Perfect to showcase the layers and add to the fun presentation.
- Optional candy pumpkins and edible tombstones: Extra decorations for those wanting to enhance the spooky graveyard theme.
How to Make Graveyard Dirt Cups Recipe
Step 1: Prepare the Chocolate Pudding
Start by whisking together the instant chocolate pudding mix with 2 cups of cold milk in a medium bowl. Whisk vigorously for about 2 minutes until the pudding is smooth and begins to thicken. Then, set it aside for 5 minutes so it can fully set. This forms the rich, chocolatey foundation of your dirt cups.
Step 2: Crush the Oreo Cookies
While the pudding is setting, grab a large zip-top bag and pour in the Oreo cookies. Use a rolling pin to crush them until they resemble fine dirt. This texture is key because it mimics the gritty soil look that makes the dessert so visually fun and texturally irresistible.
Step 3: Fold in Whipped Topping
Once your pudding has set, gently fold the thawed whipped topping into it. This step lightens the rich pudding and turns it into a luscious mousse-like mixture, elevating the overall texture of your Graveyard Dirt Cups Recipe.
Step 4: Layer the Dirt Cups
Begin assembling by spooning about 2 tablespoons of the crushed Oreo “dirt” into the bottom of each clear plastic cup. Then, add a layer of the pudding mousse, filling each cup roughly halfway. Follow this with another generous layer of crushed Oreos, covering the pudding completely and leaving a bit of space at the top for decoration.
Step 5: Add the Gummy Worms and Optional Decorations
For that classic dirt cup look, gently press a gummy worm into the top Oreo layer so it looks like it’s crawling out of the dirt. If you want to go the extra mile, add candy pumpkins or edible tombstone decorations to create a fun, spooky graveyard vibe that will impress kids and adults alike.
Step 6: Chill Before Serving
Pop your cups in the refrigerator for at least 1 hour to let the flavors marry and the pudding firm up nicely. Chilling also helps the layers hold together beautifully when you serve.
How to Serve Graveyard Dirt Cups Recipe
Garnishes
Simple gummy worms are iconic, but you can also add edible glitter to give a mystical sparkle to your dirt or sprinkle mini chocolate chips for extra texture. Edible tombstones or candy pumpkins really elevate the spooky presentation, making these perfect conversation starters at any party.
Side Dishes
Pair these dirt cups with light, refreshing sides like fruit salad or caramel apples to contrast their creamy richness. If you’re hosting a Halloween party, finger foods such as “mummy” hot dogs or pumpkin-shaped cheese balls create an exciting and festive spread around your Graveyard Dirt Cups Recipe dessert.
Creative Ways to Present
Serve your dirt cups in mini mason jars or mason jar mugs with mini shovels as spoons for a more rustic or playful touch. You can also layer the cups in a large clear glass trifle dish for a communal graveyard dessert that everyone can dig into. String fairy lights around the display to make things glow and feel extra magical.
Make Ahead and Storage
Storing Leftovers
If you manage to save any (they rarely last long!), cover the cups tightly with plastic wrap or store them in an airtight container in the refrigerator. They will stay fresh and delicious for up to 3 days, making them an excellent make-ahead dessert option.
Freezing
Freezing is not recommended for the Graveyard Dirt Cups Recipe because the texture of the pudding and whipped topping can break down and become watery once thawed. To keep the best taste and texture, stick with refrigeration.
Reheating
Because this dessert is meant to be served cold and creamy, reheating is not necessary and can spoil the delicate layers and texture of the pudding mousse. Simply enjoy them chilled straight from the fridge.
FAQs
Can I use homemade pudding instead of instant?
Absolutely! If you have a reliable homemade chocolate pudding recipe, it can work well, but keep in mind that instant pudding sets faster and tends to hold its shape better in this layered dessert.
What if I don’t have Oreo cookies?
While Oreos are classic, any chocolate sandwich cookie can work as long as you crush them finely to mimic dirt. You could even mix in some crushed chocolate graham crackers to create a unique “dirt” flavor and texture.
Can I make this dessert dairy-free?
Yes! Use a dairy-free chocolate pudding mix and plant-based milk like almond or oat milk, alongside a non-dairy whipped topping. The key is to ensure the pudding sets properly for the right texture.
How far in advance can I assemble the dirt cups?
These cups can be assembled up to a day in advance and stored in the fridge. Just add gummy worms and other decorations right before serving so they stay fresh and visually fun.
Are there alternative ways to decorate the dirt cups?
Definitely! You can use crushed pretzels to mimic woody sticks, edible flowers for a whimsical touch, or tiny candy eyeballs for an extra spooky surprise. The possibilities are endless with the Graveyard Dirt Cups Recipe.
Final Thoughts
This Graveyard Dirt Cups Recipe is an absolute crowd-pleaser that blends simplicity with creativity in the best way. Whether for a Halloween bash or just a fun treat to enjoy with little ones, these layered dirt cups never fail to bring smiles and satisfy chocolate cravings. Give it a try—you’ll soon see why it’s a favorite dessert to make again and again!
Print
Graveyard Dirt Cups Recipe
- Prep Time: 0h 15m
- Cook Time: 0h 0m
- Total Time: 1h 15m
- Yield: 12 servings
- Category: Dessert
- Method: No-Cook
- Cuisine: American
Description
Graveyard Dirt Cups are a fun and spooky no-bake dessert perfect for Halloween parties. Layers of creamy chocolate pudding, crushed Oreo cookies resembling dirt, and gummy worms create a playful treat that’s easy to prepare and visually delightful. Optional themed decorations make this dessert a festive favorite for all ages.
Ingredients
Pudding Mixture
- 1 package (3.9 oz) instant chocolate pudding mix
- 2 cups cold milk
- 1 tub (8 oz) whipped topping, thawed
Dirt Layer
- 1 package (14.3 oz) Oreo cookies, crushed
Decorations
- 12 gummy worms
- 12 small, clear plastic cups
- Optional: small candy pumpkins and edible tombstone decorations
Instructions
- Prepare the pudding: In a medium-sized mixing bowl, combine the instant chocolate pudding mix with cold milk. Whisk together for 2 minutes until the pudding is smooth and begins to thicken. Let it set for 5 minutes to fully firm up.
- Crush the Oreos: While the pudding sets, place the Oreo cookies in a large zip-top bag. Use a rolling pin to crush them until they resemble dirt-like crumbs for the dessert’s base and topping.
- Fold in whipped topping: Once the pudding is set, gently fold in the whipped topping to lighten the texture, creating a mousse-like pudding mixture.
- Assemble the first dirt layer: Spoon about 2 tablespoons of the crushed Oreo cookies into the bottom of each plastic cup to create the initial “dirt” layer.
- Add the pudding layer: Spoon the pudding mixture over the crushed cookies in each cup, filling them about halfway.
- Add second dirt layer: Top each pudding layer with another layer of crushed Oreos until the pudding is completely covered, leaving some space at the top.
- Decorate with gummy worms: Gently press 1 gummy worm into the top Oreo layer in each cup, making it look like it’s crawling out from the dirt. Optionally, add candy pumpkins or edible tombstone decorations to enhance the graveyard theme.
- Chill and serve: Refrigerate the assembled dirt cups for at least 1 hour to allow the flavors to meld and the dessert to chill thoroughly before serving.
Notes
- Use full-fat milk for a creamier pudding texture.
- For a stronger chocolate flavor, use double-stuffed Oreos.
- If desired, substitute whipped topping with homemade whipped cream for a fresher taste.
- Prepare these cups at least one hour before serving, or chill overnight for best results.
- These dirt cups can be easily doubled or tripled for larger gatherings.


