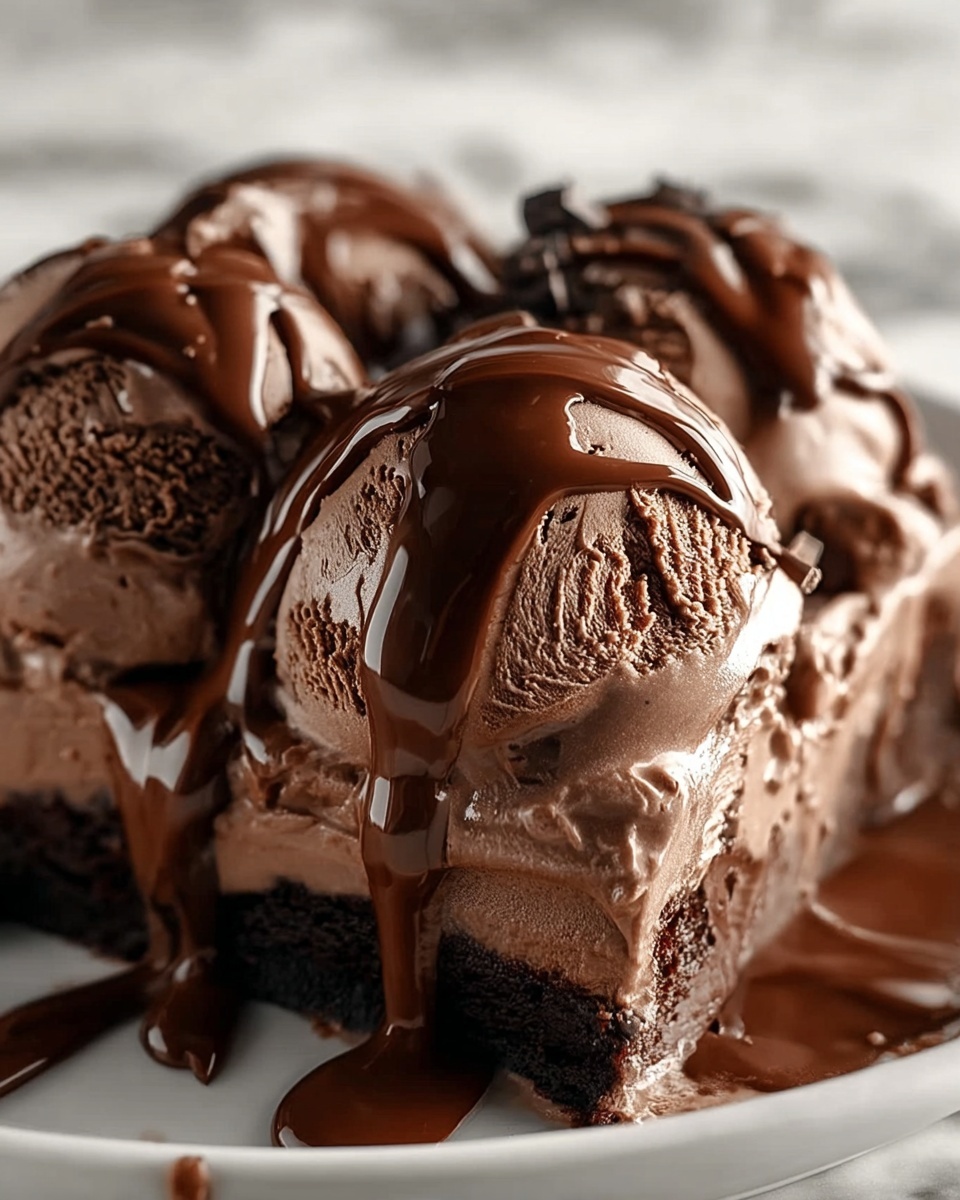
If you have ever dreamed of creating a luscious, creamy dessert right in your own kitchen, this Homemade Chocolate Ice Cream Recipe is exactly what you need. Combining the richness of heavy cream, the deep flavor of cocoa, and the smooth sweetness of melted chocolate and condensed milk, this no-churn delight brings indulgence without fuss. Perfectly balanced and incredibly easy, it’s a dessert that feels like a special treat but comes together quickly, letting you savor the ultimate chocolate fix whenever the craving strikes.
Ingredients You’ll Need
This Homemade Chocolate Ice Cream Recipe relies on a handful of simple but essential ingredients that each play a key role in delivering that perfect creamy texture and rich chocolate flavor. Every component is easy to find and works together to create the magic of homemade ice cream.
- 2 cups heavy whipping cream: Make sure it’s cold so it whips up into fluffy, stable peaks that give the ice cream its creamy body.
- 1 (14 oz) can sweetened condensed milk: This adds sweetness and a dense creaminess without needing to add sugar separately.
- 1/2 cup unsweetened cocoa powder: Use a good-quality cocoa powder for that deep, rich chocolate taste that stands out.
- 1/2 cup semi-sweet chocolate chips, melted and slightly cooled: Melted chocolate adds an intense chocolate punch and smoothness to the mix.
- 1 teaspoon vanilla extract: Vanilla enhances the chocolate and rounds out all the flavors beautifully.
- Pinch of salt: Just a little to balance the sweetness and deepen the overall flavor profile.
How to Make Homemade Chocolate Ice Cream Recipe
Step 1: Whip the Cream to Stiff Peaks
Start by making sure your heavy cream is cold—it whips better and becomes wonderfully airy. Use a chilled bowl and beat the cream until it forms stiff peaks that hold their shape well. This fluffy base is what makes the ice cream light while still creamy and satisfying.
Step 2: Prepare the Chocolate Base
In a separate bowl, whisk the sweetened condensed milk with the unsweetened cocoa powder, melted chocolate, vanilla extract, and a pinch of salt. Mixing these together until smooth ensures that the chocolate flavor is thoroughly blended and perfectly sweetened for every bite.
Step 3: Fold the Chocolate Mixture Into the Whipped Cream
Gently fold the rich chocolate mixture into the fluffy whipped cream. This step is crucial—fold slowly and carefully to keep the airy texture intact. By doing this, your ice cream will end up creamy and smooth, not dense or heavy.
Step 4: Freeze the Mixture
Pour the combined mixture into a freezer-safe container, smoothing the top with a spatula to create an even surface. Cover tightly with a lid or plastic wrap to protect it from freezer burn and any unwanted flavors.
Step 5: Chill for the Perfect Texture
Freeze the ice cream for at least 6 hours or preferably overnight to allow it to firm up to that luscious, scoopable consistency everyone loves in great ice cream.
Step 6: Serve and Savor
Your Homemade Chocolate Ice Cream Recipe is ready to be enjoyed! Scoop it into bowls or cones, and prepare to delight in that velvety, rich chocolate taste that feels truly homemade.
How to Serve Homemade Chocolate Ice Cream Recipe
Garnishes
Simple toppings like crushed nuts, chocolate shavings, or a drizzle of caramel sauce elevate the ice cream beautifully. Fresh raspberries or a sprinkle of sea salt on top can also give a lovely contrast to the intense chocolate flavor.
Side Dishes
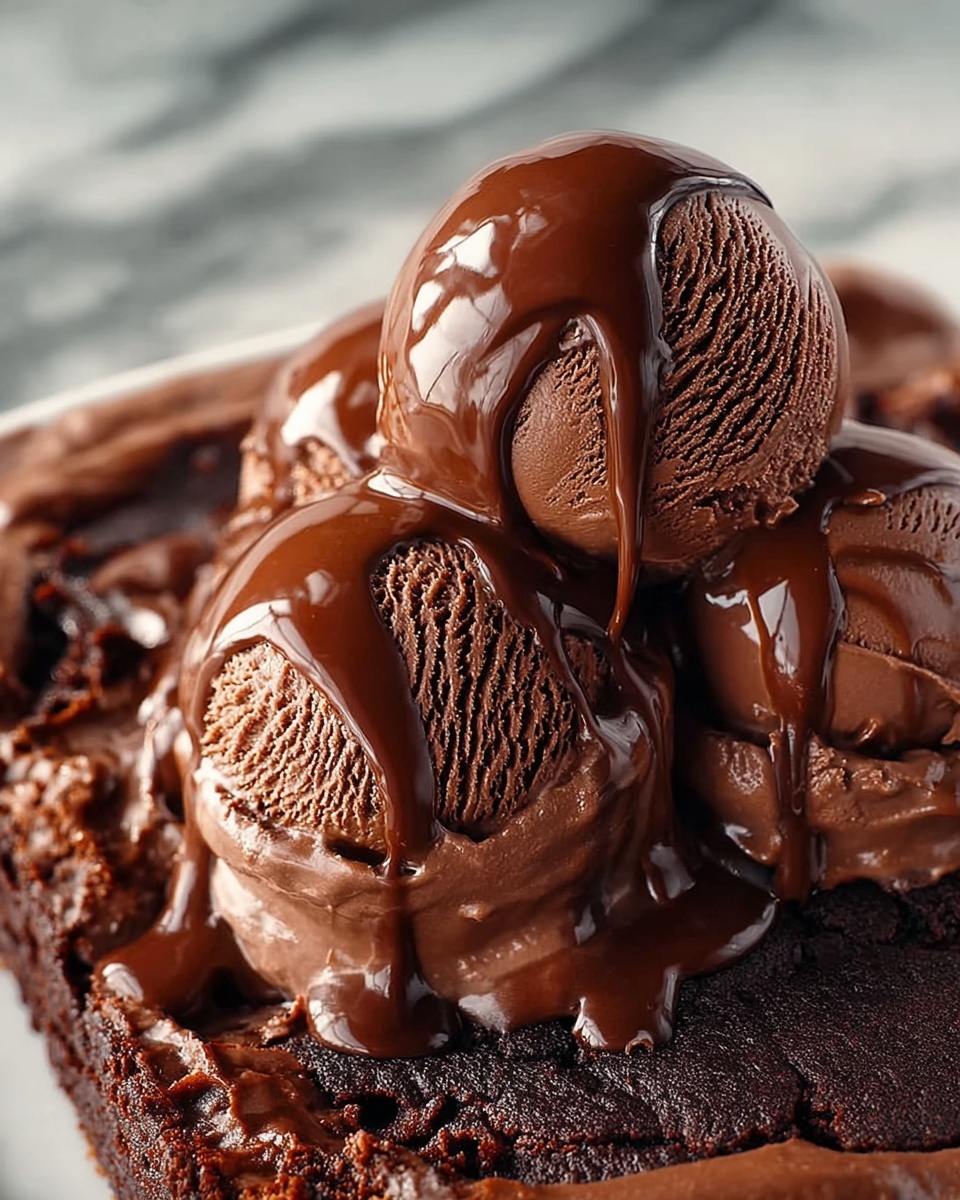
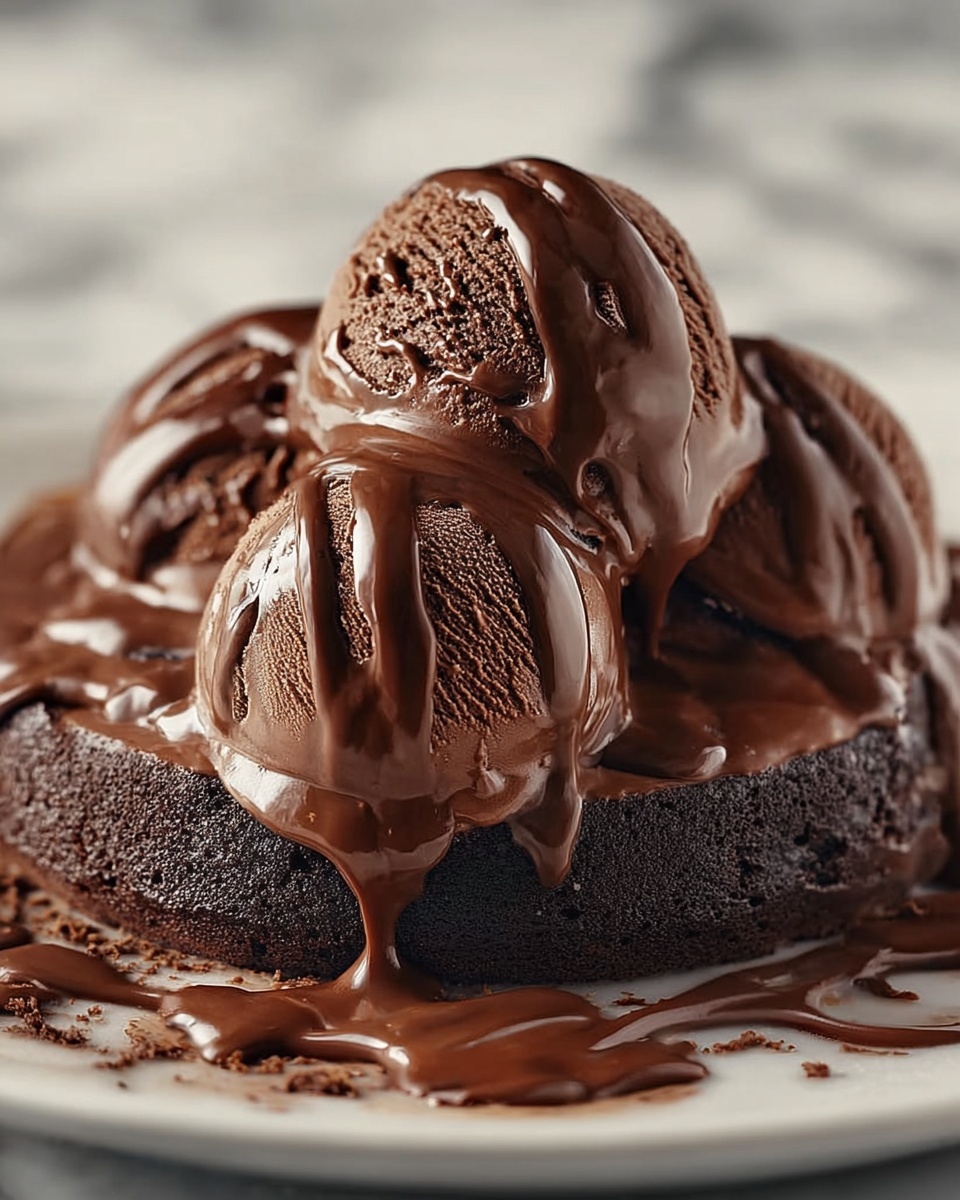
Pair your chocolate ice cream with warm desserts like brownies or chocolate chip cookies to create an irresistible duo that everyone will rave about. A fresh fruit salad or even espresso shots on the side balance the richness perfectly.
Creative Ways to Present
Serve your Homemade Chocolate Ice Cream Recipe in waffle cones or homemade bowls made from cookie dough for a fun twist. For parties, try layering it in parfait glasses with whipped cream and berries or create ice cream sandwiches with freshly baked cookies.
Make Ahead and Storage
Storing Leftovers
Store any leftover ice cream in an airtight, freezer-safe container. Press a piece of parchment or plastic wrap directly onto the surface before sealing to help prevent ice crystals forming and keep every bite creamy and smooth.
Freezing
This no-churn ice cream freezes very well for up to two weeks. For the best texture, avoid storing it longer, as ice crystals may develop over extended time. When ready to eat, just scoop straight from the freezer.
Reheating
Since this is ice cream, reheating isn’t necessary. However, if the ice cream becomes too hard, let it sit at room temperature for 5 to 10 minutes before scooping to soften slightly and achieve that perfect scoopable texture.
FAQs
Can I use milk instead of heavy cream?
Heavy cream is key to achieving that rich, creamy texture in this Homemade Chocolate Ice Cream Recipe. Using milk instead will result in a thinner, icier texture rather than a smooth, velvety ice cream.
Is it possible to make this recipe dairy-free?
You can substitute heavy cream with full-fat coconut cream and sweetened condensed milk with a dairy-free version, but it might slightly alter the flavor and texture. Experimenting with these substitutes can still yield a delicious dessert.
Do I need an ice cream maker for this recipe?
No ice cream maker is required at all! This recipe is a fantastic no-churn option that comes together easily without any fancy equipment, which is perfect for home cooks who want effortless indulgence.
How long does the ice cream last in the freezer?
For best quality, consume your Homemade Chocolate Ice Cream Recipe within two weeks. After that, it might begin to develop ice crystals and lose some of its creamy texture.
Can I add mix-ins like cookies or nuts?
Absolutely! Fold in your favorite mix-ins gently after Step 3 before freezing. This is a great way to personalize the ice cream to your taste with things like crushed cookies, nuts, or chocolate chunks.
Final Thoughts
Making your own ice cream at home doesn’t have to be complicated, and this Homemade Chocolate Ice Cream Recipe proves just that. With simple, quality ingredients and no need for an ice cream maker, you can create a rich, creamy dessert that’s truly your own. So go ahead, try it out and enjoy every luscious spoonful—you might just discover your new favorite way to satisfy those chocolate cravings!
Print
Homemade Chocolate Ice Cream Recipe
- Prep Time: 15 minutes
- Cook Time: 0 minutes
- Total Time: 6 hours 15 minutes
- Yield: 6 to 6.6 servings
- Category: Dessert
- Method: No-Cook
- Cuisine: American
Description
This homemade chocolate ice cream recipe is a rich, creamy, and easy-to-make frozen dessert that requires no ice cream maker. Combining whipped heavy cream with a luscious chocolate base of sweetened condensed milk, cocoa powder, and melted chocolate, it offers deep chocolate flavor and smooth texture. Perfect for chocolate lovers looking for a simple yet indulgent treat.
Ingredients
Chocolate Base
- 1 (14 oz) can sweetened condensed milk
- 1/2 cup unsweetened cocoa powder
- 1/2 cup semi-sweet chocolate chips, melted and slightly cooled
- 1 teaspoon vanilla extract
- Pinch of salt
Whipped Cream
- 2 cups heavy whipping cream, cold
Instructions
- Whip Cream: In a large mixing bowl, whip the cold heavy cream using a hand mixer or stand mixer until stiff peaks form, which usually takes about 3-5 minutes. This creates the fluffy base for the ice cream.
- Mix Chocolate Base: In a separate bowl, whisk together the sweetened condensed milk, unsweetened cocoa powder, melted and slightly cooled semi-sweet chocolate chips, vanilla extract, and a pinch of salt until the mixture is smooth and fully combined, ensuring even chocolate flavor throughout.
- Fold Together: Gently fold the chocolate mixture into the whipped cream using a spatula. Be careful to combine thoroughly without deflating the whipped cream, preserving the airy texture of the ice cream batter.
- Freeze: Pour the combined mixture into a freezer-safe container and smooth the top with a spatula. Cover tightly with a lid or plastic wrap to prevent ice crystals from forming.
- Chill: Place the container in the freezer and freeze for at least 6 hours or overnight until the ice cream is firm enough to scoop.
- Serve: Once fully frozen, scoop the ice cream into bowls or cones. Enjoy it plain or with your preferred toppings such as chocolate shavings, nuts, or berries.
Notes
- Ensure the heavy cream is very cold before whipping for best results.
- Melt the chocolate slowly over a double boiler or in short bursts in the microwave to avoid burning.
- Folding should be gentle to maintain the whipped cream’s volume and softness.
- You can substitute semi-sweet chocolate chips with dark or milk chocolate chips based on your preference.
- If the ice cream becomes too hard after freezing, let it sit at room temperature for a few minutes before scooping.


