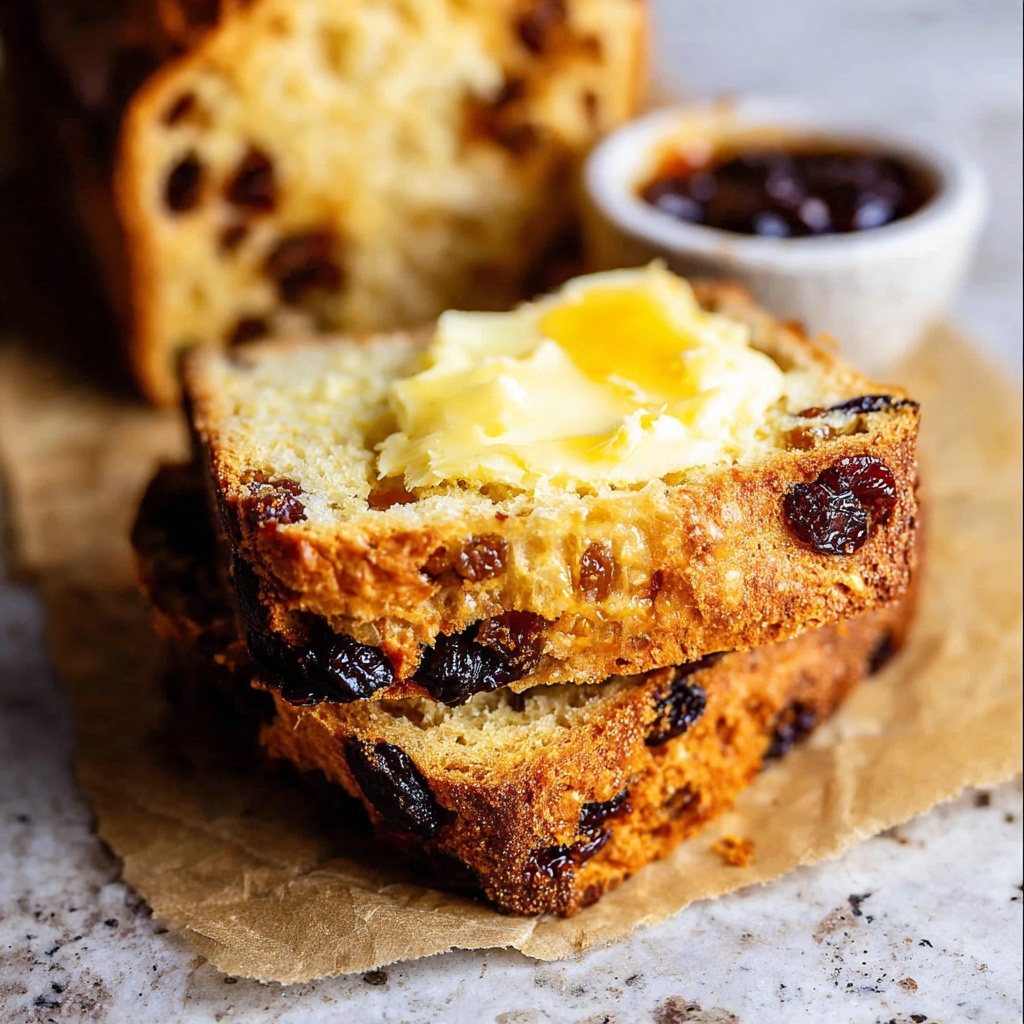
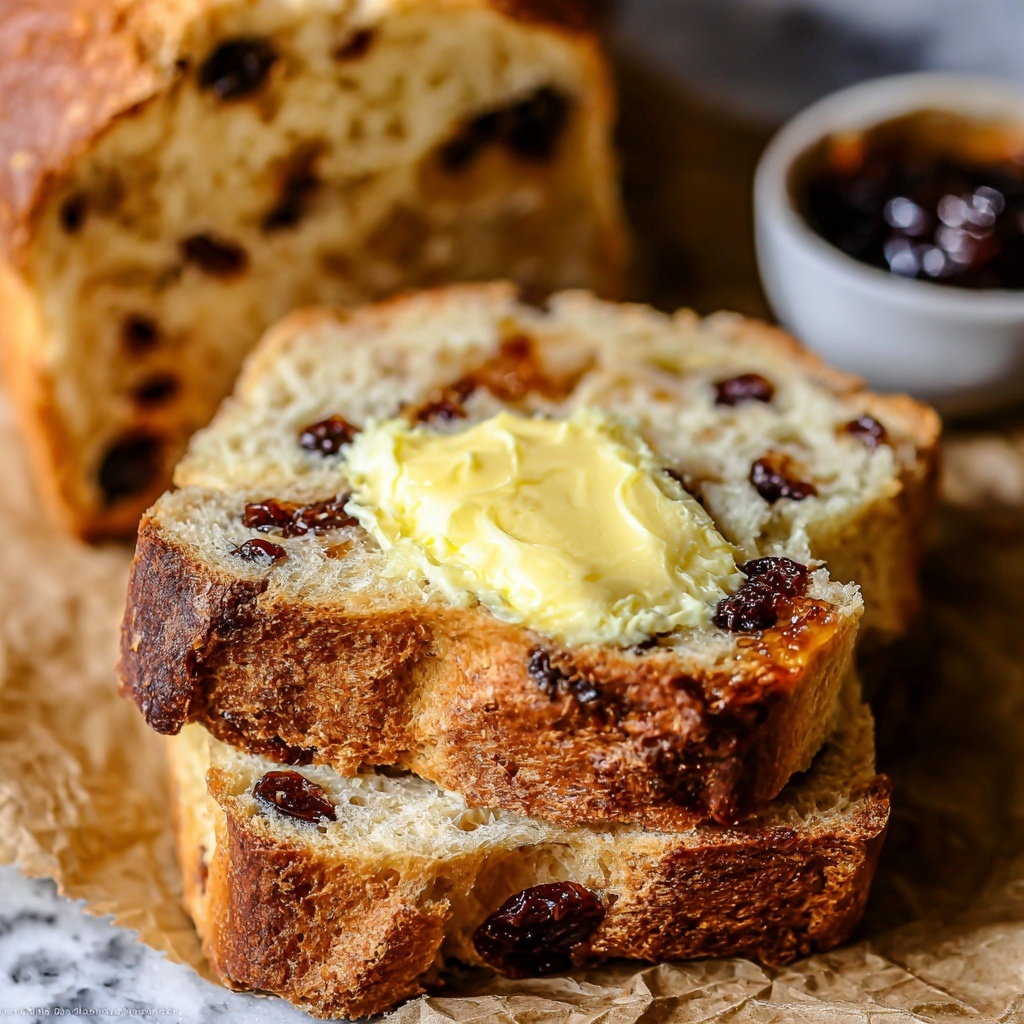
If you’re looking to bring a slice of authentic Irish charm right to your kitchen table, this Irish Soda Bread with Buttermilk and Currants Recipe is exactly what you need. Packed with tender crumb and those delightful bursts of sweet currants, this bread offers a perfect balance of rustic simplicity and rich flavor. It’s a quick bread that doesn’t require yeast but still manages to deliver a satisfyingly hearty texture, thanks to the magic of buttermilk and baking soda. Whether you’re celebrating St. Patrick’s Day or simply craving a comforting homemade loaf, this recipe is an absolute must-try.
Ingredients You’ll Need
The beauty of this Irish Soda Bread lies in its straightforward ingredients list. Each component plays a crucial role in crafting the tender, flavorful loaf you’ll fall in love with. From the tangy buttermilk that activates the soda to the lovely currants that add sweetness and chew, every item comes together effortlessly to create magic.
- 4 cups sifted all-purpose flour: Using sifted flour ensures a light, airy texture that’s essential for this bread’s crumb.
- 1/3 cup granulated sugar: Adds a gentle sweetness that complements the currants perfectly.
- 1 and 1/2 teaspoons baking soda: Your bread’s rising agent—make sure it’s fresh for best results.
- 2 teaspoons kosher salt: Enhances all the flavors without overpowering the bread.
- 2 tablespoons cold butter: Adds richness and a tender crumb when cut into the flour.
- 1/4 cup vegetable oil: Keeps the bread moist and adds a subtle softness.
- 1 and 1/2 cups buttermilk: The star liquid providing tang and reacting with the baking soda for rise.
- 1 large egg and 1 large egg yolk: Bind everything together and add structure.
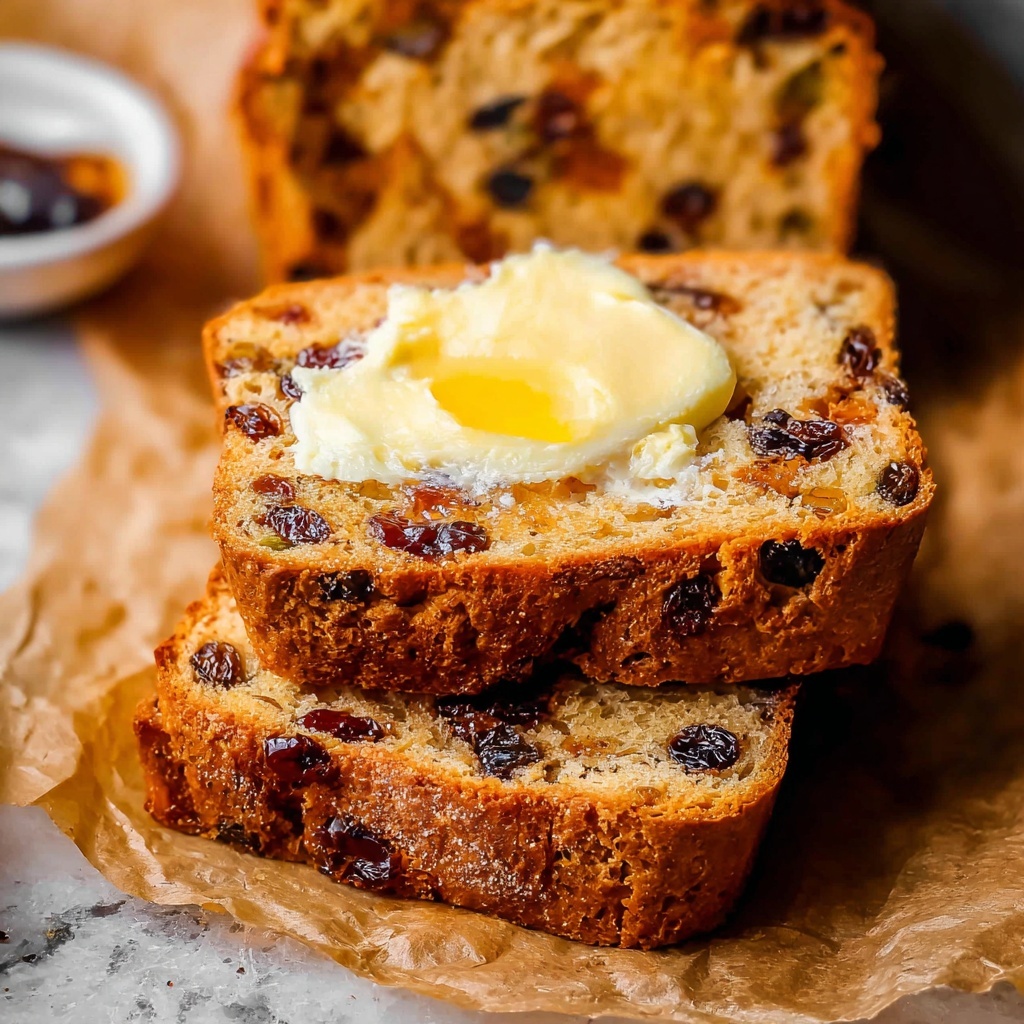
- 1 and 1/2 cups zante currants (optional): Sweet, chewy bursts that elevate the bread’s flavor and texture.
How to Make Irish Soda Bread with Buttermilk and Currants Recipe
Step 1: Get Your Oven Ready
Start by preheating your oven to a toasty 425 degrees Fahrenheit. This high temperature helps create that gorgeous golden crust on the bread.
Step 2: Plump Those Currants (Optional but Worth It)
If you want your currants nice and juicy, boil a small pot of water, then turn off the heat. Add your currants and cover for about 10 minutes. This step rehydrates the dried fruit, making each bite tender and flavorful.
Step 3: Sift the Flour
To get the best texture, spoon the flour into your measuring cup and level it with a knife, then sift it into a large bowl. Repeat until you have your full 4 cups. This aerates the flour, helping your bread rise beautifully.
Step 4: Combine Dry Ingredients
Add in the sugar, baking soda, and kosher salt to your sifted flour. These dry ingredients will blend together to help with the texture and flavor balance of the bread.
Step 5: Cut in the Cold Butter
Use a pastry cutter or table knife to cut the cold butter into your flour mixture until you have a coarse, crumbly texture. This step creates pockets of buttery goodness in the bread.
Step 6: Incorporate the Oil Gradually
Drizzle the vegetable oil slowly over the mixture, cutting it in as you go. This ensures the dough stays tender and moist without becoming greasy.
Step 7: Toss in the Currants
If you plumped your currants, make sure they are well-drained. Toss them in with the flour mixture to coat — this prevents them from sinking straight to the bottom as the bread bakes.
Step 8: Mix the Wet Ingredients
Whisk together the buttermilk, egg, and egg yolk in a glass measuring cup. This blend provides tang and structure while activating the baking soda.
Step 9: Combine Wet and Dry
Pour your buttermilk mixture over the dry ingredients and gently fold everything together with a rubber spatula until it just starts to come together. Avoid overmixing to keep the bread tender.
Step 10: Shape Your Dough
Lightly flour your surface and turn the dough out onto it. Knead just once or twice to bring it together, then shape into a 6-7 inch round. The dough should look rustic and slightly shaggy.
Step 11: Prepare Your Baking Surface
Butter a cast iron skillet or baking sheet, or line with parchment paper, ensuring a non-stick surface for your bread to bake perfectly.
Step 12: Make Your Signature X
Transfer the dough to the pan and use a serrated knife to cut a deep X about an inch or more deep into the top. This traditional cut lets steam escape and ensures the center bakes evenly.
Step 13: Bake to Perfection
Bake at 425 degrees for 20 minutes, then loosely cover with foil to prevent over-browning. Continue baking for 30-35 more minutes until the bread is cooked through. Look for a hollow sound when tapping the bottom or an internal temperature of 180 degrees Fahrenheit.
Step 14: Finish with Butter and Cool
Brush the baked loaf with melted butter for a soft, shiny crust. Let it cool on a wire rack before slicing. Serve warm with butter and your favorite jam or alongside hearty dishes like Corned Beef with Cabbage for a truly authentic Irish experience.
How to Serve Irish Soda Bread with Buttermilk and Currants Recipe
Garnishes
A simple brush of melted butter right out of the oven adds a glossy finish and rich flavor. For a fresh touch, sprinkle a little coarse sea salt or even a dusting of powdered sugar for a sweet contrast.
Side Dishes
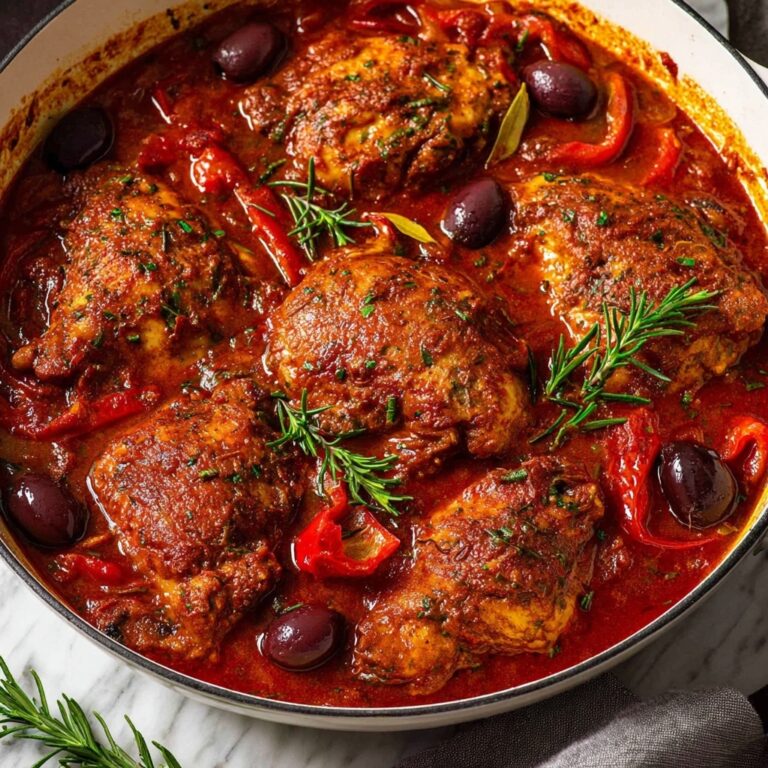
This bread pairs wonderfully with classic Irish fare like corned beef and cabbage or a creamy horseradish sauce. It also shines alongside hearty stews, soups, and even a sharp cheddar cheese plate for an irresistible combo.
Creative Ways to Present
Try slicing the bread into thick wedges for breakfast toast topped with cream cheese and smoked salmon. Or use it as a base for a rustic bread pudding with a drizzle of honey and nuts for dessert that’s unexpectedly delightful!
Make Ahead and Storage
Storing Leftovers
You can keep any leftover Irish Soda Bread wrapped tightly in plastic wrap or stored in an airtight container at room temperature. It will stay fresh for 2-3 days, perfect for snacking or toasting.
Freezing
This bread freezes beautifully. Wrap it well in plastic wrap, then foil, and store in the freezer for up to 3 months. Thaw overnight on the counter for easy enjoyment any time.
Reheating
To bring back that just-baked feel, reheat slices in a toaster or oven at 350 degrees Fahrenheit for 5-7 minutes. This refreshes the crust and warms up the soft interior wonderfully.
FAQs
Can I substitute raisins for currants in this recipe?
Absolutely! Raisins or dried cherries can be used as a delicious alternative and will provide a similar burst of sweetness and texture.
Why is buttermilk important in this Irish soda bread?
Buttermilk provides the acidity necessary to react with baking soda, which causes the bread to rise and develop its tender crumb. It also adds a pleasant tangy flavor.
What if I don’t have a cast iron skillet?
No worries! You can use a regular baking sheet, ideally lined with parchment paper or greased well to prevent sticking. The bread will still bake beautifully.
Can I make this bread vegan?
This recipe relies on eggs and butter for texture and flavor, but you could experiment substituting plant-based alternatives like flax eggs and vegan butter. The texture might be slightly different, but it’s fun to try!
How do I know when the bread is done baking?
Use a skewer or toothpick to check the center; it should come out clean without wet batter. The bread should also sound hollow when tapped on the bottom, and an instant-read thermometer should register 180 degrees Fahrenheit.
Final Thoughts
This Irish Soda Bread with Buttermilk and Currants Recipe is one of those treasures you’ll come back to time and time again. Its comforting home-baked aroma, perfectly tender crumb, and delightful mix of sweet currants make it a joy to serve and share. I can’t wait for you to try it and bring a little slice of Ireland right into your home. Happy baking!
Print
Irish Soda Bread with Buttermilk and Currants Recipe
- Prep Time: 10 minutes
- Cook Time: 55 minutes
- Total Time: 1 hour 5 minutes
- Yield: 12 servings
- Category: Bread
- Method: Baking
- Cuisine: Irish
- Diet: Vegetarian
Description
This classic Irish Soda Bread recipe yields a wonderfully tender and moist loaf, enriched with buttermilk and optionally studded with raisins or dried cherries. Traditionally made without yeast, the bread relies on baking soda and buttermilk for a quick rise, producing a golden crust and a soft crumb perfect for slicing and serving with butter, jam, or savory dishes like corned beef and cabbage.
Ingredients
Dry Ingredients
- 4 cups sifted all purpose flour (spooned into the cup and leveled)
- 1/3 cup granulated sugar
- 1 and 1/2 teaspoons baking soda (fresh)
- 2 teaspoons kosher salt (or 1.25 teaspoons table salt)
Fat and Liquid Ingredients
- 2 tablespoons cold butter
- 1/4 cup vegetable oil (light olive oil recommended)
- 1 and 1/2 cups buttermilk
- 1 large egg
- 1 large egg yolk
Add-ins (Optional)
- 1 and 1/2 cups zante currants, raisins, or dried cherries
Instructions
- Preheat the Oven: Set your oven to 425 degrees F to ensure it reaches the right temperature for baking the bread.
- Plump the Raisins (Optional): Boil a small pot of water, then turn off heat and pour over 1 and 1/2 cups of raisins or dried fruit. Cover and let sit for 10 minutes to soften, then drain and let dry slightly.
- Sift the Flour: Spoon flour into a measuring cup, level it with a knife, then sift it through a mesh strainer into a large bowl. Repeat until you have 4 cups sifted.
- Combine Dry Ingredients: Add sugar, baking soda, and salt to the sifted flour. Mix thoroughly to distribute evenly.
- Cut in the Butter: Using a pastry cutter, incorporate 2 tablespoons of cold butter into the dry mixture until it resembles coarse crumbs.
- Add the Oil: Drizzle the 1/4 cup vegetable oil in small amounts over the flour mixture, cutting it in with the pastry cutter. Avoid smoothing or overblending the dough.
- Toss in Raisins: If using, add the plumped and drained raisins to the flour mixture and toss to coat evenly.
- Mix Buttermilk and Eggs: In a glass measuring cup, whisk together 1 and 1/2 cups buttermilk with 1 large egg and 1 egg yolk until smooth.
- Combine Wet and Dry Ingredients: Add the buttermilk mixture to the flour mixture and gently fold with a rubber spatula until the dough comes together.
- Form the Dough: Turn the dough onto a floured surface and knead just once or twice to bring it together into a rough, shaggy dough. Shape into a 6 to 7 inch round.
- Prepare the Baking Surface: Spread 1/2 tablespoon butter on a cast iron skillet or baking sheet, or line it with parchment paper.
- Score the Bread: Transfer the dough to the prepared pan and use a serrated knife to cut a deep X about 1 inch into the top to help heat penetrate.
- Bake: Bake for 20 minutes at 425°F, then loosely cover the top with foil to prevent overbrowning. Continue baking another 30–35 minutes until a skewer inserted is clean and an instant read thermometer reads 180°F. The bottom should sound hollow when tapped.
- Finish and Cool: Remove bread from oven, brush the top with melted butter, and let cool on a wire rack before slicing. Serve plain or with butter and jam, or as a hearty side to traditional dishes.
Notes
- Use fresh baking soda to ensure proper rise; expired baking soda will affect the bread’s texture.
- Plumping the raisins is optional but helps keep them moist and flavorful in the bread.
- Do not over-knead the dough; a shaggy, lightly handled dough results in a better crumb texture.
- The scoring (cutting an X) on top is essential for even baking and allows steam to escape.
- Use a cast iron skillet or a heavy baking sheet for best crust development.
- The bread is best enjoyed fresh but can be stored in an airtight container for up to 2 days or frozen for longer storage.
- Adjust salt amount depending on type used (kosher vs table).


