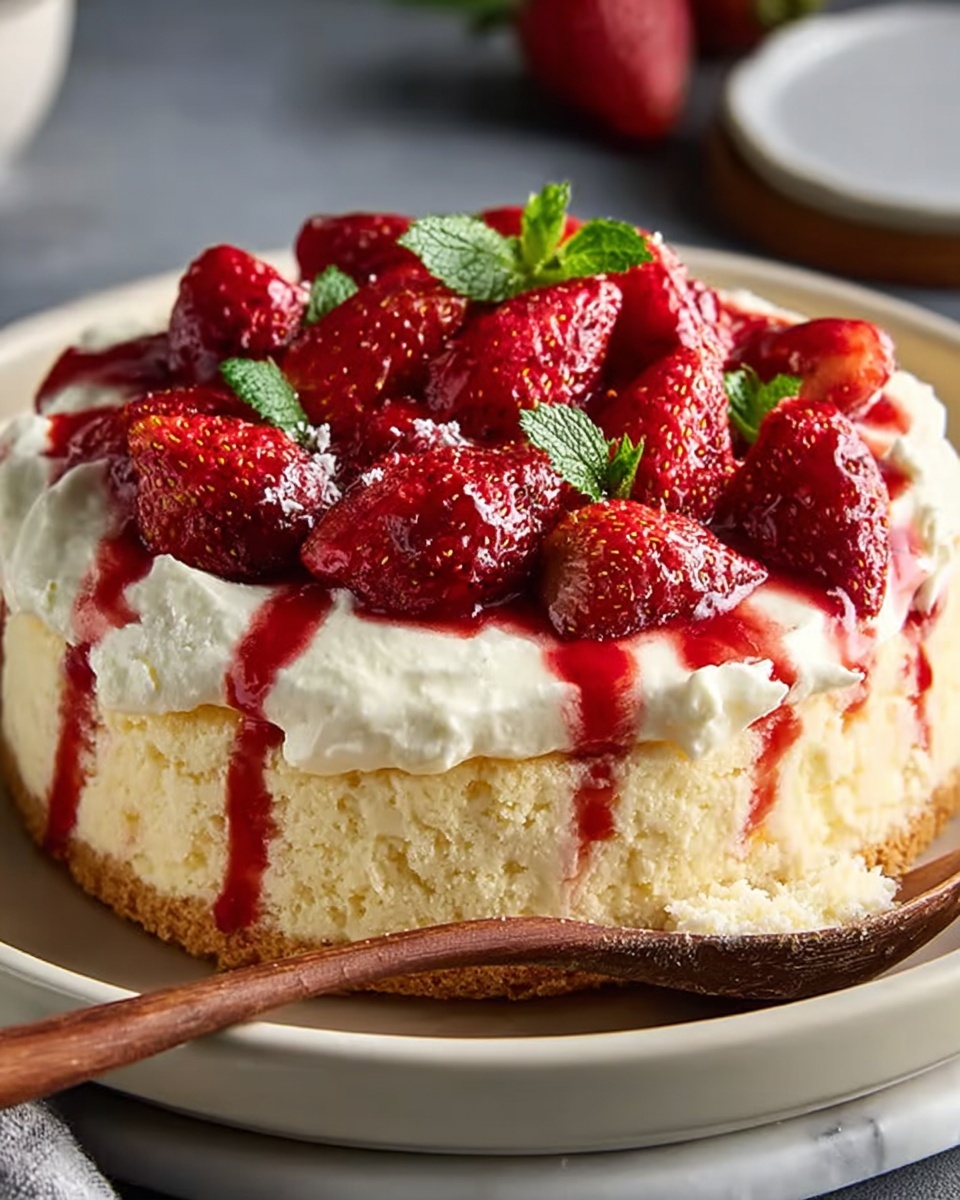
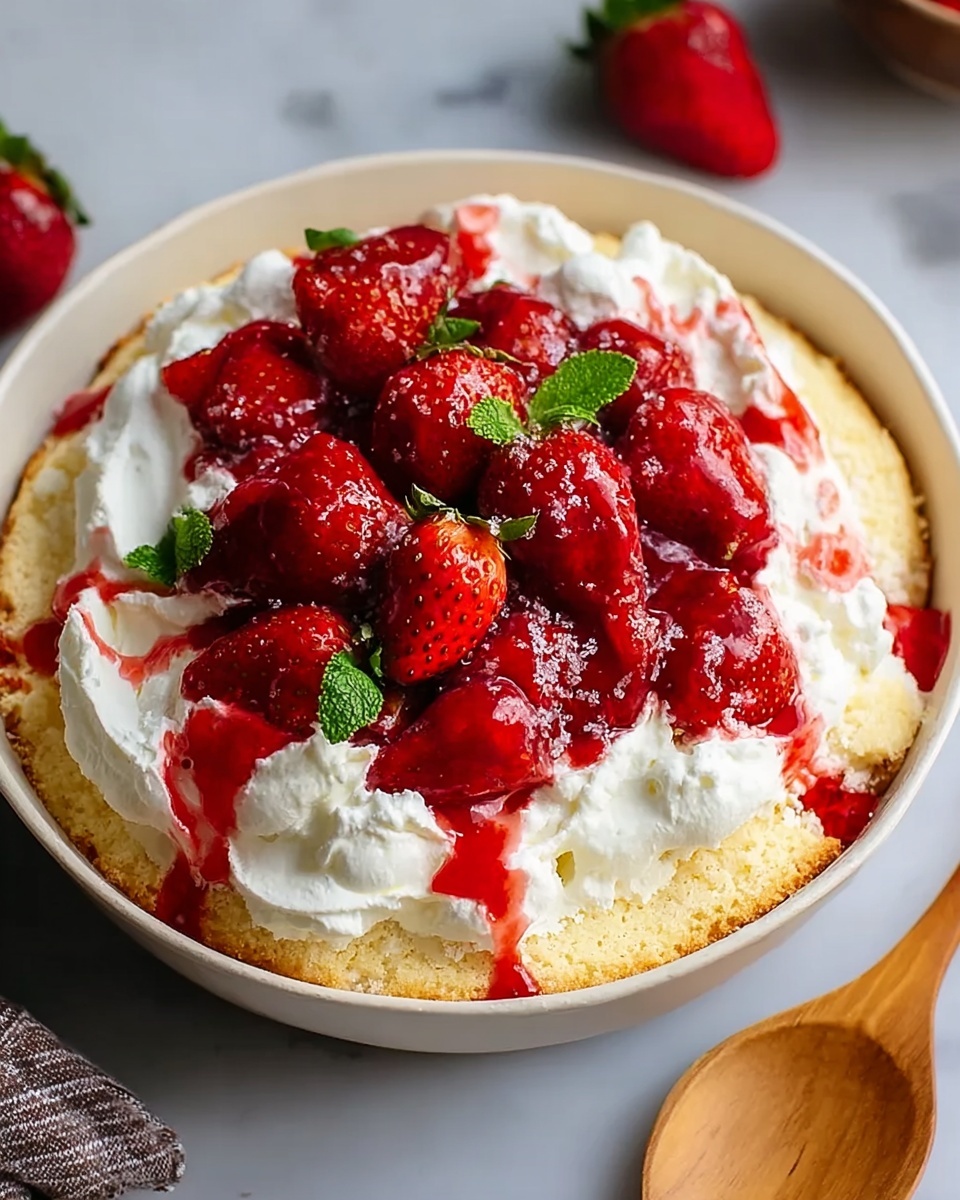
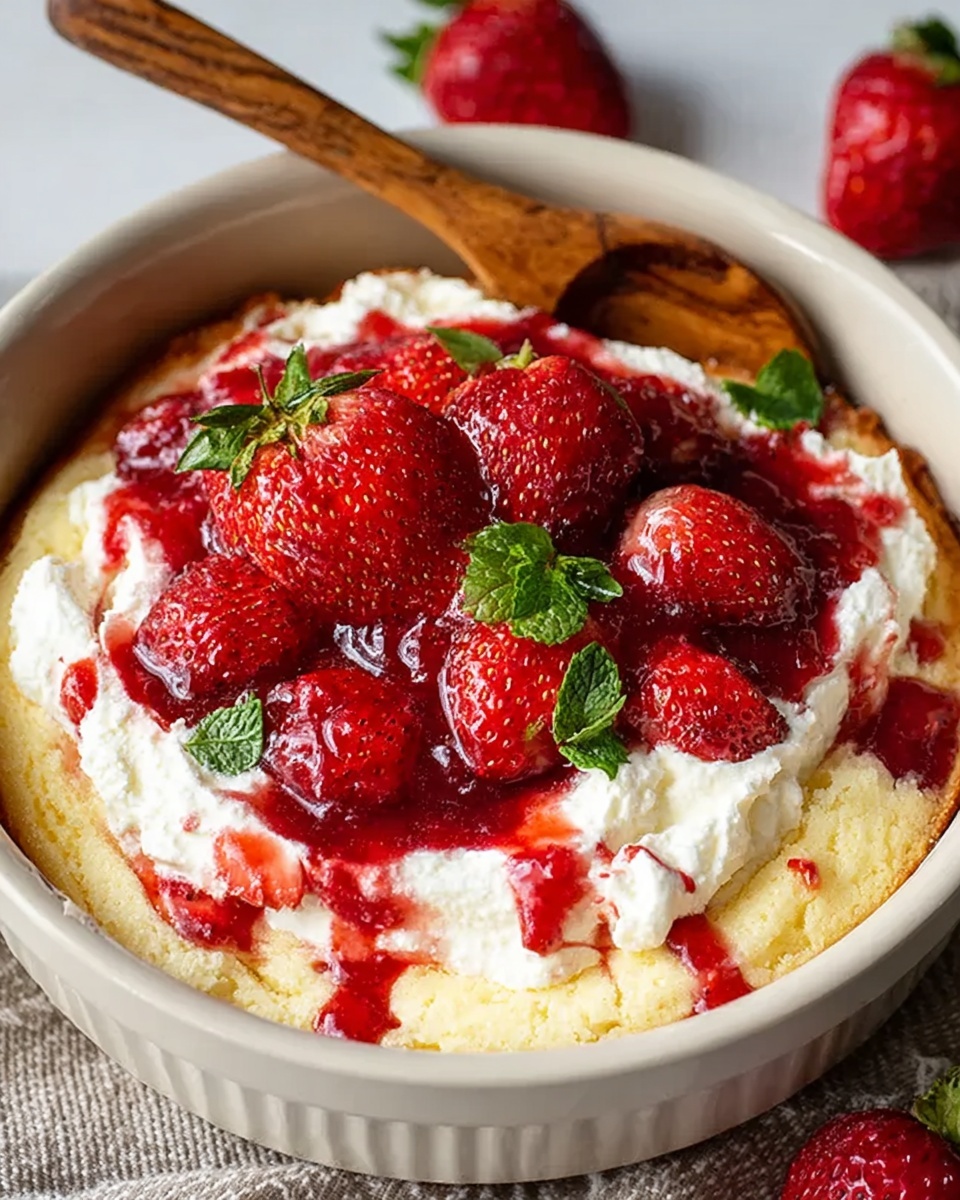
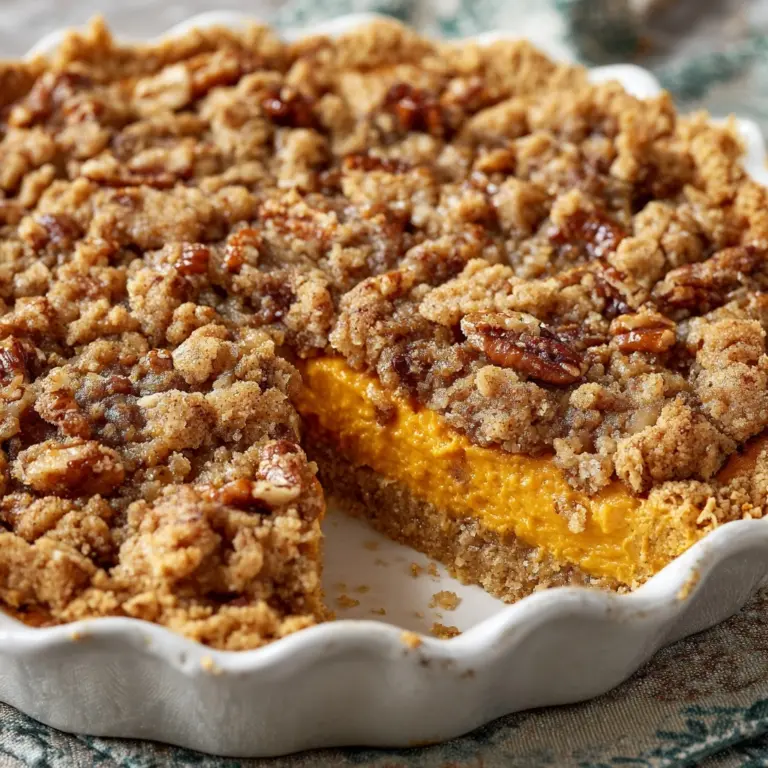
Get ready to fall head over heels for this Irresistible Strawberry Cheesecake Dump Cake Recipe that brings together the sweet juiciness of strawberries and the creamy richness of cheesecake in one simple, fuss-free dessert. Perfect for any occasion, this dump cake combines layers of luscious strawberry filling, swirled cream cheese, and a golden cake crust that bakes to bubbly perfection. It’s an effortless crowd-pleaser that feels decadent but requires minimal effort—making it a total winner to impress your friends, family, or just treat yourself to something truly special.
Ingredients You’ll Need
This dump cake recipe is all about simple, pantry-friendly ingredients that deliver maximum flavor with minimal prep. Each item plays a key role in creating the perfect balance of texture, richness, and sweetness, making it a breeze to assemble yet hard to resist once baked.
- Strawberry pie filling (2 cans, 21 oz each): The star of the cake, it provides juicy fruitiness and natural sweetness that makes every bite pop.
- White or yellow cake mix (1 box, 15.25 oz): Adds a light, cakey layer on top that becomes golden and crispy when baked.
- Cream cheese (8 oz, softened): Creates a luscious, creamy cheesecake swirl that perfectly balances the strawberry filling.
- Unsalted butter (½ cup, melted): Drizzled on top to make the cake crust buttery and tender with a beautiful golden color.
- Granulated sugar (⅓ cup, optional): Sweetens the cream cheese mixture just enough without overpowering the natural fruit flavor.
- Vanilla extract (1 tsp): Enhances the richness and adds a warm, inviting aroma to the cheesecake layer.
- Optional fresh strawberries or powdered sugar: For an extra special garnish that adds freshness or a pretty finish.
How to Make Irresistible Strawberry Cheesecake Dump Cake Recipe
Step 1: Preheat and Prepare Your Baking Dish
Start by heating your oven to 350°F (175°C) so it’s ready to go when your cake is assembled. Grease a 9×13-inch baking dish lightly; this ensures the dump cake won’t stick and will come out cleanly after baking, preserving that perfect crust.
Step 2: Spread the Strawberry Pie Filling
Open both cans of strawberry pie filling and spread them evenly across the bottom of your prepared baking dish. This fruity layer will bubble up beautifully, soaking into the cake mix and providing the juicy, sweet base that makes this recipe so delightful.
Step 3: Make the Cheesecake Layer
In a mixing bowl, beat the softened cream cheese with the granulated sugar (if using) and the vanilla extract until silky smooth. Drop spoonfuls of this creamy mixture over the strawberry filling, then gently swirl it with a butter knife or a skewer to create pretty marbled patterns. This cheesecake layer adds a lovely tang and creaminess that contrasts the sweetness of strawberries.
Step 4: Sprinkle the Dry Cake Mix
Now, generously sprinkle the dry cake mix evenly over the entire surface. Resist the urge to stir—this dry layer will bake up crisp on top while absorbing moisture beneath, creating that signature dump cake texture that’s both cakey and gooey.
Step 5: Drizzle Melted Butter
Pour the melted butter over the cake mix, making sure to cover as much of the surface as possible. The butter melts into the cake mix during baking, helping it brown beautifully and develop a rich, buttery flavor that perfectly complements the fruity and creamy layers.
Step 6: Bake Until Golden and Bubbly
Place your dish in the oven and bake for 40 to 45 minutes. You’re looking for a golden-brown top with bubbling edges—signs that your dump cake has developed that irresistible crust and the filling is perfectly heated through and ready to enjoy.
Step 7: Cool and Serve
Allow the cake to cool for 10 to 15 minutes so the layers can set slightly but still stay warm and gooey. Serve it as is, or dress it up with whipped cream or a scoop of vanilla ice cream for an extra indulgent touch. This is when the Irresistible Strawberry Cheesecake Dump Cake Recipe truly shines as a luscious, comforting dessert.
How to Serve Irresistible Strawberry Cheesecake Dump Cake Recipe
Garnishes
Feel free to add fresh strawberries on top or a light dusting of powdered sugar just before serving to brighten up the look and add an extra fresh burst of flavor. Whipped cream or vanilla ice cream pairs perfectly for that classic dessert vibe.
Side Dishes
This dump cake is rich enough to stand alone but pairs wonderfully with a simple cup of coffee or tea to balance the sweetness. For a more festive vibe, serve alongside sparkling wine or a light rosé to make it a full-on celebration.
Creative Ways to Present
For a party, arrange individual portions in pretty glass parfait cups layered with extra strawberry pieces and whipped cream. Alternatively, serve warm with a drizzle of chocolate sauce or caramel for an unexpected but delicious twist.
Make Ahead and Storage
Storing Leftovers
Cover the leftover cake tightly with plastic wrap or transfer it to an airtight container. It will keep well in the refrigerator for up to 4 days while retaining its moist, creamy texture.
Freezing
You can freeze this dump cake by wrapping it securely in plastic wrap and aluminum foil. Store in the freezer for up to 2 months. Thaw overnight in the refrigerator before reheating or serving chilled.
Reheating
Reheat individual portions in the microwave for 20 to 30 seconds for a warm, gooey treat, or heat the entire dish in a 350°F oven for about 15 minutes until warmed through. This helps bring back that fresh-from-the-oven magic.
FAQs
Can I use fresh strawberries instead of canned pie filling?
Fresh strawberries can be used but you’ll want to macerate them with sugar and maybe add a thickener like cornstarch to replicate the texture and sweetness of pie filling. The canned pie filling gives that perfect balance of juiciness and thickness.
Is it necessary to soften the cream cheese?
Softening the cream cheese makes it easier to beat and mix smoothly with sugar and vanilla, ensuring a creamy cheesecake layer without lumps. So yes, take it out of the fridge ahead of time to soften for best results.
Can I make this cake gluten-free?
Absolutely! Use a gluten-free white or yellow cake mix and double-check that your other ingredients, like pie filling and cream cheese, are gluten-free as well. The cake will still be just as delicious.
Do I have to use unsalted butter?
Unsalted butter lets you control the saltiness of the dessert better, but if all you have is salted butter, you can use it—just skip adding any extra salt elsewhere in the recipe.
How long does the cake keep its best texture after baking?
The dump cake tastes best the same day or the day after baking when the top remains crisp and the filling is fresh. After a couple of days, the crust softens but the flavors deepen, which many people love too.
Final Thoughts
This Irresistible Strawberry Cheesecake Dump Cake Recipe is the kind of dessert that feels like a big warm hug—easy to make, bursting with flavor, and perfect for any occasion. Whether you’re feeding a crowd or simply craving something sweet and comforting, it’s a fantastic recipe to have in your back pocket. Give it a try and watch how quickly it becomes a beloved favorite in your kitchen!
Print
Irresistible Strawberry Cheesecake Dump Cake Recipe
- Prep Time: 10 minutes
- Cook Time: 45 minutes
- Total Time: 55 minutes
- Yield: 10–12 servings
- Category: Dessert
- Method: Baking
- Cuisine: American
- Diet: Vegetarian
Description
This Irresistible Strawberry Cheesecake Dump Cake combines luscious strawberry pie filling, creamy sweetened cream cheese, and buttery cake mix baked into a simple yet decadent dessert. Perfect for gatherings, it requires minimal prep and delivers maximum flavor with a golden, bubbly top and a smooth cheesecake swirl.
Ingredients
Filling
- 2 cans (21 oz each) strawberry pie filling
Cheesecake Layer
- 1 package (8 oz) cream cheese, softened
- ⅓ cup granulated sugar (optional, for sweetening cream cheese)
- 1 tsp vanilla extract
Cake Mix & Topping
- 1 box (15.25 oz) white or yellow cake mix
- ½ cup (115g) unsalted butter, melted
- Optional: fresh strawberries or powdered sugar, for topping
Instructions
- Preheat & Prep: Preheat your oven to 350°F (175°C). Lightly grease a 9×13-inch baking dish to ensure the cake doesn’t stick.
- Add Filling: Evenly spread both cans of strawberry pie filling across the bottom of the prepared baking dish to create the juicy fruit layer.
- Make Cheesecake Layer: In a bowl, beat softened cream cheese together with sugar and vanilla extract until the mixture is smooth and creamy. Dollop spoonfuls of this cheesecake mixture over the strawberry filling and gently swirl it with a knife or spatula to create a marbled effect.
- Add Cake Mix: Sprinkle the dry cake mix evenly over the entire surface of the filling and cream cheese mixture. Be careful not to stir; this layer remains dry on top.
- Add Butter: Drizzle the melted butter evenly over the cake mix, trying to cover as much area as possible. This helps the cake mix bake into a crisp, buttery topping.
- Bake: Place the baking dish in the oven and bake for 40–45 minutes, or until the top turns golden brown and the mixture bubbles around the edges.
- Cool & Serve: Allow the cake to cool for 10–15 minutes before serving. Enjoy it warm or chilled, optionally topped with fresh strawberries, powdered sugar, whipped cream, or ice cream for an extra indulgent touch.
Notes
- You can substitute cream cheese with a vegan alternative for a dairy-free version.
- If you prefer less sweetness, omit the additional sugar in the cream cheese layer.
- Leftovers store well covered in the refrigerator for up to 3 days.
- For easier serving, cool the cake completely before slicing.
- Fresh strawberries on top add a refreshing contrast and a beautiful presentation.


