
“`html
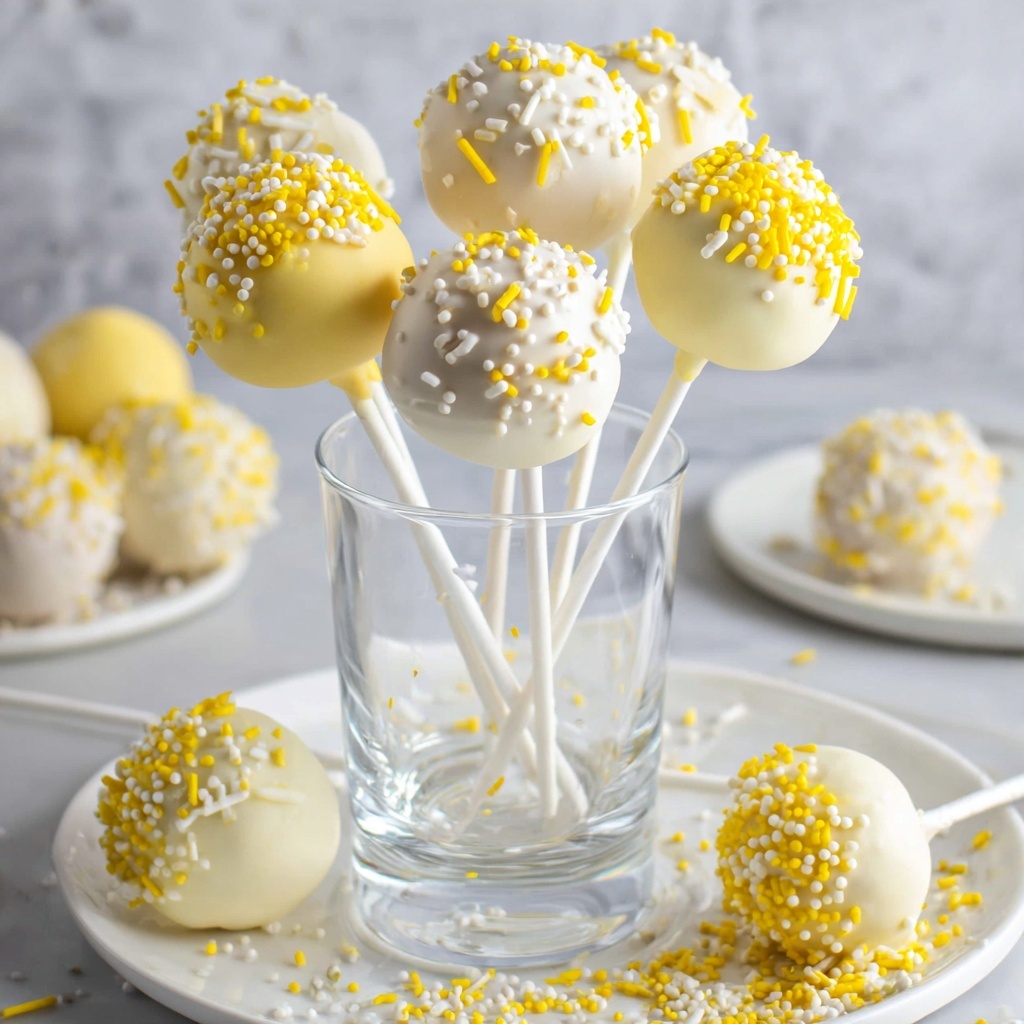
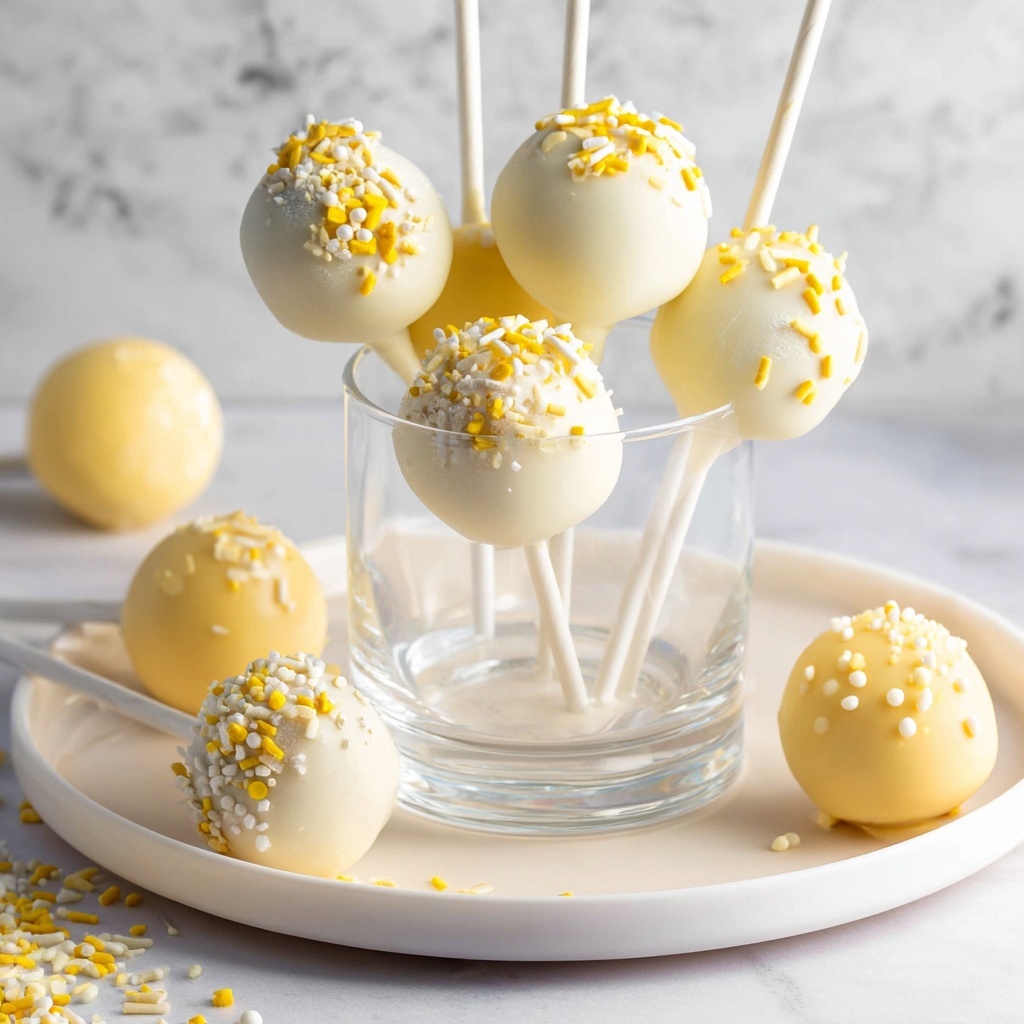
If you are on the lookout for a delightful treat that’s bursting with citrusy brightness and irresistibly fun to eat, this Lemon Cake Pops Recipe is exactly what you need. These little spheres of lemony goodness take the classic flavor of lemon cake and transform it into a bite-sized celebration of flavor and texture, perfect for parties, afternoon snacks, or just a cheerful treat to brighten your day. With moist lemon cake crumbled and mixed with tangy frosting, then dipped in silky white chocolate, these cake pops are a sweet little hug you can hold in your hand.
Ingredients You’ll Need
Creating these charming Lemon Cake Pops is straightforward because each ingredient plays a vital role in building the perfect balance of flavor, moisture, and texture. From the lemon cake mix that lays the flavorful foundation to the glossy white chocolate coating that wraps everything up in silky sweetness, every element is essential.
- Lemon cake mix: The star base providing that unmistakable bright citrus flavor and tender crumb.
- Water: Hydrates the dry cake mix to create a perfect cake texture.
- Vegetable oil: Adds moisture and keeps the cake tender without overpowering the lemon taste.
- Eggs: Bind the ingredients together and help the cake rise beautifully.
- Ready-made lemon frosting: Infuses the pops with creamy, zesty sweetness and holds the cake crumbs together.
- Fresh lemon juice: Elevates the citrus punch, making the lemon flavor truly shine.
- White chocolate melting wafers: Coat the cake pops in a smooth, sweet shell that complements the lemon without bitterness.
- Vegetable oil (for coating): Thins the melted chocolate for a perfectly smooth dip with a glossy finish.
How to Make Lemon Cake Pops Recipe
Step 1: Bake the Lemon Cake
Start by preparing the lemon cake batter according to package directions, using the water, vegetable oil, and eggs. Pour it into a 9×13-inch baking dish and bake at 350℉ for about 30 minutes until golden and a toothpick comes out clean. Be patient and let the cake cool completely, ideally overnight, to make sure the texture is firm enough to work with later.
Step 2: Crumble the Cake
Once your cake has cooled, crumble it into the smallest pieces possible using your hands. This is a fun step where you really get to feel the texture change. The finer the crumbs, the smoother your cake pops will be, which makes shaping and coating them easier.
Step 3: Mix in Frosting and Lemon Juice
In a large bowl, combine the crumbled cake with the lemon frosting and fresh lemon juice. Stir with a large spoon, or even your hands if you don’t mind getting messy, until everything is fully blended into a dense, pliable mixture that holds together well when formed.
Step 4: Shape the Cake Balls
Roll the mixture into 24 evenly sized balls and arrange them on baking sheets lined with wax or parchment paper. Pop them into the refrigerator for at least 2 hours, or use the freezer for about 20 minutes if you’re short on time. Cooling firms the balls and prevents them from falling apart during dipping.
Step 5: Melt the White Chocolate Coating
While the cake balls chill, melt the white chocolate wafers in a microwave-safe bowl by heating in 30-second bursts, stirring each time until smooth. Stir in a tablespoon of vegetable oil to give the coating that silky texture and glossy sheen that makes the cake pops look professionally done.
Step 6: Prepare and Dip the Cake Pops
Take one cake ball at a time from the refrigerator. Dip the tip of a lollipop stick or sturdy straw into the melted chocolate before inserting it halfway into the cake ball—this “glue” step is crucial for a secure hold. Then dip the entire cake ball into the melted chocolate, submerging it fully, and lift it out to let the excess drip off. Place the coated pop onto a wax-paper-lined tray, cake side down for easy drying.
Step 7: Decorate and Set
While the chocolate is still wet, go ahead and decorate your lemon cake pops however you like—sprinkles, edible glitter, or even tiny zest curls make them extra special. Allow the coating to dry completely, about 5 minutes, before serving or packaging.
How to Serve Lemon Cake Pops Recipe
Garnishes
Decorating your Lemon Cake Pops doesn’t have to be complicated but can add a playful touch. Think bright yellow and white sprinkles, lemon zest curls, or a drizzle of contrasting dark chocolate. These simple garnishes do more than look good—they add texture and deepen the lemony experience.
Side Dishes
Pair these cake pops with a light iced tea or a fresh fruit salad to complement their sweetness without overpowering. Lemon moments love a fresh context, so think seasonal berries or even a scoop of vanilla ice cream for a mini dessert party.
Creative Ways to Present
Presentation is half the fun with cake pops! Arrange them standing upright in a decorated Styrofoam block covered with pretty paper or nestled in a rustic basket with shredded tissue paper. You could also tie little ribbons on the sticks or use them as charming cupcake toppers at birthday parties or showers.
Make Ahead and Storage
Storing Leftovers
If you have any leftover Lemon Cake Pops Recipe treats, store them in an airtight container in the refrigerator. They’ll stay moist and tasty for up to 4 days, perfect for enjoying a sweet bite the next day or two.
Freezing
For longer storage, freeze the cake pops by placing them on a tray until firm, then transferring them to a freezer-safe container. Wrapped carefully, they keep well for up to 2 months. When you’re ready to enjoy, thaw in the fridge overnight to retain their texture and flavor.
Reheating
Since these are bite-sized treats best enjoyed cool, reheating is not usually necessary. If you prefer them slightly less chilled, just leave them out at room temperature for 15-20 minutes before serving. Avoid microwaving as it can melt the coating and get messy.
FAQs
Can I make these cake pops with homemade lemon cake?
Absolutely! Using homemade lemon cake works wonderfully and adds a personal touch. Just make sure it’s fully cooled and crumbled to get the right texture for mixing with frosting.
What if I want a more intense lemon flavor?
You can increase the fresh lemon juice slightly or add lemon zest to the cake crumb mixture for a brighter, tangier punch. Just be mindful not to add too much liquid, which can affect consistency.
Can I use chocolate chips instead of melting wafers?
The melting wafers are specially designed for smooth dipping and firm coating, but you can use good-quality white chocolate chips if you melt them gently and stir in some vegetable oil to thin, just like in the recipe.
How do I keep the cake pops from falling off the sticks?
Dipping the stick in chocolate before inserting it into the cake ball is a crucial step that acts like glue. Also, chilling the cake balls thoroughly before dipping helps everything stay intact.
Can I decorate the cake pops in advance?
Yes, you can decorate and let them set ahead of time. Store them in a cool place or refrigerator to keep the coating from melting, and bring them out just before serving to show off your handiwork at its best.
Final Thoughts
Making this Lemon Cake Pops Recipe is such a joyful experience — it turns simple cake and frosting into a playful, delicious treat that’s sure to bring smiles. Whether you’re treating yourself, surprising friends, or dazzling at a special event, these pops bring sunshine to any occasion. So grab your ingredients, roll up your sleeves, and let’s get popping with some zesty lemon magic!
“`
Print
Lemon Cake Pops Recipe
- Prep Time: 40 minutes
- Cook Time: 30 minutes
- Total Time: 3 hours 10 minutes (includes chilling time)
- Yield: 24 cake pops
- Category: Dessert
- Method: Baking
- Cuisine: American
Description
Delightfully tangy and sweet, these Lemon Cake Pops combine moist lemon cake with creamy lemon frosting, all coated in a smooth white chocolate shell. Perfectly portioned and easy to eat, they make a fun and elegant treat for parties, special occasions, or simply a refreshing dessert to brighten your day.
Ingredients
Cake
- 15.25 oz. lemon cake mix (432 grams, 1 box, such as Betty Crocker)
- 1 cup water (227 grams)
- ½ cup vegetable oil (100 grams)
- 3 large eggs (150 grams)
Frosting Mixture
- 12 oz. ready-made lemon frosting (340 grams, ¾ of a 16-oz. container)
- 1 tbsp fresh lemon juice (14 grams, from ½ lemon)
Coating
- 48 oz. white chocolate melting wafers (1,361 grams, 4 12-oz. bags; Wilton or Ghirardelli recommended)
- 1 tbsp vegetable oil (13 grams)
Instructions
- Prepare and Bake Cake: Combine the lemon cake mix, water, vegetable oil, and eggs thoroughly. Pour the batter into a greased 9×13-inch baking dish and bake at 350℉ for about 30 minutes or until a toothpick inserted comes out clean. Let the cake cool for at least 2 hours, ideally overnight, to ensure it’s firm enough to work with.
- Crumble the Cake: In a large bowl, use your hands to break the cooled cake into the smallest crumbs possible, creating a fine and even texture for easier mixing.
- Mix Frosting and Lemon Juice: Add ¾ of the ready-made lemon frosting and fresh lemon juice to the crumbled cake. Stir with a large spoon until the mixture is uniformly combined and forms a dense batter that holds together when rolled.
- Form Cake Balls: Roll the batter into 24 evenly sized balls. Place them on a baking sheet lined with wax paper or parchment. Chill in the refrigerator for 2 hours, or alternatively in the freezer for about 20 minutes to firm them up without freezing.
- Melt White Chocolate Coating: Place the white chocolate melting wafers in a deep microwave-safe bowl. Melt them in 30-second intervals, stirring between each until smooth. Stir in 1 tablespoon of vegetable oil to thin the chocolate for easier dipping.
- Prepare Cake Pops for Coating: Keep the cake balls chilled in the refrigerator while preparing to coat. If they were frozen, transfer them to the fridge to thaw slightly before dipping.
- Insert Sticks and Dip: Dip each lollipop stick or straw into the melted chocolate about ½ inch, then insert it into the center of a cake ball to secure it. Immediately dip the cake pop fully into the melted chocolate, carefully lifting it out to let excess drip off. Place on a wax paper-lined baking sheet.
- Set Cake Pops to Dry: Lay the cake pops cake ball side down on the sheet to set. For a traditional lollipop look, stand them upright in a Styrofoam block so the coating can dry evenly.
- Decorate and Serve: While the chocolate coating is still wet, decorate as desired or leave plain. Allow the coating to dry completely, about 5 minutes, before serving for the best presentation and texture.
Notes
- Chilling the cake balls is crucial to help them hold their shape during dipping.
- Use high-quality white chocolate melting wafers for optimal smoothness and flavor.
- Do not freeze cake balls solid, or the sticks may not adhere well; refrigerate instead.
- You can customize decorations by adding sprinkles or edible glitter before chocolate dries.
- If the chocolate thickens while dipping, reheat gently in the microwave at 15-second bursts.


