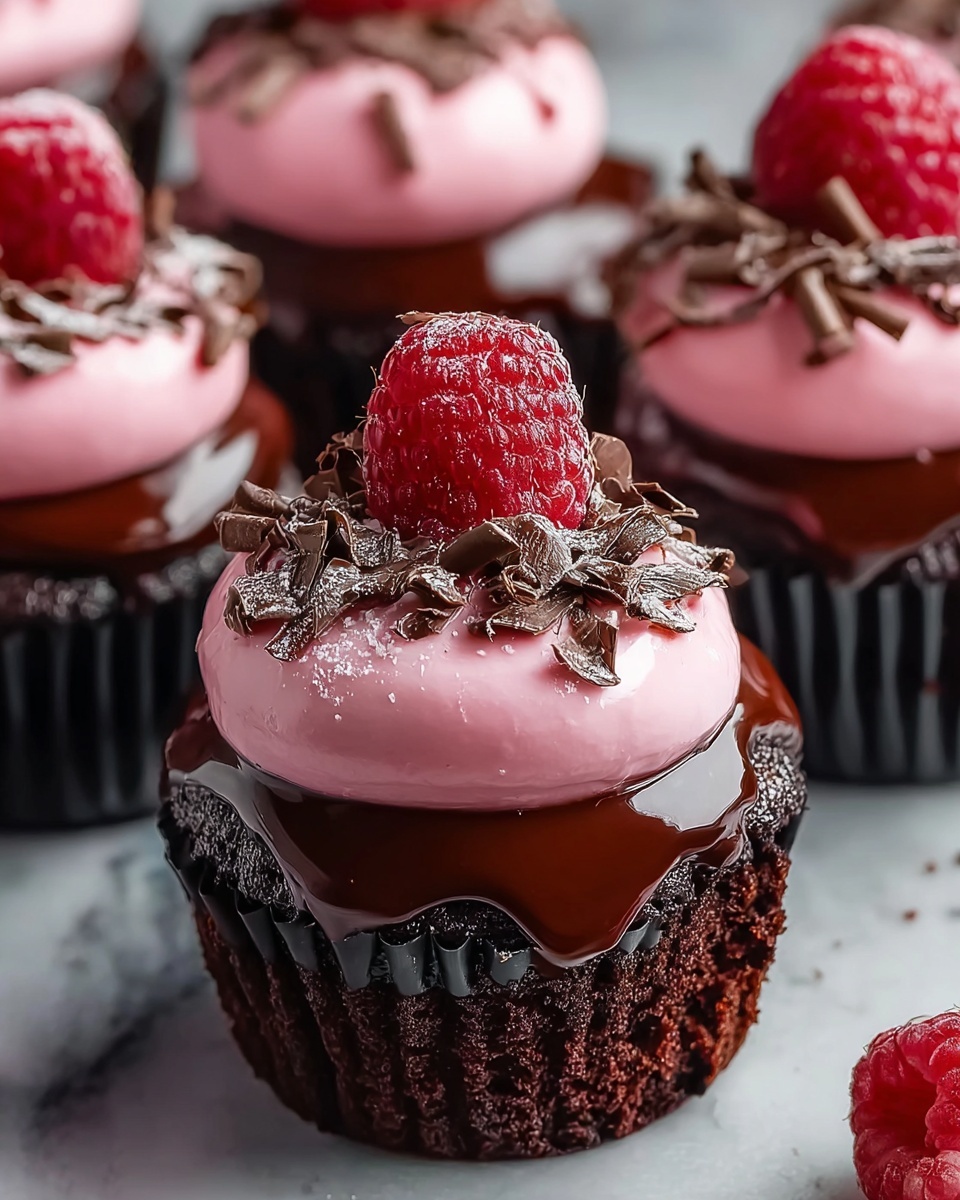
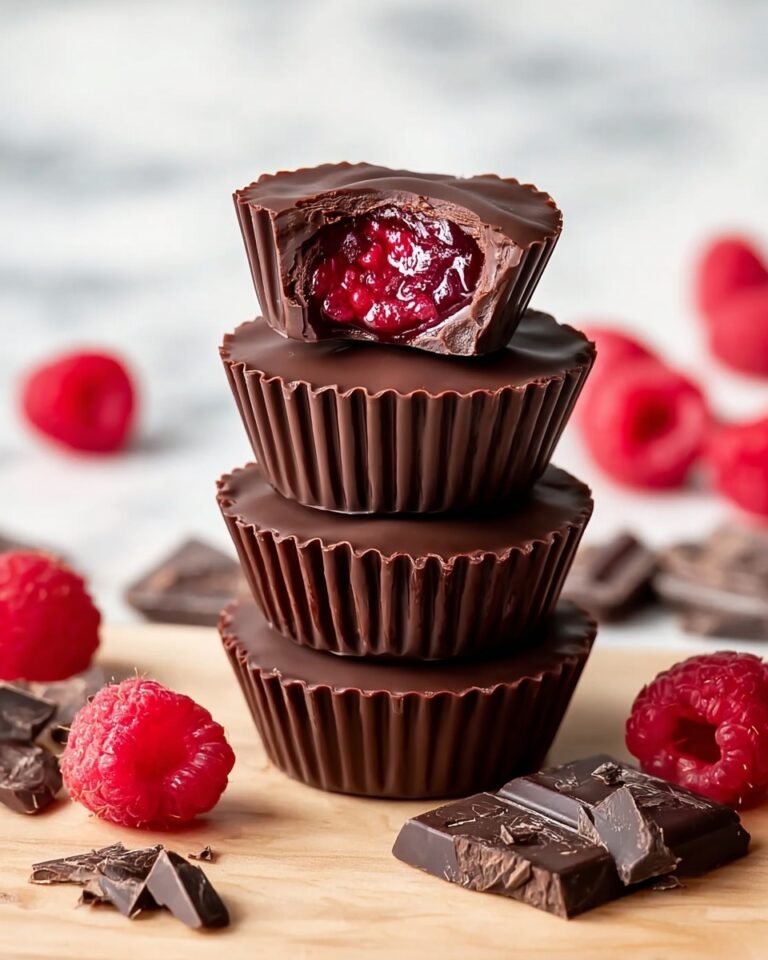
If you are craving a dessert that’s as elegant as it is effortless, the Marry Me No Bake Raspberry Chocolate Mousse Cups Recipe is about to become your new favorite indulgence. This luscious treat perfectly balances rich, velvety chocolate mousse with bright, tangy raspberries, all layered in pretty cups that feel like a celebration in every bite. The no-bake aspect means you get gourmet-level charm without sweating over the stove or oven, making it ideal for impressing guests or spoiling yourself on any day of the week.
Ingredients You’ll Need
This recipe is a celebration of simplicity and quality. Each ingredient plays a vital role in creating that dreamy texture and flavor harmony, from the creamy whipped topping to the vibrant pop of fresh raspberries.
- Heavy cream: The foundation of the mousse, providing a silky, fluffy texture.
- Dark chocolate chips: Rich and slightly bitter, they give the mousse its deep chocolate flavor.
- Vanilla extract: Adds warmth and enhances the chocolate’s complexity.
- Salt (a pinch): Balances sweetness and amplifies all the flavors.
- Fresh raspberries: Bursts of tartness contrast perfectly with the creamy chocolate.
- Sweetener (honey, maple syrup, or stevia): Sweetens the raspberries and adds a natural touch.
- Serving cups: Your canvas for creating beautiful, individual mousse layers.
How to Make Marry Me No Bake Raspberry Chocolate Mousse Cups Recipe
Step 1: Melt the Chocolate
Start by gently melting your dark chocolate chips in a microwave-safe bowl in 30-second bursts, stirring between each interval. This ensures smooth, glossy chocolate without accidentally burning it. Once melted, let it cool to room temperature so it won’t deflate your whipped cream in the next step.
Step 2: Whip the Cream
In a separate bowl, use a hand mixer to whip the heavy cream until soft peaks form. This light and airy base is crucial, as it gives your mousse its luxurious, cloud-like texture that melts effortlessly on your tongue.
Step 3: Combine Ingredients
Carefully fold the cooled chocolate into the whipped cream along with the vanilla extract and a pinch of salt. Folding gently is key here — you want to preserve all that air you whipped into the cream, creating the mousse’s signature fluffiness and smooth richness.
Step 4: Prepare the Raspberries
Take half of your fresh raspberries and mash them gently in a bowl, then stir in your chosen sweetener. Keep the mixture slightly chunky so you have delicious bits of fruit dispersed throughout the layers, adding textural contrast and bursts of tartness.
Step 5: Layer the Cups
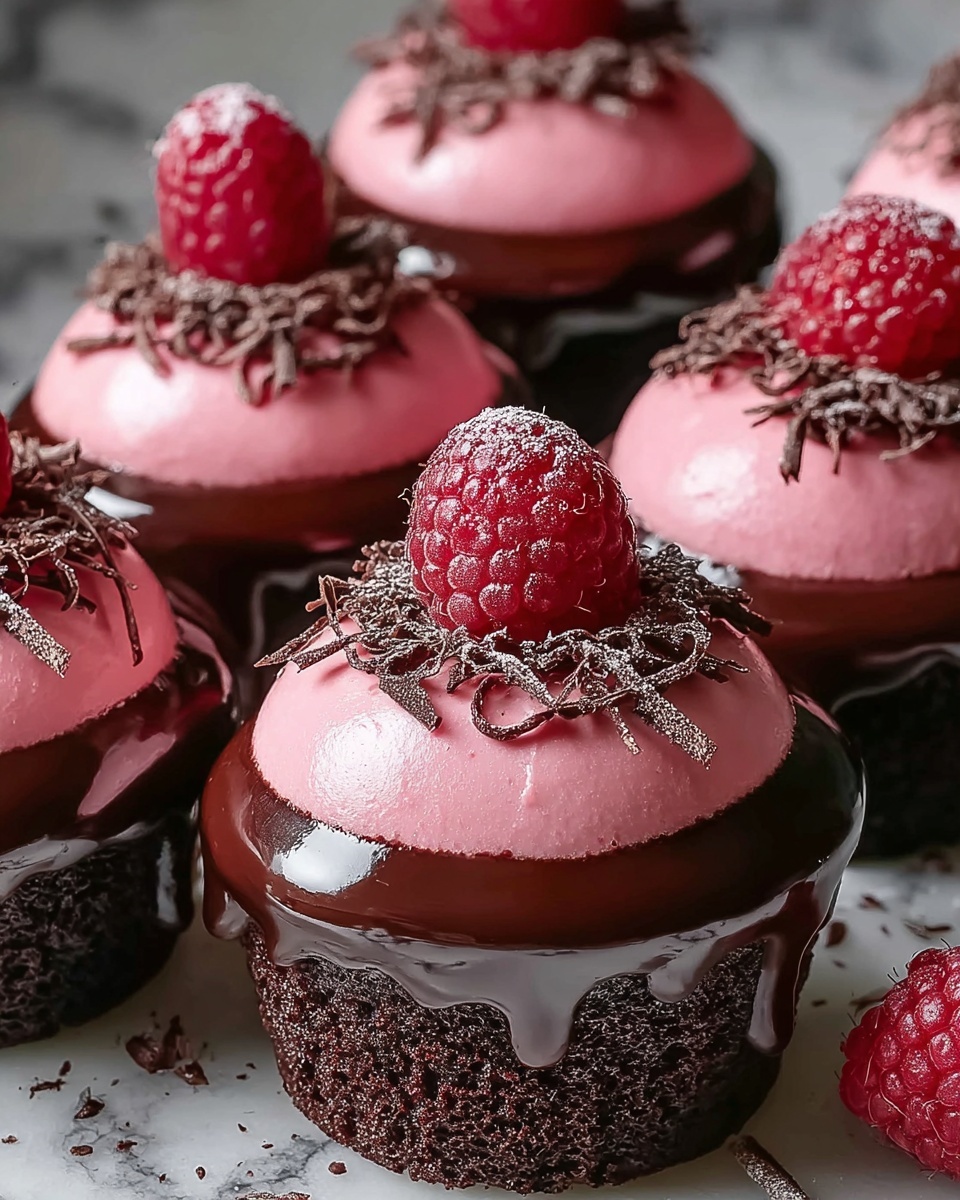
Now for the fun part—assembling your cups! Spoon a layer of the silky chocolate mousse into each serving cup, then add a layer of the sweetened mashed raspberries. Repeat to finish with a final layer of mousse on top, creating a beautiful interplay of colors and flavors.
Step 6: Chill
Cover your cups and pop them into the fridge for at least 1 to 2 hours. This resting time lets the mousse set perfectly while allowing the raspberry flavors to marry with the chocolate, resulting in a more balanced and luscious dessert experience.
Step 7: Garnish
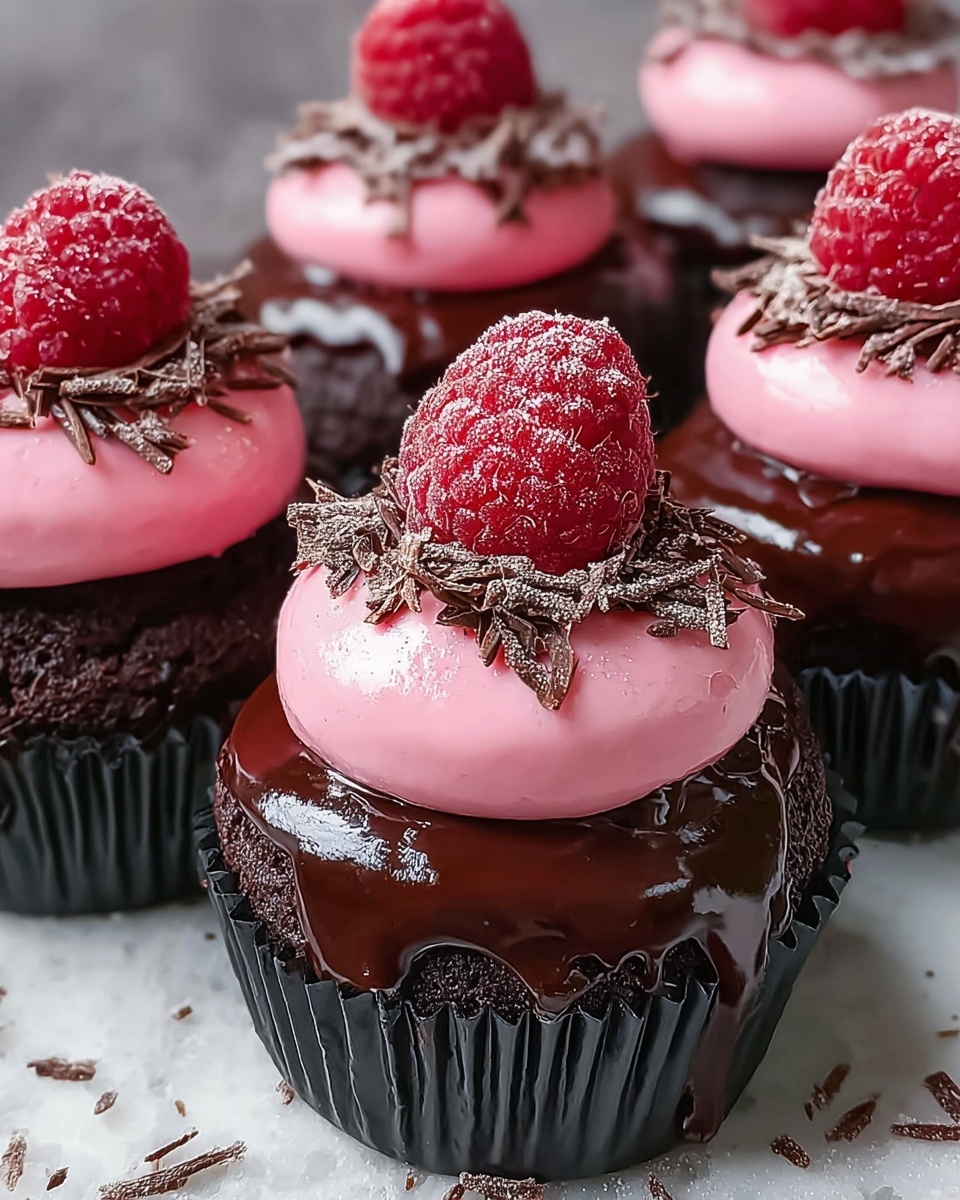
Just before serving, adorn each mousse cup with a handful of fresh raspberries and, if you like, a delicate dollop of whipped cream. These touches not only add visual appeal but give every bite a refreshing contrast of creamy, fruity, and chocolaty goodness.
How to Serve Marry Me No Bake Raspberry Chocolate Mousse Cups Recipe
Garnishes
Fresh raspberries and whipped cream are classic and stunning options, but you can also experiment with shaved chocolate curls, chopped nuts, or a light dusting of powdered sugar. Each garnish adds a little extra flair and texture that elevates the whole experience.
Side Dishes
Consider pairing these mousse cups with a crisp mint leaf or a scoop of vanilla ice cream to add a cooling counterpoint. Fresh fruit salad or a light, citrusy sorbet also complements the richness beautifully, rounding out your dessert spread with brightness and variety.
Creative Ways to Present
Try serving this dessert in elegant glass tumblers, mason jars, or even mini trifle bowls to make an impression. Using clear containers lets the beautiful layers shine through. For special occasions, adding edible flowers or layering with thin slices of sponge cake adds a sophisticated touch.
Make Ahead and Storage
Storing Leftovers
If you have leftovers, keep them in airtight containers in the fridge for up to 3 days. The mousse retains its texture wonderfully, so you won’t lose that creamy, light sensation. Just give it a gentle stir before serving to refresh the consistency.
Freezing
While freezing mousse cups is possible, the texture might change slightly upon thawing, becoming less airy. If you want to freeze, place them in airtight containers and consume within a month. Thaw slowly in the refrigerator for several hours before serving.
Reheating
This dessert is best enjoyed cold or at room temperature. Reheating is not recommended, as it will melt the mousse and alter the delightful contrast between the creamy chocolate and fresh raspberries.
FAQs
Can I use milk chocolate instead of dark chocolate?
Absolutely! Milk chocolate will make the mousse sweeter and creamier, but keep in mind that it might change the richness level. You may want to adjust the amount of sweetener depending on your chocolate choice.
What if I don’t have a hand mixer?
You can whip the cream by hand using a whisk—it just takes a bit more muscle and patience to reach those soft peaks, but it definitely works and offers a satisfying arm workout!
Can this recipe be made vegan?
To make it vegan, substitute the heavy cream for coconut cream and use dairy-free dark chocolate chips. Sweeteners like maple syrup work great here. The texture and taste will be wonderfully indulgent, just with a slight coconut hint.
How ripe should the raspberries be?
Choose bright, firm, and plump raspberries. Overripe berries might make the layers too watery, while underripe ones could add unnecessary tartness. Freshness matters here for the best contrast with the mousse.
Is it necessary to chill the mousse cups for 1-2 hours?
Yes, chilling is crucial to allow the mousse to set firmly and for the flavors to meld beautifully. If you skip this step, the layers may not hold their shape and the taste won’t be as harmonized.
Final Thoughts
There is something so magical about the Marry Me No Bake Raspberry Chocolate Mousse Cups Recipe that makes it perfect for any occasion, whether you’re impressing a date or simply treating yourself. It combines simplicity with sophistication, and the flavors will leave you daydreaming of the next time you make it. Give this recipe a try—you might just find it impossible to wait until dessert time again!
Print
Marry Me No Bake Raspberry Chocolate Mousse Cups Recipe
- Prep Time: 15 minutes
- Cook Time: 0 minutes
- Total Time: 1 hour 15 minutes (including chilling)
- Yield: 4 servings
- Category: Dessert
- Method: No-Cook
- Cuisine: American
- Diet: Gluten Free
Description
Delight in these elegant Marry Me No Bake Raspberry Chocolate Mousse Cups, a luscious and creamy dessert featuring rich dark chocolate mousse layered with sweetened fresh raspberries. Perfect for special occasions or a romantic treat, this no-bake recipe is quick to prepare and beautifully presented in individual serving cups.
Ingredients
Chocolate Mousse
- 1 cup heavy cream
- 1 cup dark chocolate chips
- 1 teaspoon vanilla extract
- 1 pinch of salt
Raspberry Layer
- 1 cup fresh raspberries (plus extra for garnish)
- 2 tablespoons sweetener (honey, maple syrup, or stevia)
For Serving
- 4 serving cups for presentation
Instructions
- Melt the Chocolate: In a microwave-safe bowl, melt the dark chocolate chips in 30-second increments, stirring well between each until smooth and fully melted. Allow the chocolate to cool slightly to room temperature to prevent melting the whipped cream when combined.
- Whip the Cream: In a clean bowl, use a hand mixer to whip the heavy cream until soft peaks form, creating a light and airy base for the mousse.
- Combine Ingredients: Gently fold the cooled chocolate into the whipped cream along with vanilla extract and a pinch of salt. Use a spatula to carefully combine the mixture to maintain its fluffy texture without deflating the cream.
- Prepare the Raspberries: Mash half of the fresh raspberries in a small bowl and mix them with your chosen sweetener until slightly chunky, balancing tartness with sweetness.
- Layer the Cups: Spoon a layer of chocolate mousse into each serving cup, followed by a layer of the mashed raspberry mixture. Repeat and finish with a final layer of chocolate mousse on top for a beautiful presentation.
- Chill: Cover the cups and refrigerate for at least 1 to 2 hours. This chilling time allows the mousse to set properly and helps the flavors meld together for a rich taste experience.
- Garnish: Just before serving, garnish each mousse cup with fresh raspberries and, if desired, add a dollop of whipped cream for an extra touch of elegance and creaminess.
Notes
- You can substitute the sweetener with your preference such as honey, maple syrup, or stevia to suit dietary needs.
- Ensure the chocolate is cooled before folding to prevent the cream from melting and losing volume.
- For a dairy-free version, try using coconut cream and dairy-free chocolate chips.
- These mousse cups are best served fresh after chilling but can be stored covered in the refrigerator for up to 2 days.
- Adjust sweetness in the raspberry layer according to the tartness of your berries and personal preference.
