
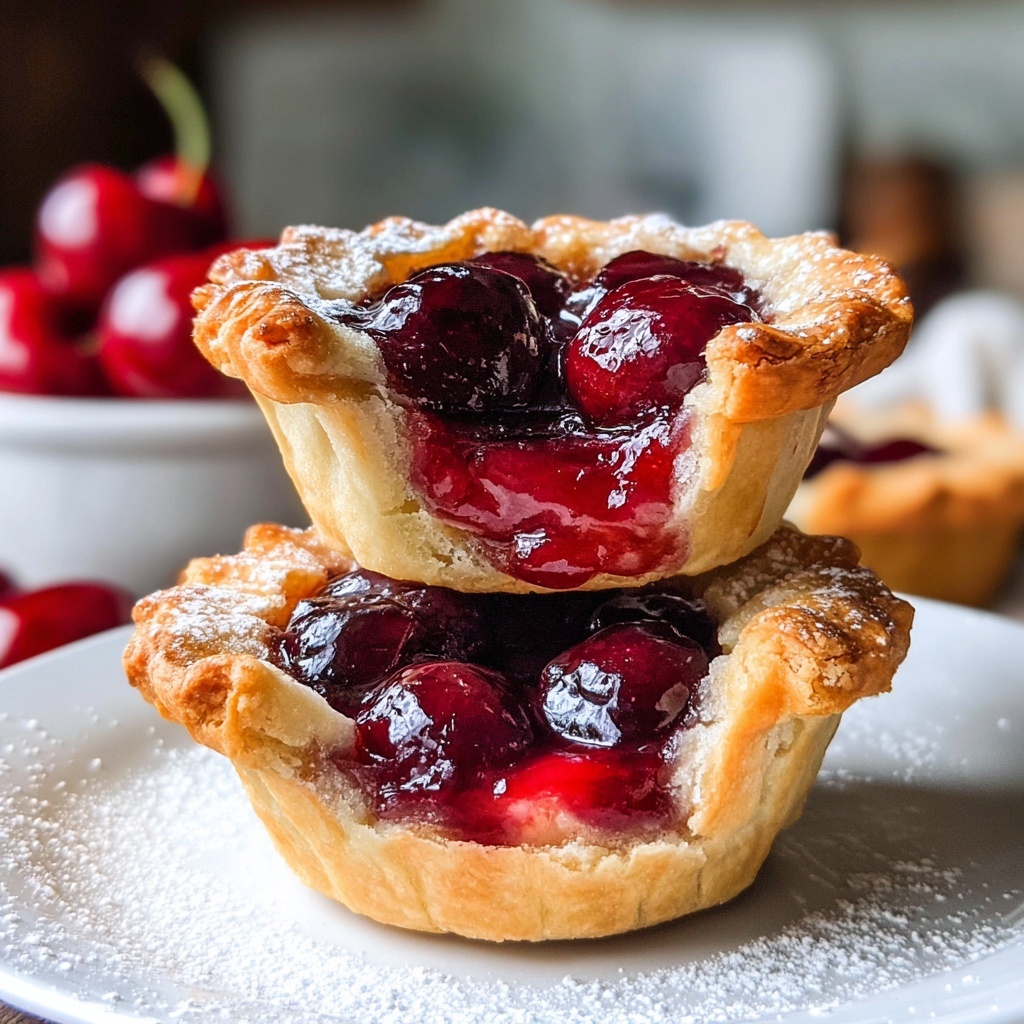
There is nothing quite as charming and delicious as a homemade Mini Cherry Pies Recipe. These delightful little pies capture the perfect balance of sweet and tart cherries wrapped in a golden, flaky crust that practically melts in your mouth. They are incredibly fun to make and share with loved ones, whether for a party, holiday gathering, or simply as a melt-in-your-mouth treat after dinner. Once you try this Mini Cherry Pies Recipe, you will find yourself reaching for them again and again, and it’s easy to see why they’re a beloved classic!
Ingredients You’ll Need
Gathering fresh, simple ingredients is the secret to why this Mini Cherry Pies Recipe tastes so vibrant and satisfying. Each item plays an essential role in creating the perfect texture, flavor, and appearance of these miniature delights.
- 2 cups fresh cherries (pitted and halved): Fresh cherries bring outstanding natural sweetness and a juicy burst in every bite.
- 1/2 cup granulated sugar: Adds just the right amount of sweetness to balance the tartness of the cherries.
- 2 tbsp cornstarch: A thickening agent that ensures the cherry filling is irresistibly luscious and not runny.
- 1 tbsp lemon juice: Brightens the flavor and helps balance sweetness with a touch of tang.
- 1 package (14 oz) pie crust (store-bought or homemade): A buttery, flaky crust forms the perfect vessel for your cherry filling.
- 1 egg (for egg wash): Brushing this over the pies gives them a beautiful, inviting golden shine once baked.
How to Make Mini Cherry Pies Recipe
Step 1: Prepare the Cherry Filling
Start by preheating your oven to 375°F (190°C) to have it ready for baking. In a medium bowl, combine the halved cherries, granulated sugar, cornstarch, and lemon juice. Let the mixture sit for about 10 minutes. This resting time allows the cherries to release their juices, and the cornstarch to begin thickening, which is key for a beautifully set filling.
Step 2: Cut Out the Pie Crust Circles
On a lightly floured surface, roll out your chilled pie crust dough to approximately 1/8-inch thickness. Using a round cutter or a glass roughly 4 inches in diameter, cut out circles. These will form the base and the top of your mini pies. Working with the dough while it’s cold ensures a flaky crust that bakes up crisp and tender.
Step 3: Assemble the Mini Cherry Pies
Place each dough circle into the cups of a muffin tin, gently pressing to form a little bowl. Spoon about 1 tablespoon of the cherry filling into each crust-lined cup. Next, top each with another dough circle and carefully crimp the edges to seal in the juicy filling. This step is essential to keep all the goodness inside and build that classic handheld pie look.
Step 4: Add Egg Wash and Vent the Tops
Brush the tops of your mini pies with the beaten egg. This simple brush creates a stunning golden-brown color and a subtle shine that makes the pies look irresistible. Don’t forget to cut small slits in the top crust—this allows steam to escape during baking, keeping the crust from getting soggy and the filling perfectly cooked.
Step 5: Bake Until Golden and Bubbly
Place the muffin tin in the preheated oven and bake for 20 to 25 minutes. You’ll know they’re done when the crust is beautifully golden brown and you see the cherry filling bubbling through the vents. Let the pies cool for a few minutes before removing them from the tins, so they hold their shape perfectly.
How to Serve Mini Cherry Pies Recipe
Garnishes
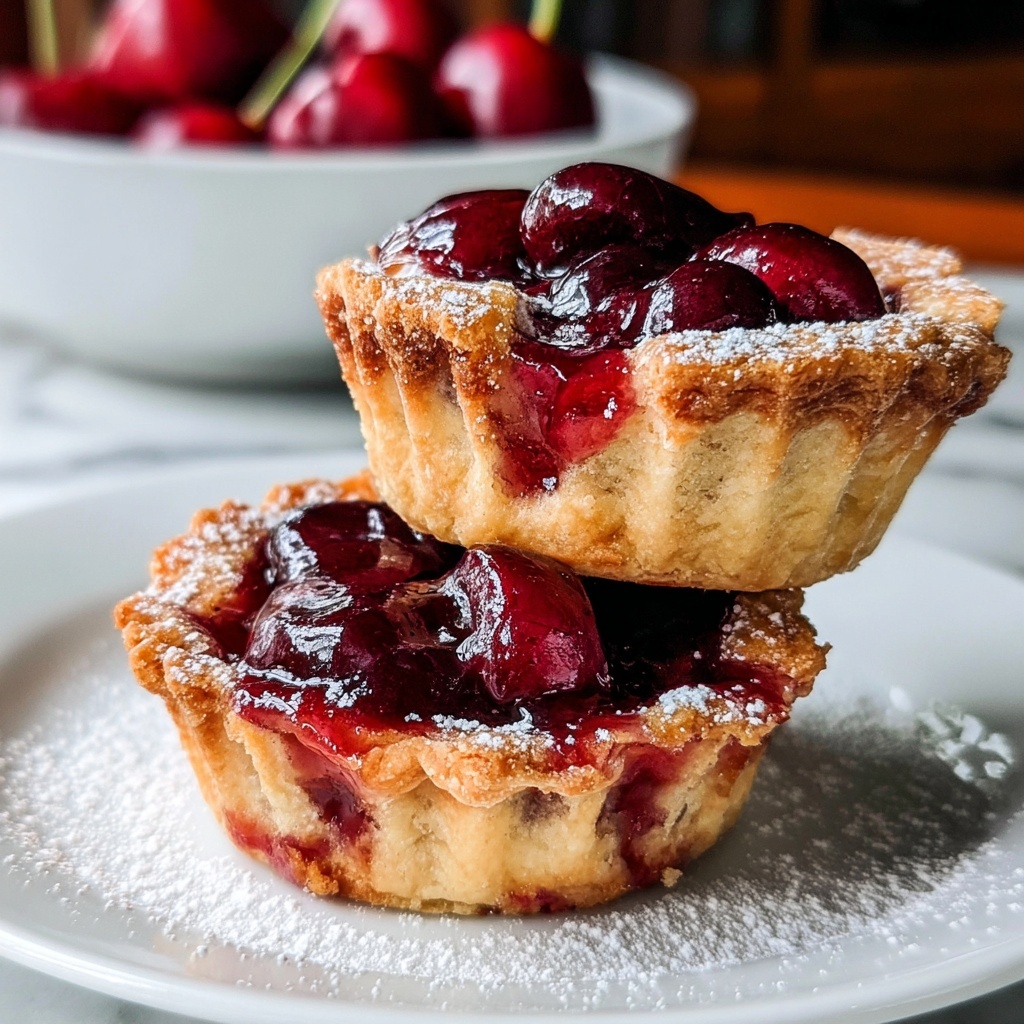
A scoop of vanilla ice cream or a dollop of freshly whipped cream pairs wonderfully with these mini pies, adding a creamy contrast to the tart cherry filling. You can also sprinkle powdered sugar or a touch of cinnamon on top for an extra special presentation and subtle spice.
Side Dishes
Serve these pies alongside a fresh green salad or a light cheese platter to turn them into part of a full dessert spread. Their sweet fruitiness complements a variety of savory dishes, making them an ideal ending to comfort meals or festive dinners.
Creative Ways to Present
Present your mini cherry pies in cute baskets lined with colorful napkins, or on rustic wooden boards for a charming picnic vibe. They are also perfect bite-sized treats to package individually in cellophane bags tied with ribbon—great for gifting or party favors that everyone will adore.
Make Ahead and Storage
Storing Leftovers
Once cooled completely, store your mini cherry pies in an airtight container in the refrigerator. They will stay fresh and delicious for up to 3 days, making it easy to enjoy them later without losing any of their charm or flavor.
Freezing
If you want to prepare these tasty treats in advance, freeze the unbaked assembled pies by placing the muffin tin in the freezer until solid. Then transfer them to a zip-top freezer bag, where they will keep for up to 2 months. Bake directly from frozen, adding a few extra minutes to the baking time.
Reheating
For best results when reheating, warm the pies in a 350°F oven for about 10 minutes. This method revives the crust’s crispiness and heats the filling evenly without making the crust soggy, unlike a microwave.
FAQs
Can I use frozen cherries instead of fresh?
Absolutely! Just make sure to thaw and drain them well to avoid excess liquid, which can make the crust soggy. Adjust cornstarch if needed to keep the filling thick.
Is it necessary to add lemon juice to the filling?
Yes, lemon juice adds brightness that balances the sweetness and enhances the cherries’ natural flavor. It also helps activate the thickening power of cornstarch.
Can I make my own pie crust for this recipe?
Definitely, homemade pie crust gives the best flavor and texture. Just roll it out to the recommended thickness and proceed as directed for a truly special touch.
What is the purpose of the egg wash?
Brushing the pies with egg wash before baking creates a beautiful golden color and a shiny finish, making your mini pies look as good as they taste.
How can I tell when the pies are fully baked?
Look for a golden-brown crust and bubbling cherry filling visible through the slits on top. The bubbling is a great sign that the filling has thickened and is perfectly cooked.
Final Thoughts
There is such joy in baking these Mini Cherry Pies Recipe from scratch—the aroma filling your kitchen and the delight of sharing these tender, fruit-filled pastries with friends and family is unmatched. I encourage you to give this recipe a try soon and savor every delicious bite of your very own tiny cherry masterpieces. Once you do, they’ll quickly become a treasured go-to dessert in your home.
Print
Mini Cherry Pies Recipe
- Prep Time: 15 minutes
- Cook Time: 25 minutes
- Total Time: 40 minutes
- Yield: 12 mini pies
- Category: Dessert
- Method: Baking
- Cuisine: American
Description
These Mini Cherry Pies are a delightful and easy-to-make dessert featuring a sweet and tart cherry filling encased in flaky pie crust. Perfectly portioned for individual servings, they’re ideal for parties, picnics, or a delightful treat any time of year.
Ingredients
Filling
- 2 cups fresh cherries, pitted and halved
- 1/2 cup granulated sugar
- 2 tbsp cornstarch
- 1 tbsp lemon juice
Crust and Topping
- 1 package (14 oz) pie crust (store-bought or homemade)
- 1 egg (for egg wash)
Instructions
- Preheat the oven: Preheat your oven to 375°F (190°C) to ensure it is fully heated before baking your mini pies.
- Prepare the cherry filling: In a mixing bowl, combine the halved cherries, granulated sugar, cornstarch, and lemon juice. Stir well and let the mixture sit for 10 minutes to allow the cherries to release their juices and the cornstarch to begin thickening.
- Roll out the pie crust: On a lightly floured surface, roll out the chilled pie crust dough to about 1/8 inch thickness. Using a 4-inch round cutter, cut out circles for the crust base.
- Assemble the pies: Place each dough circle into the cups of a muffin tin, pressing gently to fit. Spoon about 1 tablespoon of the cherry filling into each crust-lined cup. Top each with another dough circle and crimp the edges firmly to seal the pies.
- Apply egg wash and prepare for baking: Beat the egg and brush it over the tops of the pies to create a glossy golden finish once baked. Cut small slits in the top crusts to allow steam to escape during baking.
- Bake the mini pies: Bake in the preheated oven for 20-25 minutes or until the crusts are golden brown and the cherry filling is bubbly. Remove from oven and allow to cool slightly before serving.
Notes
- Make sure to use fresh, ripe cherries for the best flavor. Frozen cherries can be used but may release more water, affecting filling consistency.
- Chilling the pie crust before rolling can help prevent shrinkage and improve texture.
- To avoid sticky dough, lightly flour your work surface and rolling pin.
- The egg wash provides a beautiful golden color and shine but can be omitted for a more rustic look.
- These mini pies can be stored in an airtight container at room temperature for up to 2 days or refrigerated for up to 4 days.


