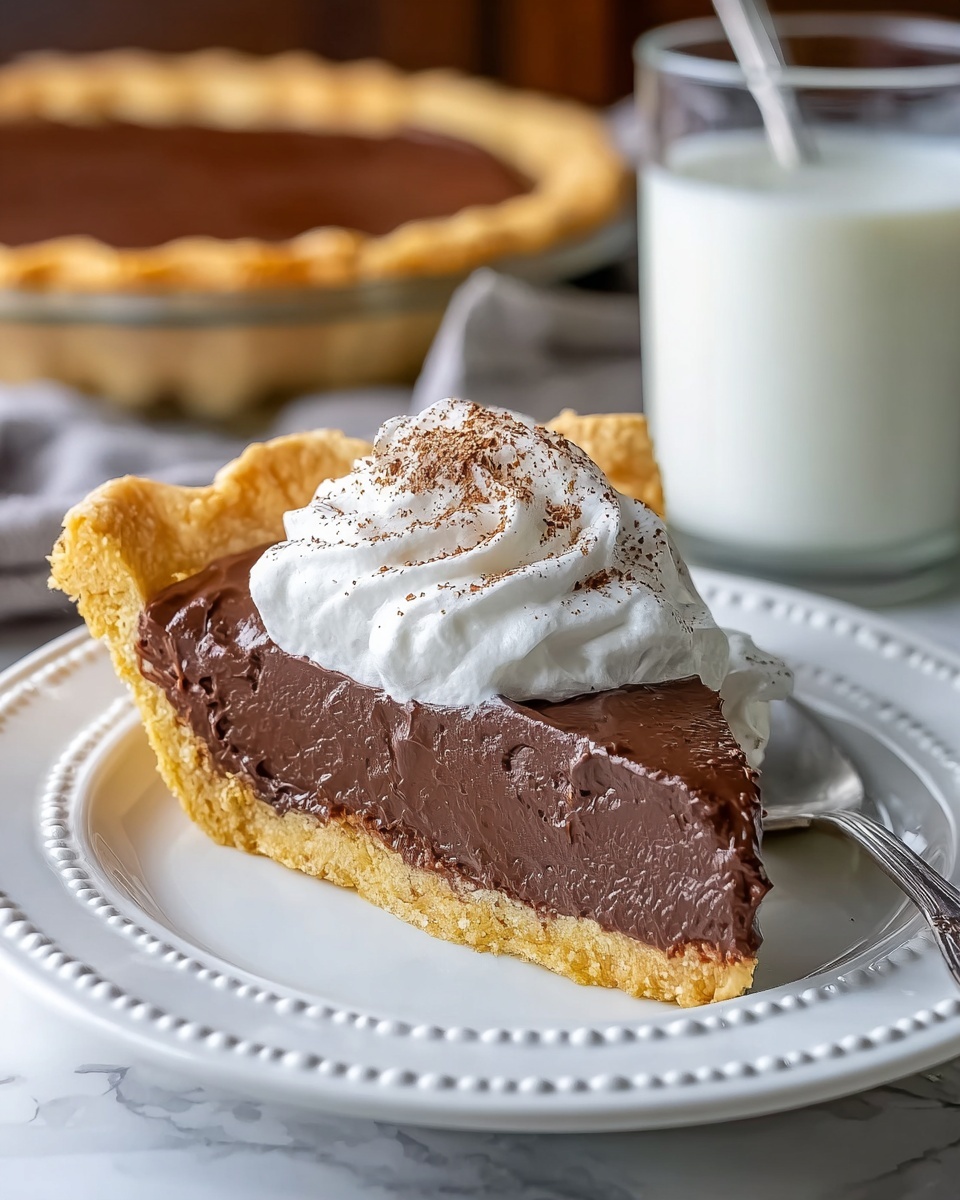
If you’ve ever craved a dessert that feels like a warm embrace on a chilly evening, then this Old-Fashioned Chocolate Pie: A Rich and Creamy Classic Dessert Recipe is about to become your new best friend. Packed with velvety chocolate filling nestled inside a flaky, buttery crust, this pie is a timeless treat that blends nostalgia and decadence in every bite. Whether you’re serving it for a comforting family dinner or a special occasion, this recipe promises a luscious, creamy texture paired with just the right amount of chocolatey goodness to satisfy every sweet tooth.
Ingredients You’ll Need
Creating the perfect Old-Fashioned Chocolate Pie really comes down to a handful of simple ingredients that work harmoniously to create something truly spectacular. Each component is essential, bringing its own unique touch to the pie’s taste, texture, and appearance.
- All-purpose flour: The foundation for a tender and crisp pie crust that holds all the delicious filling.
- Unsalted butter: Cold and cubed, it ensures a flaky crust, and its richness adds incredible flavor.
- Ice water: Helps bring the dough together without melting the butter, keeping that flaky texture intact.
- Salt: Enhances the flavors, balancing sweetness and enriching the chocolate notes.
- Sugar: Adds a subtle sweetness and helps tenderize the crust.
- Granulated sugar: Sweetens the luscious chocolate filling perfectly.
- Unsweetened cocoa powder: Provides deep, authentic chocolate flavor without extra sweetness.
- Cornstarch: Acts as the thickening agent for that silky, creamy texture in the filling.
- Whole milk: Creates a rich base that’s smooth and indulgent.
- Egg yolks: Give the filling richness and help it set beautifully.
- Unsalted butter (for filling): Adds a luscious, glossy finish to the pie filling.
- Vanilla extract: Brings a warm, aromatic depth that complements the chocolate.
- Ground cinnamon (optional): Introduces a gentle, spicy nuance to elevate the chocolate flavor.
- Heavy cream (for topping): Whipped into airy perfection to crown your pie with luxury.
- Powdered sugar: Sweetens the whipped cream, making it perfectly balanced and light.
How to Make Old-Fashioned Chocolate Pie: A Rich and Creamy Classic Dessert Recipe
Step 1: Prepare the Pie Crust
Start by mixing the flour, salt, and sugar (if you opt for it) in a large bowl. Cut in the cold, cubed butter using a pastry cutter or your fingers until the mixture resembles coarse crumbs. Slowly add ice water a tablespoon at a time until the dough just comes together. Avoid overworking the dough for a tender crust. Chill the dough in the refrigerator for at least 30 minutes, then roll it out and carefully line a 9-inch pie pan. This buttery crust is the perfect vessel to hold all the luscious chocolate filling that’s coming next.
Step 2: Make the Chocolate Filling
Combine the granulated sugar, cocoa powder, cornstarch, and salt in a saucepan. Gradually whisk in the whole milk until smooth. Cook this mixture over medium heat, stirring constantly, until it thickens enough to coat the back of a spoon. To prevent curdling, temper the egg yolks by slowly adding a small amount of the hot mixture to the yolks while whisking vigorously. Then, pour the tempered eggs back into the saucepan and cook until velvety and thick. Stir in butter, vanilla extract, and optional cinnamon to complete this silky filling that melts in your mouth.
Step 3: Bake and Chill the Pie
Pour the divine chocolate filling into your prepared pie crust, smoothing the top. Bake the pie at 350°F for about 30 minutes or until the filling is set but still slightly jiggly in the center. Once baked, let your pie cool completely on a wire rack before refrigerating it for at least three hours. This chilling step is crucial—it allows the filling to firm up perfectly and the flavors to meld beautifully, setting the stage for the next delicious step.
Step 4: Whip and Add the Topping
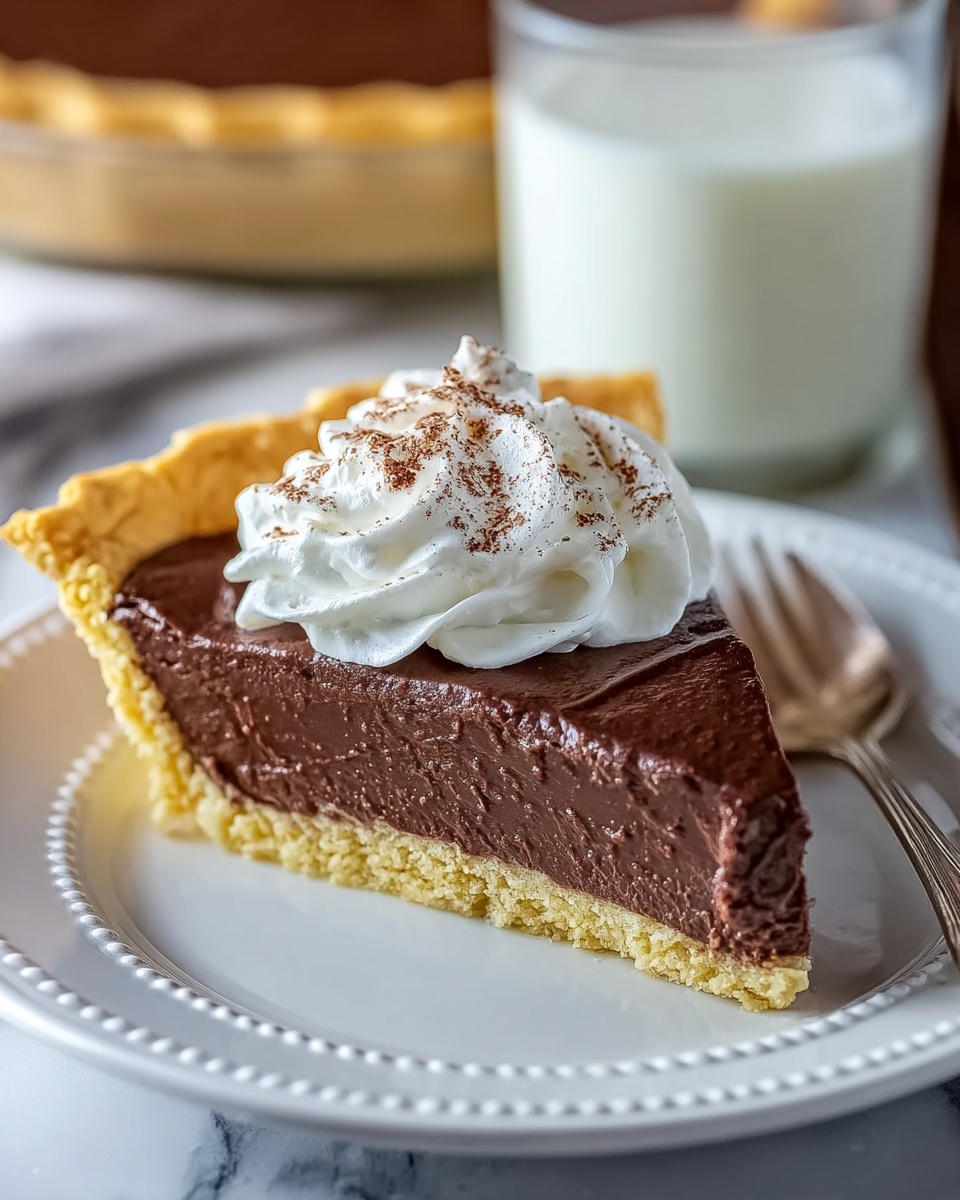
For the finishing touch, whip heavy cream with powdered sugar and vanilla extract until stiff peaks form. This fluffy topping not only adds a lovely contrast to the rich chocolate but also adds an elegant creaminess with every forkful. Spread it generously over your cooled pie just before serving, turning this classic dessert into a showstopper.
How to Serve Old-Fashioned Chocolate Pie: A Rich and Creamy Classic Dessert Recipe
Garnishes
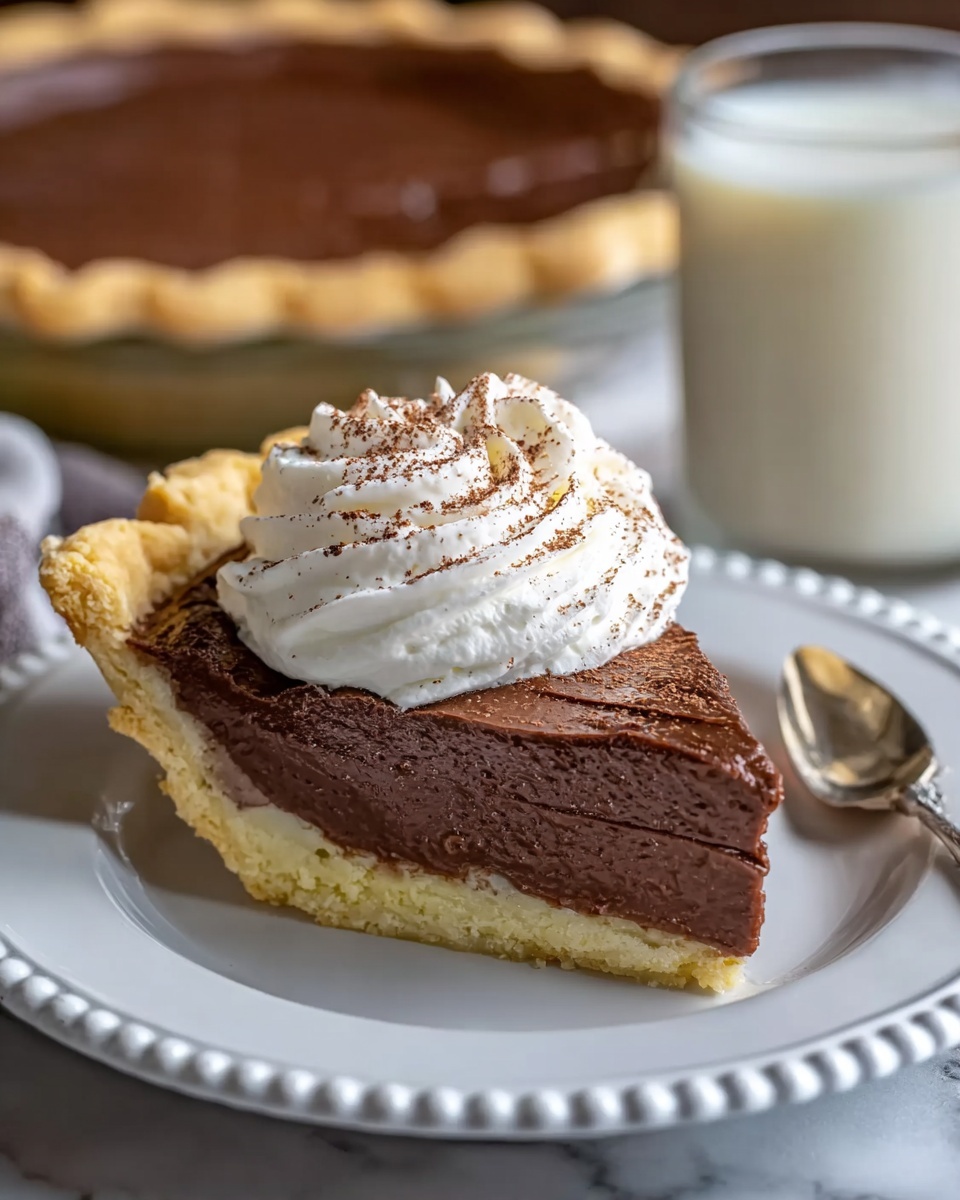
While the whipped cream topping is classic on its own, you can dress up your Old-Fashioned Chocolate Pie: A Rich and Creamy Classic Dessert Recipe with extra touches like chocolate shavings, a dusting of cocoa powder, or a few fresh raspberries for a burst of color and tartness. Toasted nuts such as pecans or walnuts can add a delightful crunch, making each bite an exciting flavor and texture experience.
Side Dishes
This rich pie pairs wonderfully with light, fresh accompaniments to cut through its sweetness. Consider serving it alongside a scoop of vanilla bean ice cream or a simple fruit salad featuring citrus or berries. For coffee lovers, a strong espresso or a creamy cappuccino beautifully balances the pie’s deep chocolate richness.
Creative Ways to Present
For an extra special celebration, serve individual mini versions of this pie in tart pans or ramekins. Add edible flowers or a drizzle of caramel or raspberry sauce for a stunning, personalized dessert plate. You can even offer a trio of toppings on the side—whipped cream, chocolate curls, and chopped nuts—so everyone can customize their slice of this irresistible classic.
Make Ahead and Storage
Storing Leftovers
After enjoying your pie, cover any leftovers tightly with plastic wrap or place them in an airtight container. Stored in the refrigerator, this pie will stay fresh for up to 3 days while preserving its luscious creaminess and flaky crust.
Freezing
If you want to enjoy your pie later, wrap it well in plastic wrap and then foil to prevent freezer burn. Freeze for up to 1 month. To thaw, place the pie in the refrigerator overnight to preserve its texture and flavor.
Reheating
This dessert is best enjoyed chilled or at room temperature as reheating can alter the silky texture of the filling. If you prefer, let the pie sit at room temperature for 15-20 minutes before serving to soften the crust slightly and release the chocolate aroma.
FAQs
Can I use a store-bought pie crust instead of making my own?
Absolutely! A good-quality store-bought crust can save time and will still provide a tasty, crisp base. Just be sure to prebake it as recommended to avoid a soggy bottom.
What type of chocolate is best for this pie?
This recipe uses unsweetened cocoa powder for a classic, rich chocolate flavor. However, if you prefer, you can experiment with Dutch-processed cocoa for a smoother, less acidic taste.
Can I make this pie dairy-free?
With some substitutions like coconut milk and dairy-free butter alternatives, you can adapt the recipe. Keep in mind the texture and flavor might differ slightly but still be delicious!
Why is it important to temper the egg yolks?
Tempering prevents the eggs from curdling by gradually bringing them up to temperature. This step ensures your filling is smooth and creamy without any lumps.
How long should I chill the pie before serving?
At least three hours in the refrigerator is ideal for the filling to set firmly while the flavors meld perfectly. Overnight chilling is even better if you can wait!
Final Thoughts
Making this Old-Fashioned Chocolate Pie: A Rich and Creamy Classic Dessert Recipe is like inviting a bit of tradition and warmth into your kitchen. Its simple ingredients and straightforward process result in a pie that feels like a loving hug filled with chocolatey goodness. I wholeheartedly encourage you to try this recipe—you’ll find it’s a dessert worth savoring time and time again, whether for a cozy night in or a festive gathering.
Print
Old-Fashioned Chocolate Pie: A Rich and Creamy Classic Dessert Recipe
- Prep Time: 15 minutes
- Cook Time: 30 minutes
- Total Time: 4 hours 45 minutes
- Yield: 8 servings
- Category: Dessert
- Method: Baking
- Cuisine: American
Description
This Old-Fashioned Chocolate Pie is a rich and creamy classic dessert featuring a tender homemade pie crust filled with a silky, chocolate custard. Baked to perfection and topped with a light whipped cream, it offers a nostalgic treat that’s perfect for any occasion.
Ingredients
For the Pie Crust:
- 1 1/4 cups all-purpose flour
- 1/2 cup unsalted butter, cold and cut into cubes
- 1/4 cup ice water
- 1/2 tsp salt
- 1 tbsp sugar (optional)
For the Chocolate Filling:
- 1/2 cup granulated sugar
- 1/4 cup unsweetened cocoa powder
- 1/4 cup cornstarch
- 1/8 tsp salt
- 2 3/4 cups whole milk
- 3 large egg yolks
- 2 tbsp unsalted butter
- 1 tsp vanilla extract
- 1/4 tsp ground cinnamon (optional)
For the Topping (Optional):
- 1 cup heavy cream
- 2 tbsp powdered sugar
- 1 tsp vanilla extract
Instructions
- Prepare the Pie Crust: In a mixing bowl, combine the flour, salt, and optional sugar. Cut in the cold, cubed butter using a pastry cutter or your fingers until the mixture resembles coarse crumbs. Gradually add the ice water, stirring until a dough forms. Shape the dough into a disk, wrap in plastic wrap, and chill for 30 minutes. After chilling, roll out the dough on a floured surface and fit it into a 9-inch pie pan.
- Make the Chocolate Filling: In a medium saucepan, whisk together the granulated sugar, cocoa powder, cornstarch, and salt. Gradually add the milk, whisking until smooth. Place the pan over medium heat and cook the mixture, stirring constantly, until it thickens and comes to a gentle boil. In a separate bowl, lightly beat the egg yolks. Temper the yolks by gradually adding a small amount of the hot milk mixture while whisking continuously, then return this mixture to the saucepan. Continue cooking for a few more minutes until thick and smooth. Remove from heat and stir in the butter, vanilla extract, and optional cinnamon until fully incorporated.
- Assemble and Bake: Pour the chocolate filling into the prepared pie crust, smoothing the top evenly. Bake in a preheated oven at 350°F (175°C) for 30 minutes, or until the filling is set and slightly puffed. Remove from the oven and allow the pie to cool completely on a wire rack. Then, refrigerate for at least 3 hours to fully set.
- Prepare Whipped Cream Topping: In a chilled mixing bowl, beat the heavy cream with powdered sugar and vanilla extract until stiff peaks form. Spread or pipe the whipped cream over the chilled pie just before serving for a beautifully creamy finish.
Notes
- The optional sugar in the crust adds a slight sweetness and enhances browning but can be omitted if preferred.
- Tempering the egg yolks is essential to prevent curdling and achieve a smooth custard.
- Be sure to fully chill the pie before adding whipped cream topping to ensure it stays firm.
- Ground cinnamon in the filling adds a subtle warm spice which can be left out if desired.
- For a gluten-free version, substitute the all-purpose flour with a gluten-free flour blend suitable for pastry.


