
“`html
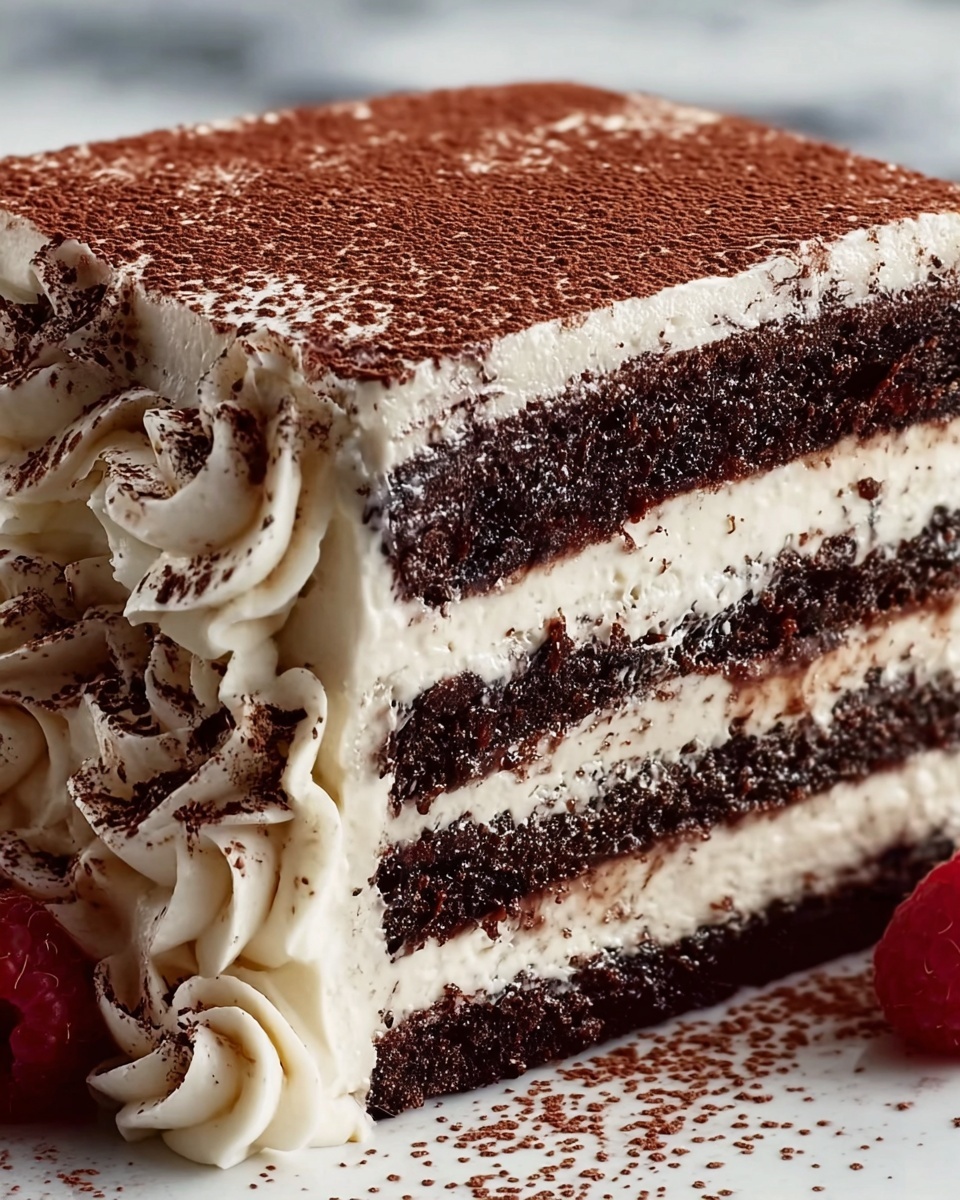
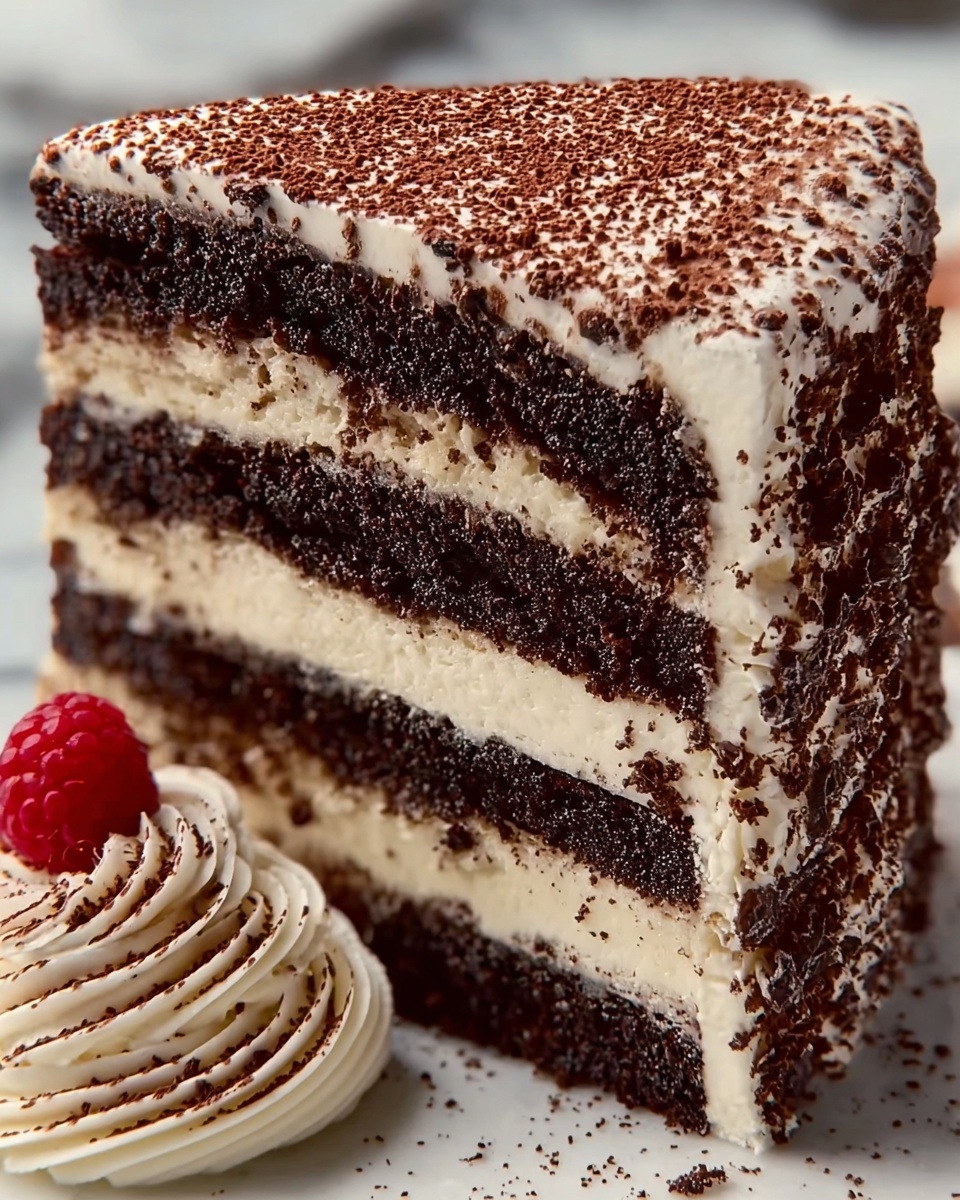
If you’re looking for a dessert that feels decadent yet comes together in a snap, this Quick Icebox Cake Recipe is your new best friend. Imagine layers of luscious whipped cream nestled between crisp chocolate wafer cookies, all melding into a dreamy, melt-in-your-mouth treat after some chill time in the fridge. It’s a perfect no-bake marvel that’s as impressive as it is easy, making it ideal for busy weeknights or last-minute get-togethers when you want to wow everyone without breaking a sweat.
Ingredients You’ll Need
The beauty of this Quick Icebox Cake Recipe lies in its simplicity. Each ingredient plays a vital role, contributing to the cake’s rich texture, subtle sweetness, and delightfully creamy finish. Here’s what you’ll gather to create this classic treat:
- 2 cups heavy whipping cream: This is the heart of the cake, providing the airy, velvety base that transforms the dessert into a cloud of creaminess.
- 1/4 cup powdered sugar: Adds just the right amount of sweetness without overpowering the natural richness of the cream.
- 1 teaspoon vanilla extract: A splash of warmth and depth that elevates the flavors to a whole new level.
- 1 box (about 9 ounces) chocolate wafer cookies or graham crackers: The signature layers that soften beautifully and add a tender crunch.
- 1/2 cup mini chocolate chips or shaved chocolate (optional): A finishing touch that brings in a little extra texture and chocolaty joy on top.
How to Make Quick Icebox Cake Recipe
Step 1: Whip the Cream
Start by whipping the heavy cream, powdered sugar, and vanilla extract together in a large mixing bowl until stiff peaks form. This step is key because the fluffy whipped cream creates the luscious layers that define the dessert’s irresistible texture.
Step 2: Layer the First Cookies
Spread a thin layer of your whipped cream on the bottom of a 9×9-inch dish to anchor the first layer of cookies. Then carefully arrange a single layer of chocolate wafer cookies or graham crackers. Getting this base right helps the rest of the layers stay neat and structured as the cake chills.
Step 3: Add Whipped Cream on Cookies
Spread a generous layer of the whipped cream over the cookies. This not only softens the cookies but also intersperses a creamy richness between each layer for that classic icebox cake experience.
Step 4: Repeat Layers
Continue alternating layers of cookies and whipped cream until you reach the top of your dish, making sure to finish with a thick layer of whipped cream. This final creamy crown makes the cake look inviting and luscious, just ready to be chilled.
Step 5: Chill and Set
Cover the dish and refrigerate for at least 4 hours or, even better, overnight. This patience pays off as the cookies soften and absorb some of the cream’s moisture, melding everything into a cohesive, dreamy dessert.
Step 6: Add the Finishing Touch
Right before serving, sprinkle the mini chocolate chips or shaved chocolate over the top for a little shimmer of texture and extra chocolate happiness.
How to Serve Quick Icebox Cake Recipe
Garnishes
Adding garnishes can turn this simple dessert into a showstopper. Fresh berries like strawberries or raspberries are fantastic for a fruity contrast, while a dusting of cocoa powder or a few mint leaves brings freshness and elegance to each slice.
Side Dishes
This Quick Icebox Cake Recipe pairs wonderfully with a light cup of coffee or a glass of chilled milk. If you want to get fancy, a scoop of vanilla bean ice cream on the side adds a creamy, cold complement that guests will love.
Creative Ways to Present
Try assembling your icebox cake in individual mason jars or clear glasses for single servings that look gorgeous. Another fun idea is to layer the cookies and whipped cream in a trifle bowl to show off the beautiful layers in a crowd-pleasing centerpiece.
Make Ahead and Storage
Storing Leftovers
Leftover cake can be kept in the refrigerator, covered tightly with plastic wrap or an airtight lid, for up to 3 days. The flavors continue to meld, and the texture remains delightfully creamy, making it just as delicious the next day.
Freezing
While you can freeze this icebox cake, be aware that the texture may change slightly, with whipped cream becoming a bit denser. If you choose to freeze it, wrap it securely in plastic and foil and thaw slowly in the fridge before serving.
Reheating
This dessert is best enjoyed cold, so reheating is not recommended. The cool temperature is essential to maintain the creamy texture and the softness of the cookies, which is the heart of the Quick Icebox Cake Recipe.
FAQs
Can I use regular chocolate chips instead of mini ones?
Absolutely! While mini chocolate chips blend nicely on top, regular-sized chips or even chopped chocolate work just fine. Just be mindful of distribution so every bite has a bit of chocolatey goodness.
Is it possible to make this cake dairy-free?
Yes, you can substitute the heavy whipping cream with a dairy-free alternative such as coconut cream, but whipping it to stiff peaks might take a bit more effort. Experimentation will help you find the perfect balance!
How long does the cake need to chill?
The cake needs at least 4 hours to soften the cookies properly, but for the best texture and flavor, overnight chilling is ideal. This allows the layers to meld beautifully into a smooth, creamy dessert.
Can I add fruit to the layers?
Definitely! Thinly sliced strawberries or bananas added between layers create a delightful fruity twist. Just be careful not to add too much moisture so the cookies don’t get soggy too quickly.
What’s the best type of cookie to use?
Traditional chocolate wafer cookies are classic for their thinness and texture, but graham crackers can be a wonderful substitute. Both soften nicely and complement the whipped cream perfectly in this Quick Icebox Cake Recipe.
Final Thoughts
This Quick Icebox Cake Recipe is a true celebration of simplicity and flavor, perfect for anyone who wants to enjoy a homemade dessert without fuss or oven time. It’s one of those recipes you’ll find yourself reaching for again and again, whether to delight guests or just treat yourself because you deserve it. So grab those ingredients, whip up some magic, and indulge in every creamy, chocolaty bite!
“`
Print
Quick Icebox Cake Recipe
- Prep Time: 15 minutes
- Cook Time: 0 minutes
- Total Time: 4 hours 15 minutes
- Yield: 8 servings
- Category: Dessert
- Method: No-Cook
- Cuisine: American
- Diet: Vegetarian
Description
This Quick Icebox Cake Recipe is a delightful no-bake dessert that layers chocolate wafer cookies with rich whipped cream. It’s simple to make, requires minimal ingredients, and is perfect for an easy yet indulgent treat. Allowing the cake to chill softens the cookies, melding the flavors into a creamy, luscious dessert topped with optional chocolate chips or shavings.
Ingredients
Whipped Cream Mixture
- 2 cups heavy whipping cream
- 1/4 cup powdered sugar
- 1 teaspoon vanilla extract
Layers
- 1 box (about 9 ounces) chocolate wafer cookies or graham crackers
Toppings (Optional)
- 1/2 cup mini chocolate chips or shaved chocolate
Instructions
- Prepare Whipped Cream: In a large mixing bowl, whip the heavy cream with the powdered sugar and vanilla extract until stiff peaks form, ensuring a thick, stable cream to hold the layers together.
- Anchor First Layer: Spread a thin layer of whipped cream on the bottom of a 9×9-inch dish to prevent the cookies from sliding and to anchor the base layer.
- Add Cookie Layer: Place a single layer of chocolate wafer cookies or graham crackers over the whipped cream, covering the entire bottom evenly.
- Layer Whipped Cream: Spread a layer of whipped cream over the cookie layer, making sure it’s evenly distributed to soften the cookies as the cake chills.
- Repeat Layers: Alternate layers of cookies and whipped cream, building up the cake. Finish with a thick layer of whipped cream on top to create a smooth surface for garnishes.
- Chill the Cake: Cover the dish and refrigerate for at least 4 hours or overnight. This chilling step is crucial as it softens the cookies and allows the flavors to meld beautifully.
- Add Toppings: Before serving, sprinkle mini chocolate chips or shaved chocolate on top if desired for added texture and flavor.
Notes
- For a fruity twist, add thinly sliced strawberries or bananas between layers.
- Try using chocolate or coffee-flavored whipped cream for a unique variation.


