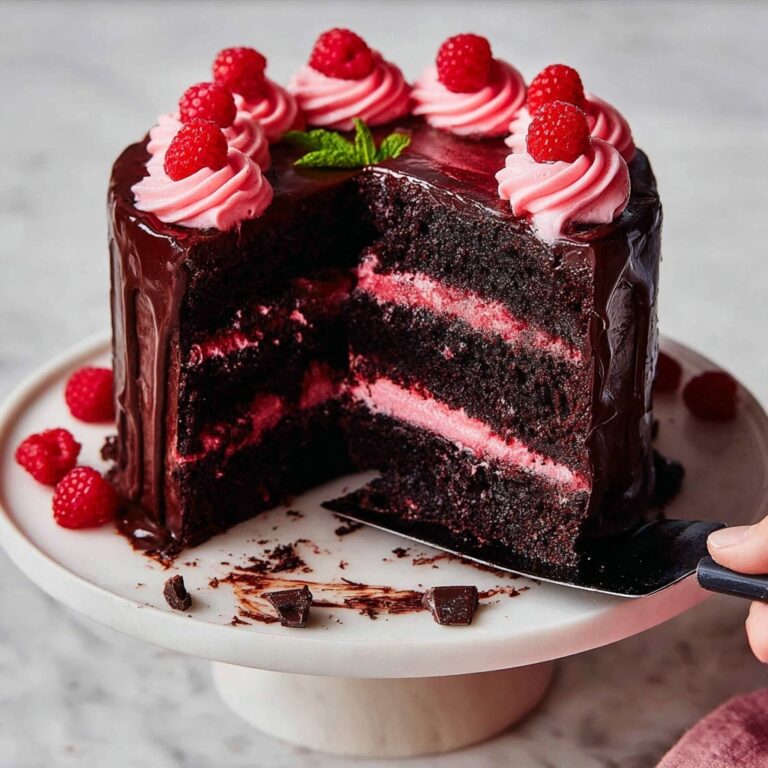
If you’ve been searching for a vibrant, luscious, and irresistibly tangy treat to elevate your desserts, this Raspberry Filling for Desserts Recipe is the absolute game-changer. Bursting with fresh raspberry flavor and boasting a silky, thick texture, this filling is the perfect marriage of sweet and tart. Whether you’re layering it in a cake, dolloping it over cheesecake, or spooning it into tarts, this recipe will quickly become your go-to for adding a dazzling berry punch. And the best part? It’s incredibly straightforward to make with simple ingredients that highlight the natural goodness of raspberries in every bite.
Ingredients You’ll Need
Gathering a handful of kitchen staples and fresh raspberries is all you need to create this incredible filling. Each ingredient plays a vital role—from sweetening and thickening, to enhancing the vibrant color and bright flavor.
- 6 cups fresh raspberries (about 3 pints) or thawed frozen raspberries: The star of the show, providing that gorgeous natural tartness and vibrant red color.
- 1 cup granulated sugar: Balances the tartness and sweetens the filling to perfection—feel free to adjust depending on your berry sweetness.
- 1/4 cup cornstarch: A crucial thickening agent that helps achieve that perfect syrupy consistency.
- 1/4 cup cold water: Used to mix with cornstarch to create a smooth slurry that prevents lumps.
- 1 tablespoon freshly squeezed lemon juice: Adds brightness and helps the raspberry flavor pop.
- 1/2 teaspoon vanilla extract (optional but recommended): Introduces a subtle warmth and depth to the filling.
- Pinch of salt: Enhances all the flavors and balances the sweetness beautifully.
How to Make Raspberry Filling for Desserts Recipe
Step 1: Rinse the Raspberries
Begin by gently rinsing your fresh raspberries under cold water. If you’re using frozen berries, make sure they are fully thawed and drain off any excess juice. This ensures your filling starts fresh and free of unwanted moisture.
Step 2: Combine Raspberries and Sugar
Next, toss your raspberries and granulated sugar into a medium saucepan. Give them a gentle stir to coat the berries evenly in sugar; this natural sweetener helps draw out the juices during cooking.
Step 3: Simmer the Mixture
Place the pan over medium heat and watch as the berries slowly begin to soften and meld with the sugar. Stir occasionally to keep everything moving without breaking down the raspberries too much just yet.
Step 4: Cook Down the Berries
Allow the mixture to simmer for about 8 to 10 minutes. This time lets the raspberries release their juice and soften thoroughly, creating a luscious base for your filling. Keep stirring frequently so nothing sticks or burns on the bottom.
Step 5: Smash Some of the Berries (Optional)
If you prefer a smoother filling texture, now’s a great moment to gently mash some of the berries against the side of the pot with a potato masher or the back of a spoon. It’s a perfect way to strike a balance between whole berries and creamy sauce.
Step 6: Whisk Cornstarch and Water
While the raspberries are cooking, whisk together cornstarch and cold water in a small bowl until smooth. This slurry will thicken your filling without lumps.
Step 7: Slowly Add Slurry to Raspberry Mixture
Pour the cornstarch slurry slowly into the warm raspberry mixture, stirring constantly. This slow addition avoids clumps and ensures a silky finish.
Step 8: Stir Constantly
Keep the stirring going steadily as the mixture begins to thicken; it will soon transform into that glossy, thick filling you crave.
Step 9: Simmer and Thicken
Continue simmering the filling over medium heat for 2 to 3 minutes, stirring constantly. This step gives the cornstarch time to activate and reach the ideal consistency to coat the back of a spoon.
Step 10: Remove from Heat
Once thickened, remove the saucepan from heat to prevent overcooking.
Step 11: Add Lemon Juice and Vanilla Extract
Stir in the freshly squeezed lemon juice and the optional vanilla extract. These subtle but powerful flavor boosters lift the filling into something truly delightful.
Step 12: Add a Pinch of Salt
Add a small pinch of salt to balance the sweetness and enhance the overall taste complexities.
Step 13: Taste and Adjust
Give your raspberry filling a final taste test. If it feels too tart, add a bit more sugar, or a little more lemon juice if you want extra brightness. This recipe is flexible and forgiving.
Step 14: Cool Slightly
Allow the filling to cool slightly before using it in your dessert. As it cools, it will thicken more, giving you that perfect spreadable texture.
How to Serve Raspberry Filling for Desserts Recipe
Garnishes
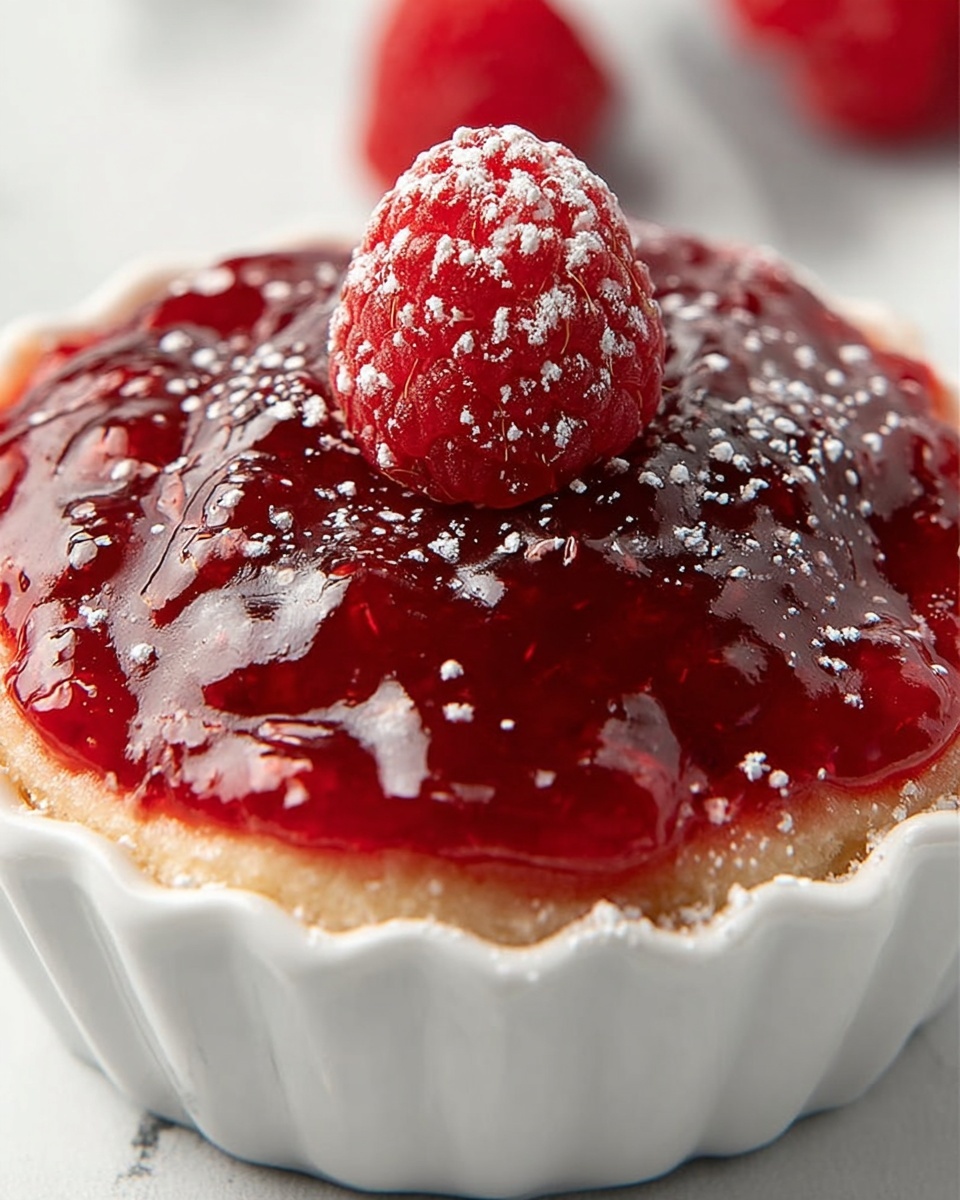
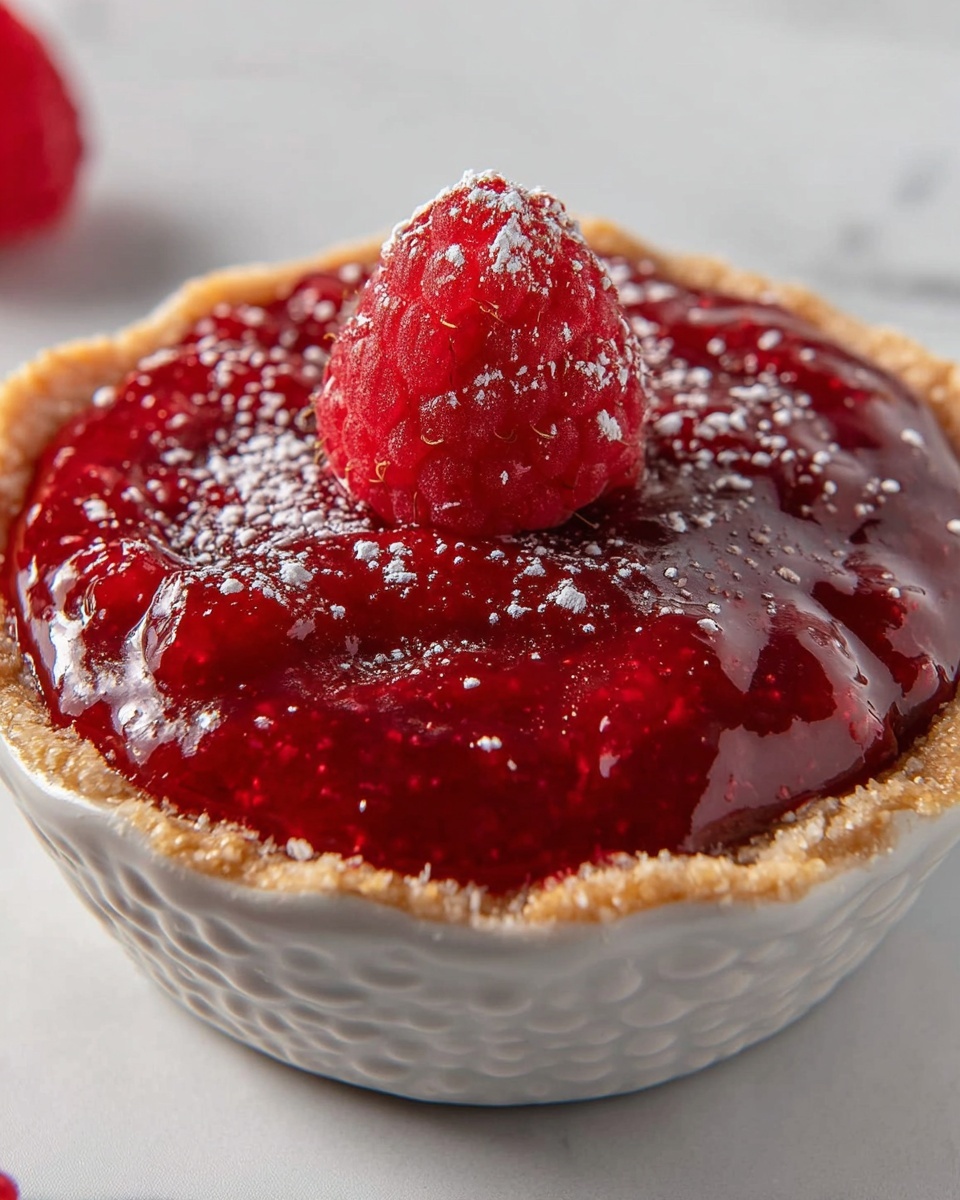
A sprinkle of fresh raspberries on top adds a beautiful natural touch, while a light dusting of powdered sugar or finely chopped mint leaves can elevate the presentation and add subtle complementary flavors. Whipped cream pairs wonderfully for that extra indulgence.
Side Dishes
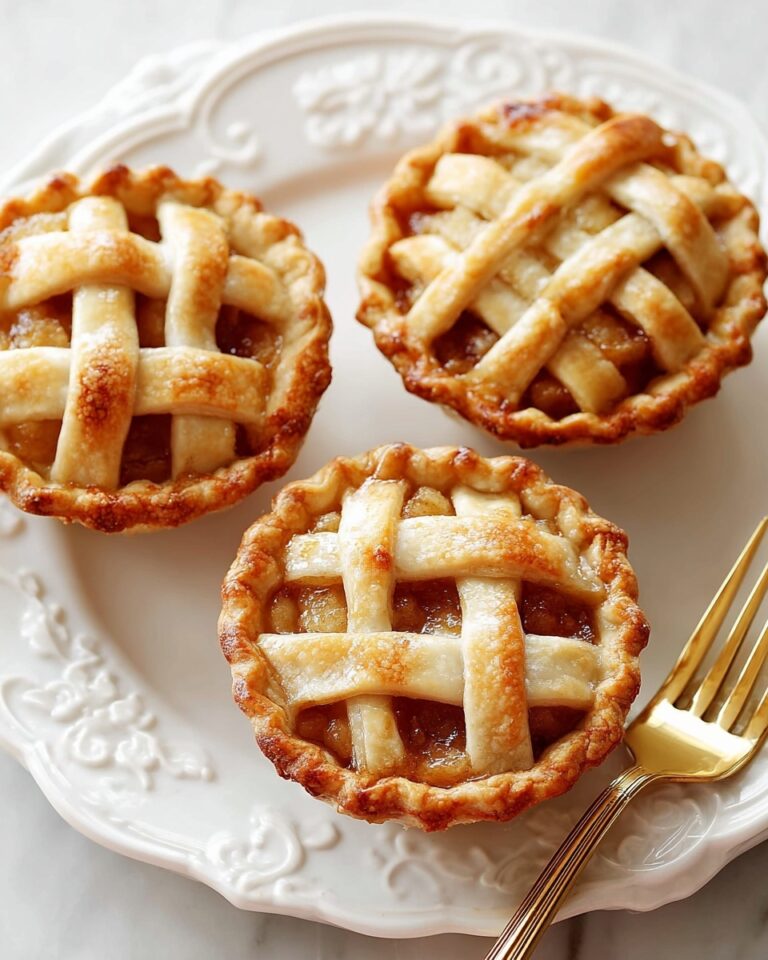
This raspberry filling is heavenly alongside light sponge cakes, buttery shortbread cookies, or creamy vanilla ice cream. It can also brighten up a breakfast dish like pancakes or waffles when used as a topping.
Creative Ways to Present
Get playful by swirling the filling into Greek yogurt or folding it into cheesecake batter before baking. You can also layer it between puff pastry sheets for a stunning raspberry-filled Danish or use it as a filling in homemade chocolate truffles.
Make Ahead and Storage
Storing Leftovers
Transfer any leftover raspberry filling into an airtight container and store it in the refrigerator. It keeps beautifully for up to one week, making it a handy ready-to-use treat for your next dessert craving.
Freezing
You can freeze this raspberry filling for up to three months. Be sure to leave some headspace in your container, as it may expand slightly. Thaw overnight in the fridge before use to maintain its texture and flavor.
Reheating
To warm the filling, gently heat it in a small saucepan over low heat, stirring continuously to prevent scorching. If it seems too thick after reheating, stir in a splash of water or juice to loosen it back up without sacrificing flavor.
FAQs
Can I use frozen raspberries instead of fresh?
Absolutely! Frozen raspberries work wonderfully for this recipe as long as you fully thaw and drain the excess liquid before cooking. The flavor won’t disappoint.
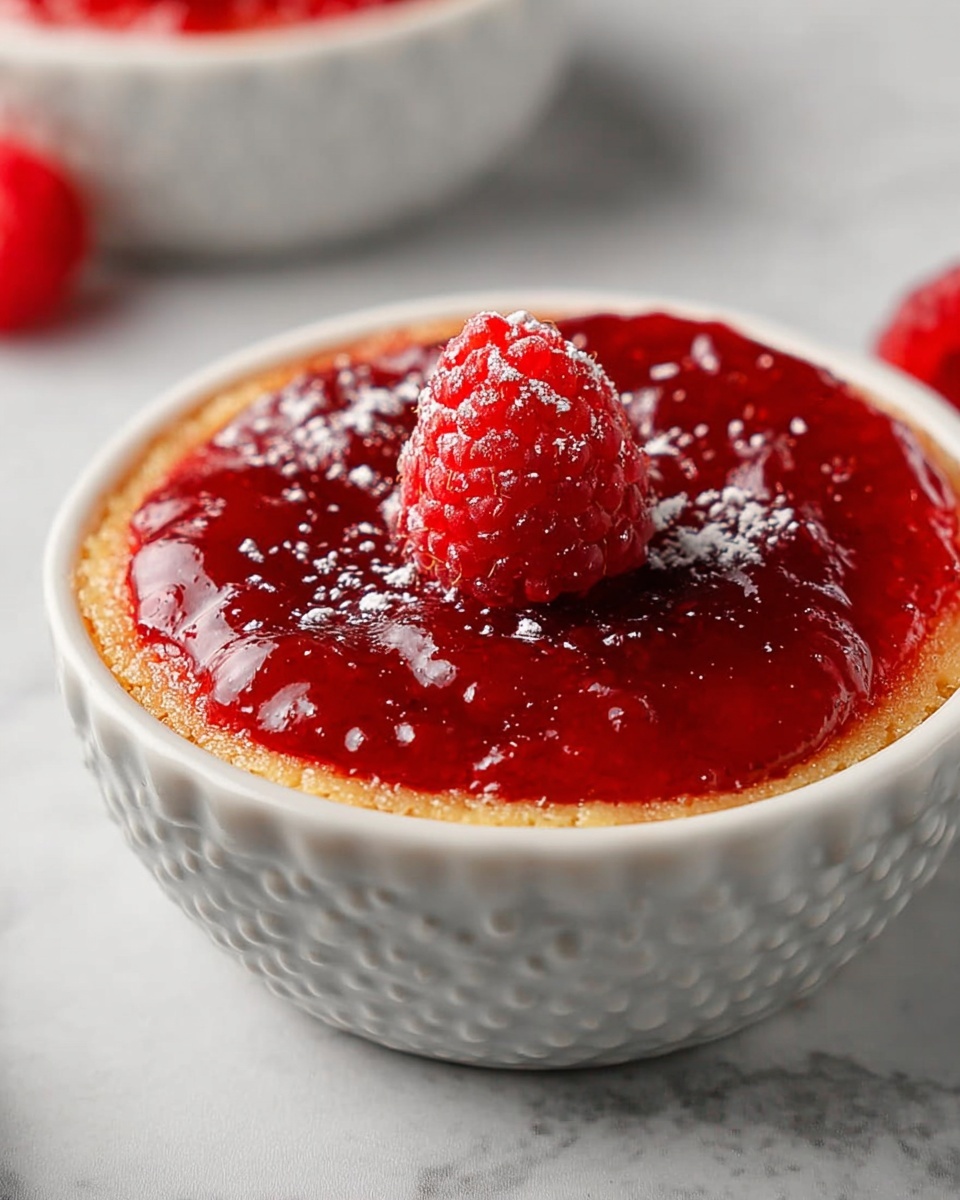
Is this raspberry filling suitable for tarts?
Definitely. The thick yet spoonable texture makes it perfect for tart fillings, ensuring it holds up well without becoming too runny.
Can I omit the vanilla extract?
Of course! Vanilla extract is optional but highly recommended for a hint of warmth and depth. If you don’t have it on hand, the filling will still taste fantastic.
How long does it take for the filling to thicken?
Once you add the cornstarch slurry, it usually takes about 2 to 3 minutes of simmering while stirring constantly to reach that ideal thick and glossy consistency.
Can I make this filling sugar-free?
Yes. You can substitute the sugar with alternatives like honey or maple syrup, but keep in mind that this might slightly alter the texture and flavor balance of the filling.
Final Thoughts
This Raspberry Filling for Desserts Recipe is an absolute treasure to have in your culinary repertoire. Its incredible ease, paired with the vibrant, fresh flavor, makes it indispensable for any berry lover. I hope you give it a try and find yourself reaching for it whenever a little fruity magic is needed in your kitchen. Delicious desserts are just a spoonful away!
Print
Raspberry Filling for Desserts Recipe
- Prep Time: 5 minutes
- Cook Time: 15 minutes
- Total Time: 20 minutes
- Yield: 3 cups
- Category: Dessert Filling
- Method: Stovetop
- Cuisine: American
Description
This Raspberry Filling for Desserts is a luscious, homemade fruit topping perfect for pies, tarts, cheesecakes, and more. Made with fresh or thawed raspberries, sugar, and a silky cornstarch thickener, this sweet and tangy filling is enhanced with fresh lemon juice and vanilla extract for depth of flavor. It cooks quickly on the stovetop, thickening to a smooth, glossy consistency that’s easy to use in a variety of desserts.
Ingredients
Fruits
- 6 cups fresh raspberries (about 3 pints), or frozen raspberries (thawed)
Sweeteners and Thickeners
- 1 cup granulated sugar, adjust to taste depending on the sweetness of the berries
- 1/4 cup cornstarch
- 1/4 cup cold water
Flavorings
- 1 tablespoon lemon juice, freshly squeezed
- 1/2 teaspoon vanilla extract (optional, but highly recommended)
- Pinch of salt
Instructions
- Rinse the Raspberries: Gently rinse the fresh raspberries under cold water. If using frozen raspberries, ensure they are fully thawed and drain any excess liquid.
- Combine Raspberries and Sugar: In a medium-sized saucepan, combine the raspberries and granulated sugar. Stir gently to coat the raspberries evenly with the sugar.
- Simmer the Mixture: Place the saucepan over medium heat. Bring the raspberry and sugar mixture to a gentle simmer, stirring occasionally.
- Cook Down the Berries: Continue to simmer the mixture for about 8-10 minutes, or until the raspberries have softened and released a significant amount of juice. Stir frequently to prevent sticking.
- Smash Some of the Berries (Optional): For a smoother filling, use a potato masher or the back of a spoon to gently smash some of the raspberries against the side of the saucepan.
- Whisk Cornstarch and Water: In a small bowl, whisk together the cornstarch and cold water until smooth.
- Slowly Add Slurry to Raspberry Mixture: Once the raspberry mixture has simmered and thickened slightly, slowly pour the cornstarch slurry into the saucepan while continuously stirring.
- Stir Constantly: Continue to stir the mixture constantly as you add the cornstarch slurry.
- Simmer and Thicken: After adding the cornstarch slurry, continue to simmer the raspberry filling over medium heat, stirring constantly.
- Cook Until Desired Consistency: Cook the filling for about 2-3 minutes, or until it reaches your desired consistency. The filling should be thick enough to coat the back of a spoon.
- Remove from Heat: Once the filling has reached the desired consistency, remove the saucepan from the heat.
- Add Lemon Juice and Vanilla Extract: Stir in the lemon juice and vanilla extract (if using).
- Add a Pinch of Salt: Add a pinch of salt to balance the sweetness and enhance the other flavors.
- Taste and Adjust: Taste the filling and adjust the sweetness or tartness as needed.
- Cool Slightly: Allow the raspberry filling to cool slightly before using it in your dessert. As it cools, it will thicken further.
Notes
- Use fresh or properly thawed frozen raspberries for best results.
- Adjust sugar quantity based on the natural sweetness or tartness of your berries.
- For a chunkier texture, avoid smashing the berries too much.
- Ensure constant stirring after adding the cornstarch slurry to prevent clumping and burning.
- The filling thickens more as it cools, so don’t overcook it.
- This filling can be refrigerated for up to 5 days or frozen for longer storage.


