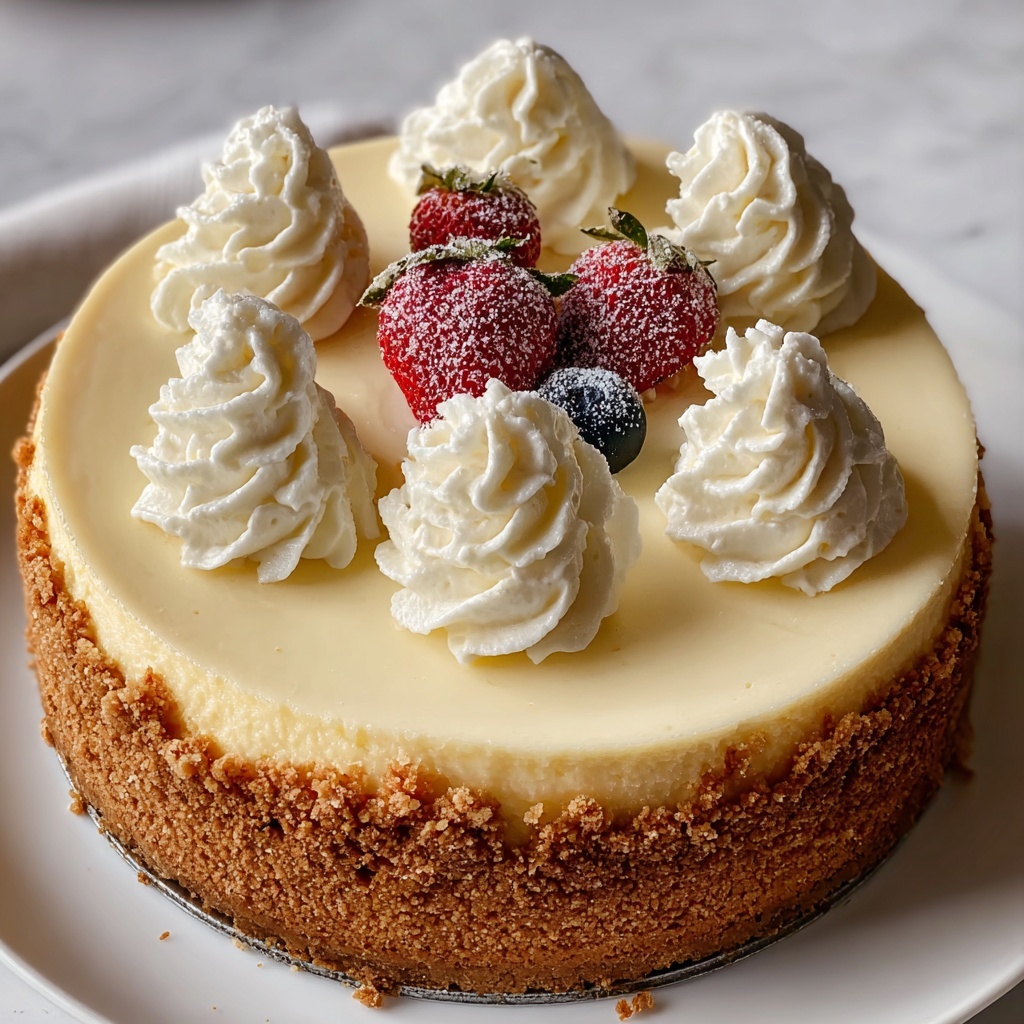
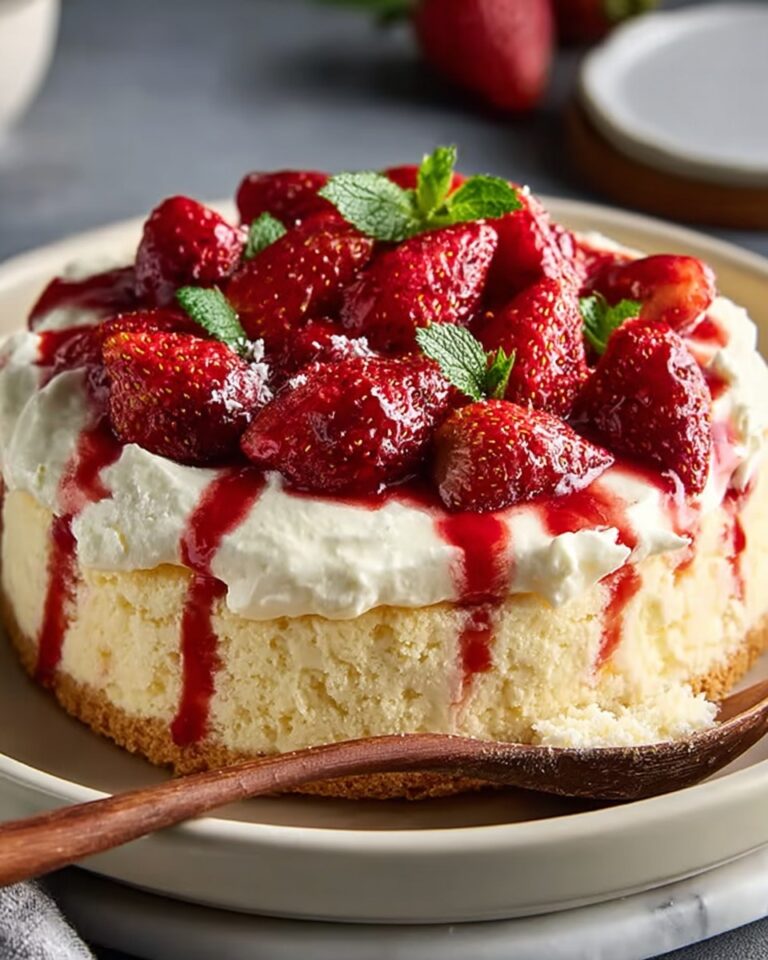
If you’re craving a dessert that’s both indulgent and elegant, the Vanilla Bean Butter Cheesecake Recipe is sure to become your new favorite treat. This cheesecake boasts a luxuriously creamy texture enriched with real vanilla bean seeds, all nestled on a buttery, crisp graham cracker crust. Every bite delivers a perfect balance of sweetness and smoothness, making it a show-stopper for any occasion, whether it’s a cozy family dinner or a festive celebration with friends.
Ingredients You’ll Need
The magic of this cheesecake lies in a handful of simple, high-quality ingredients that come together beautifully. Each ingredient plays a key role—from the crunchy, buttery crust to the silky cheesecake filling infused with pure vanilla bean flavor.
- Graham cracker crumbs: Forms the crisp, flavorful base that holds all that cheesecake goodness.
- Unsalted butter, melted: Adds richness and helps bind the crust together perfectly.
- Granulated sugar: Balances sweetness in both the crust and the creamy filling.
- Cream cheese, softened: The star player for that smooth, velvety texture you expect in a classic cheesecake.
- Vanilla bean, seeds scraped: Delivers an authentic, fragrant vanilla aroma and speckled look that’s downright beautiful.
- Vanilla extract: Enhances the vanilla flavor for deeper complexity.
- Large eggs: Provide structure and help the cheesecake set just right without cracking.
- Sour cream: Adds a subtle tang and creaminess that elevates the texture.
- All-purpose flour: Helps stabilize the batter for a perfect, smooth finish.
- Optional fresh berries or whipped cream: For garnishing with a fresh, light contrast.
How to Make Vanilla Bean Butter Cheesecake Recipe
Step 1: Prepare Your Equipment and Oven
Start by preheating your oven to 325°F (163°C). This moderate temperature is key for gentle baking, ensuring your cheesecake sets beautifully without cracking. Wrap a 9-inch springform pan with aluminum foil up the sides to protect it from water during the water bath process, a trick that keeps the cake moist and smooth.
Step 2: Make the Graham Cracker Crust
Combine the graham cracker crumbs, melted butter, and a portion of sugar in a bowl until the crumbs are nicely coated and hold together when pressed. Press this mixture firmly into the bottom of your prepared pan, creating an even and compact crust. This buttery base will give your cheesecake that delightful crunch in every bite.
Step 3: Whip the Cream Cheese and Sugar
In a large bowl, beat softened cream cheese with sugar at medium speed until the mixture is completely smooth and creamy. This step is essential for avoiding any lumps and ensuring a silky final texture that melts in your mouth.
Step 4: Add the Vanilla Bean and Extract
Scrape the tiny seeds from the vanilla bean and stir them into the cream cheese mixture along with the vanilla extract. This infusion is what elevates the flavor profile, giving the cheesecake its signature fragrant, natural vanilla essence.
Step 5: Incorporate the Eggs One at a Time
Add the eggs individually, mixing well after each addition. This gradual incorporation keeps the batter smooth and prevents overmixing, which can cause cracks during baking.
Step 6: Fold in Sour Cream and Flour
Carefully blend in the sour cream and flour until just combined. This mixture adds creaminess and a slight tang while the flour helps the cheesecake hold its shape flawlessly.
Step 7: Pour Batter over Crust
Pour the luscious cheesecake batter evenly over your prepared crust. Making sure the batter is smooth and level now sets the stage for that beautiful, uniform appearance after baking.
Step 8: Set Up a Water Bath
Place your springform pan inside a larger baking dish and pour about an inch of hot water into the outer dish. This gentle steam bath controls the baking temperature, resulting in a creamy, crack-free cheesecake.
Step 9: Bake to Perfection
Bake the cheesecake for 1 hour, or until the center is set but still slightly jiggly, and the top is a soft golden color. This timing ensures a luscious texture that isn’t too dense or dry.
Step 10: Cool Slowly in the Oven
Turn off your oven, crack the door open slightly, and let the cheesecake cool inside for about 1 hour. Slow cooling prevents rapid temperature changes that can cause unsightly cracks.
Step 11: Cool Completely and Chill
Remove your cheesecake from the oven and water bath, then allow it to cool completely at room temperature. Once cooled, refrigerate for at least 4 hours or overnight to let the flavors marry and the texture fully set.
Step 12: Release and Garnish
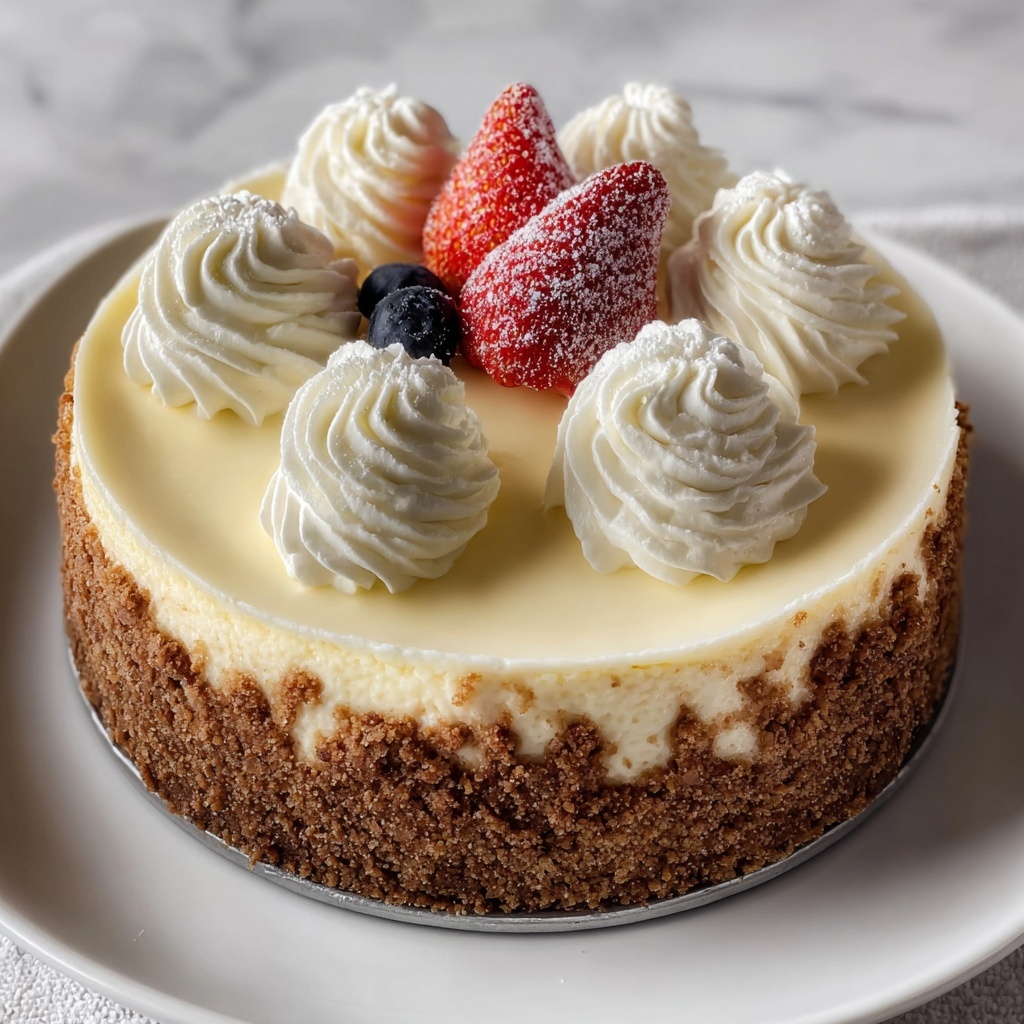
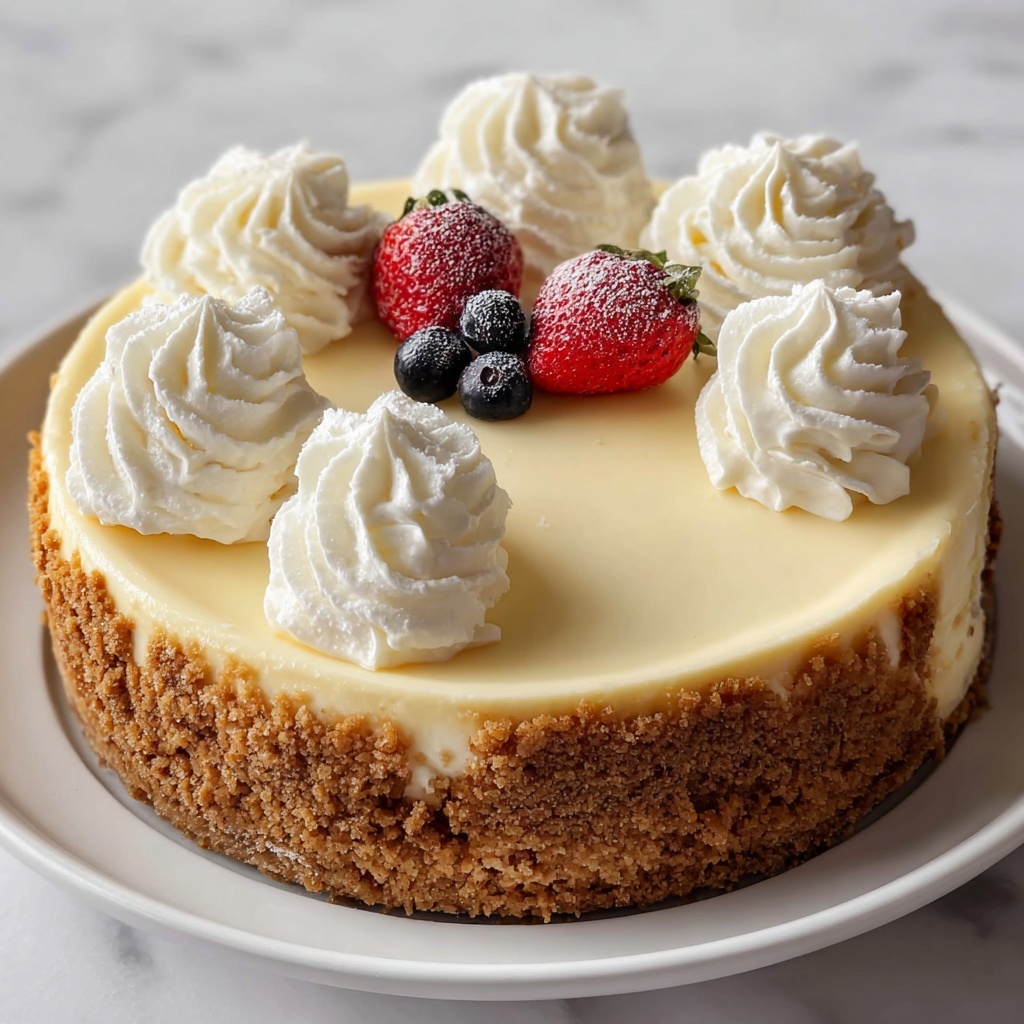
Before serving, run a knife gently around the pan’s rim to loosen the cake. Remove the springform and decorate with fresh berries or whipped cream if you like, adding fresh color and brightness to each decadent slice.
How to Serve Vanilla Bean Butter Cheesecake Recipe
Garnishes
Fresh berries like strawberries, blueberries, or raspberries bring a vibrant pop that beautifully contrasts the creamy vanilla bean butter cheesecake. Whipped cream adds a light and airy complement. You can also sprinkle a teaspoon of powdered sugar for a delicate finish.
Side Dishes
This cheesecake pairs wonderfully with a hot cup of coffee or tea for a satisfying afternoon treat. For a more festive occasion, serve alongside a scoop of vanilla bean ice cream or a drizzle of salted caramel sauce to enhance the dessert experience.
Creative Ways to Present
Try serving individual slices with a sprig of fresh mint or edible flowers for an elegant touch. You could also deconstruct the recipe into parfaits layered with graham cracker crumbs, cheesecake filling, and berry compote for a fun twist that still highlights the wonderful vanilla bean flavors.
Make Ahead and Storage
Storing Leftovers
Keep any leftover cheesecake wrapped tightly in plastic wrap or stored in an airtight container in the refrigerator. It will stay fresh and creamy for up to 4 days, allowing you to enjoy slices whenever a sweet craving strikes.
Freezing
If you want to make this Vanilla Bean Butter Cheesecake Recipe ahead of time, it freezes exceptionally well. Wrap the cheesecake securely with plastic wrap and aluminum foil to protect from freezer burn. Freeze for up to 2 months and thaw in the refrigerator overnight before serving.
Reheating
Cheesecake is typically enjoyed cold, but if you prefer it slightly warmer, let it sit at room temperature for 15-20 minutes before serving. Avoid microwaving, which can alter the texture and cause it to become rubbery.
FAQs
Can I use vanilla extract instead of a vanilla bean?
Yes, you can substitute vanilla extract if you don’t have a vanilla bean on hand, but the flavor won’t be as rich or visually striking as with real vanilla seeds. Using both, as in this recipe, is a great way to boost the depth of vanilla flavor.
How do I prevent cracks in my cheesecake?
Slow cooling inside a slightly opened oven and baking in a water bath are key steps in this recipe that help prevent cracks. Also, avoid overmixing the batter and do not overbake to maintain a smooth surface.
Can I make this cheesecake gluten-free?
Absolutely! Simply swap the graham cracker crumbs for a gluten-free alternative, making sure to choose a buttery gluten-free crumb. The rest of the ingredients are naturally gluten-free.
What is the purpose of the sour cream in this recipe?
Sour cream adds a creamy, tangy note that balances the sweetness and richness of the cream cheese, enhancing overall flavor and helping achieve a smooth, moist texture.
How long should I chill the cheesecake before serving?
For best results, chill the cheesecake at least 4 hours or ideally overnight. This resting time allows the flavors to develop fully and the texture to firm up perfectly for clean slicing.
Final Thoughts
Now that you’ve discovered the secrets of this incredibly smooth and flavorful Vanilla Bean Butter Cheesecake Recipe, it’s time to gather your ingredients and start baking! This cheesecake is truly a crowd-pleaser, combining simplicity with pure indulgence. Whether it’s a special occasion or just a moment when you want to treat yourself, this recipe promises a slice of happiness every time. Happy baking!
Print
Vanilla Bean Butter Cheesecake Recipe
- Prep Time: 0h 30m
- Cook Time: 1h 0m
- Total Time: 6h 30m
- Yield: 12 servings
- Category: Dessert
- Method: Baking
- Cuisine: American
Description
This Vanilla Bean Butter Cheesecake features a rich and creamy cream cheese filling infused with real vanilla bean seeds, atop a buttery graham cracker crust. Baked in a water bath to ensure a smooth, crack-free texture, this dessert is perfect for special occasions or a decadent treat. Garnish it with fresh berries or whipped cream for an elegant finish.
Ingredients
Crust
- 1 1/2 cups graham cracker crumbs
- 1/2 cup unsalted butter, melted
- 1/4 cup granulated sugar
Filling
- 3 packages (8 oz each) cream cheese, softened
- 1 cup granulated sugar
- 1 vanilla bean, seeds scraped
- 1 teaspoon vanilla extract
- 3 large eggs
- 1/2 cup sour cream
- 1/4 cup all-purpose flour
Optional Garnish
- Fresh berries
- Whipped cream
Instructions
- Preheat Oven and Prepare Pan: Preheat your oven to 325°F (163°C). Prepare a 9-inch springform pan by wrapping the outside with aluminum foil, ensuring the foil reaches up the sides to protect from water during the baking process.
- Make Crust: In a medium bowl, combine the graham cracker crumbs, melted butter, and 1/4 cup granulated sugar. Mix until the crumbs are evenly moistened. Press this mixture firmly and evenly onto the bottom of the prepared springform pan to form the crust. Set aside.
- Beat Cream Cheese and Sugar: In a large mixing bowl, beat the softened cream cheese and 1 cup granulated sugar at medium speed until the mixture is smooth and creamy, ensuring no lumps remain.
- Add Vanilla Flavors: Stir in the scraped seeds from the vanilla bean along with the vanilla extract, mixing until well incorporated for a fragrant and authentic vanilla taste.
- Incorporate Eggs: Add the eggs one at a time, beating well after each addition to create a smooth batter and prevent curdling.
- Mix in Sour Cream and Flour: Gently blend in the sour cream and all-purpose flour just until combined. Be careful not to overmix to maintain a light and tender cheesecake texture.
- Pour Batter onto Crust: Pour the prepared cheesecake batter evenly over the graham cracker crust in the springform pan.
- Prepare Water Bath: Place the springform pan inside a larger baking dish. Pour about 1 inch of hot water into the larger dish to create a water bath. This helps bake the cheesecake evenly and prevents cracking.
- Bake Cheesecake: Bake in the preheated oven for 1 hour, or until the center is set and the top is lightly golden. The edges may be slightly puffed but the center should be mostly firm.
- Cool in Oven: Turn off the oven and open the door slightly. Allow the cheesecake to cool slowly in the oven for about 1 hour. This gradual cooling helps to prevent cracks from forming on the surface.
- Finish Cooling and Refrigerate: Remove the cheesecake from the oven and water bath. Let it cool completely at room temperature, then refrigerate for at least 4 hours or preferably overnight to fully set and develop flavor.
- Serve: Before serving, run a knife around the rim of the pan to loosen the cheesecake. Release the springform pan and carefully remove the sides. Garnish with fresh berries or whipped cream if desired, then slice and enjoy.
Notes
- Using the water bath is essential to bake the cheesecake evenly and avoid cracks.
- Ensure cream cheese is softened to room temperature for smooth batter and fewer lumps.
- Do not overmix after adding eggs to prevent excess air, which can cause cracks.
- Vanilla bean seeds add a superior flavor compared to vanilla extract alone but can be substituted if unavailable.
- Allow sufficient chilling time for best texture and flavor development.
