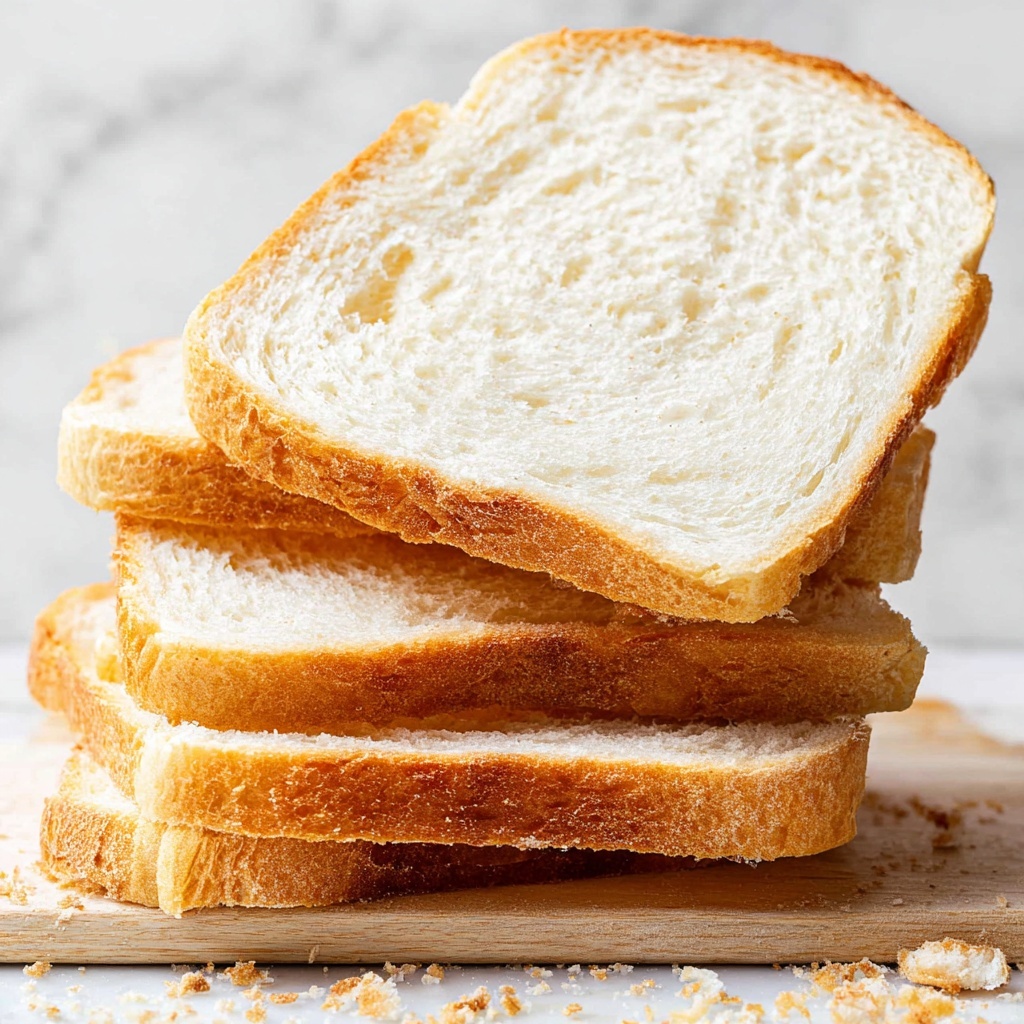
If you have ever dreamed of making that perfect soft, fluffy loaf that slices easily for sandwiches or toast, then this White Sandwich Bread Recipe is exactly what you need. It’s a straightforward, comforting classic that combines simple, pantry-staple ingredients into a bread with a tender crumb and golden crust. Whether you’re a beginner or a seasoned baker, this recipe delivers dependable results and fills your kitchen with the most inviting aroma. Trust me when I say, fresh homemade sandwich bread elevates any meal to a whole new level.
Ingredients You’ll Need
This White Sandwich Bread Recipe calls for basic ingredients that might already be in your kitchen. Each one plays an essential role in balancing flavor, texture, and the bread’s beautiful color once baked.
- Bread flour (3½ cups): Provides the structure and chewiness thanks to its higher protein content compared to all-purpose flour.
- Granulated sugar (2 tablespoons): Adds a touch of sweetness and helps with browning during baking.
- Instant yeast (1½ teaspoons): The magic that makes your dough rise with lightness and airiness.
- Kosher salt (1¼ teaspoons): Enhances all the other flavors and controls yeast fermentation.
- Warm water (1¼ cups): Activates the yeast and hydrates the flour for a perfect dough consistency.
- Unsalted butter (¼ cup): Adds a tender crumb and rich flavor, making your bread luxuriously soft.
How to Make White Sandwich Bread Recipe
Step 1: Combine Dry Ingredients and Add Water
Start by mixing your bread flour, sugar, instant yeast, and kosher salt in the bowl of a stand mixer fitted with a dough hook. Slowly pour in the warm water while the mixer gently combines everything until the dough starts to come together. This gradual introduction of water ensures the flour hydrates perfectly without getting too sticky early on.
Step 2: Incorporate Butter Gradually
Next, add softened butter bit by bit while the mixer runs on low. This step is essential because the butter enriches the dough, making it softer and more flavorful. Once you’ve added all the butter, crank the mixer speed up to medium-high and prepare for kneading.
Step 3: Knead Until Smooth and Elastic
Knead the dough for about 6 to 7 minutes. You’ll know it’s ready when it’s smooth, elastic, and passes the windowpane test. That means you can gently stretch a piece of dough thin without it tearing—a great indicator that the gluten is well-developed.
Step 4: First Rise
Transfer your dough to a lightly oiled bowl, cover it with a kitchen towel or plastic wrap, and let it rise at room temperature. This takes about 1 to 2 hours, during which the dough will double in size, becoming soft and airy.
Step 5: Shape the Dough
Once risen, gently punch down the dough to release excess air. Roll it out into a rectangle about 8 inches wide and 1 inch thick. This step helps create the classic layered loaf texture you want.
Step 6: Roll and Prepare for Second Rise
Roll the dough up tight, similar to a cinnamon roll, then place it seam-side down into a buttered loaf pan. This tight rolling ensures an even crumb structure in your finished bread.
Step 7: Second Rise and Preheat Oven
Cover the pan and let the dough rise again until it reaches the top of the pan, about 45 minutes. Meanwhile, preheat your oven to 400°F. This second rise is crucial for that perfect volume and softness.
Step 8: Bake the Bread
Bake the loaf for 30 to 35 minutes, turning the pan halfway through to promote even baking. Your bread is done when it turns a rich golden brown and sounds hollow when tapped on the bottom—pure baking satisfaction!
Step 9: Cooling for Soft Crust
Remove the bread from the oven and cover it loosely with a clean kitchen towel to keep the crust soft. After 20 minutes, take the loaf out of the pan and let it cool completely on a wire rack before slicing. Patience here rewards you with the best texture.
How to Serve White Sandwich Bread Recipe
Garnishes
Though this bread is delicious on its own, you can lightly spread some butter, honey, or jam to enhance its comforting flavor. A sprinkle of seeds like sesame or poppy on top before baking can add a nice nutty touch and extra visual appeal.
Side Dishes
This white sandwich bread pairs beautifully with soups, stews, and salads, acting as the perfect vessel to soak up all those wonderful flavors. It’s also excellent alongside breakfast favorites like eggs and bacon or used in classic sandwiches loaded with your favorite fillings.
Creative Ways to Present
Turn this simple White Sandwich Bread Recipe into gourmet toast by topping slices with avocado, smoked salmon, or even melted cheese and herbs. For a fun twist, you can transform leftover slices into homemade croutons or bread pudding—so many delicious possibilities!
Make Ahead and Storage
Storing Leftovers
Keep your freshly baked bread in an airtight container or bread box at room temperature for up to 3 days. This helps maintain its softness and prevents it from drying out too quickly.
Freezing
If you want to enjoy your White Sandwich Bread Recipe over a longer period, slice it first and freeze the loaf in a resealable bag. The slices can be toasted straight from the freezer anytime you want fresh bread flavor without the wait.
Reheating
To refresh your bread, lightly toast slices or warm the whole loaf in an oven at low temperature wrapped in foil. This brings back that freshly baked aroma and texture effortlessly.
FAQs
Can I make this White Sandwich Bread Recipe without a stand mixer?
Absolutely! While a stand mixer is convenient, you can knead the dough by hand on a floured surface. It will take a bit more time and elbow grease but results in the same delicious bread.
Can I substitute all-purpose flour for bread flour?
You can, but bread flour gives better chew and structure due to its higher protein content. Using all-purpose flour might make the bread slightly softer but less elastic.
How important is the windowpane test?
The windowpane test is a great way to check your dough’s gluten strength. If the dough stretches thin without tearing, it means it’s ready for rising, which is key to a good loaf.
Why do I need two rises?
The first rise allows the dough to develop flavor and texture, while the second rise shapes it and creates the loaf’s height and softness. Skipping either can result in dense bread.
Can I add herbs or seeds to this recipe?
Definitely! Adding herbs like rosemary or thyme, or sprinkling seeds on top before baking, can personalize the bread without changing the basic recipe.
Final Thoughts
There is nothing quite as rewarding as baking your own white sandwich bread. This White Sandwich Bread Recipe is wonderfully simple yet yields a tender, flavorful loaf that elevates everyday meals. Give it a try, and I promise you’ll want to bake it again and again—it’s like a warm hug from your kitchen!
Print
White Sandwich Bread Recipe
- Prep Time: 180 minutes
- Cook Time: 30 minutes
- Total Time: 210 minutes
- Yield: 16 slices (1 loaf)
- Category: Bread
- Method: Baking
- Cuisine: American
Description
This classic White Sandwich Bread recipe produces a soft, fluffy loaf perfect for sandwiches and toast. Made with simple ingredients like bread flour, sugar, yeast, salt, water, and butter, it features a tender crumb and a golden crust achieved through a two-rise process and baking in a loaf pan. Ideal for home bakers seeking a reliable, delicious everyday bread.
Ingredients
Dry Ingredients
- 3½ cups bread flour (420 grams, spooned and leveled)
- 2 tablespoons granulated sugar (25 grams)
- 1½ teaspoons instant yeast (5 grams)
- 1¼ teaspoons kosher salt (4 grams)
Wet Ingredients
- 1¼ cups warm water (284 grams, 105-110°F)
- ¼ cup unsalted butter (57 grams, room temperature, plus more for greasing the pan)
Instructions
- Mix Dry Ingredients: In the bowl of a stand mixer fitted with the dough hook, combine bread flour, sugar, instant yeast, and salt. With the mixer on low speed, gradually add the warm water to the dry ingredients. Let the mixer run until a dough forms.
- Add Butter: Add the softened butter gradually while continuing to mix on low speed. Once all the butter is added, increase the mixer speed to medium-high.
- Knead Dough: Knead the dough with the mixer for 6-7 minutes until smooth, elastic, and passing the windowpane test—meaning the dough stretches thin without tearing.
- First Rise: Transfer the dough to an oiled bowl, cover it with a clean kitchen towel or plastic wrap, and let it rise at room temperature for 1-2 hours until doubled in size.
- Shape Dough: Gently deflate the risen dough and roll it out into a rectangle about 8 inches wide and 1 inch thick.
- Roll Dough: Roll up the dough tightly, similar to rolling a cinnamon roll.
- Place in Pan: Place the rolled dough into a buttered loaf pan with the seam side down.
- Second Rise: Cover the pan with a kitchen towel or plastic wrap and let the dough rise until it reaches the top of the pan, about 45 minutes. Meanwhile, preheat the oven to 400°F (204°C).
- Bake Bread: Bake the loaf in the preheated oven for 30-35 minutes, turning the pan 180 degrees after 20 minutes for even baking. The bread is done when golden brown and sounds hollow when tapped on the bottom.
- Cool Bread: Remove the loaf pan from the oven and cover with a clean towel to keep the crust soft. After 20 minutes, remove the bread from the pan and transfer to a wire rack to cool completely before slicing.
Notes
- Make sure the water temperature is between 105-110°F to activate the yeast without killing it.
- Use bread flour for better gluten development and a chewier texture.
- The windowpane test is a great way to check if your dough is kneaded enough.
- Turning the pan during baking ensures even browning on all sides.
- Covering the bread after baking softens the crust—skip this step if you prefer a crustier loaf.
- Store leftover bread in an airtight container at room temperature for up to 3 days or freeze for longer storage.


