
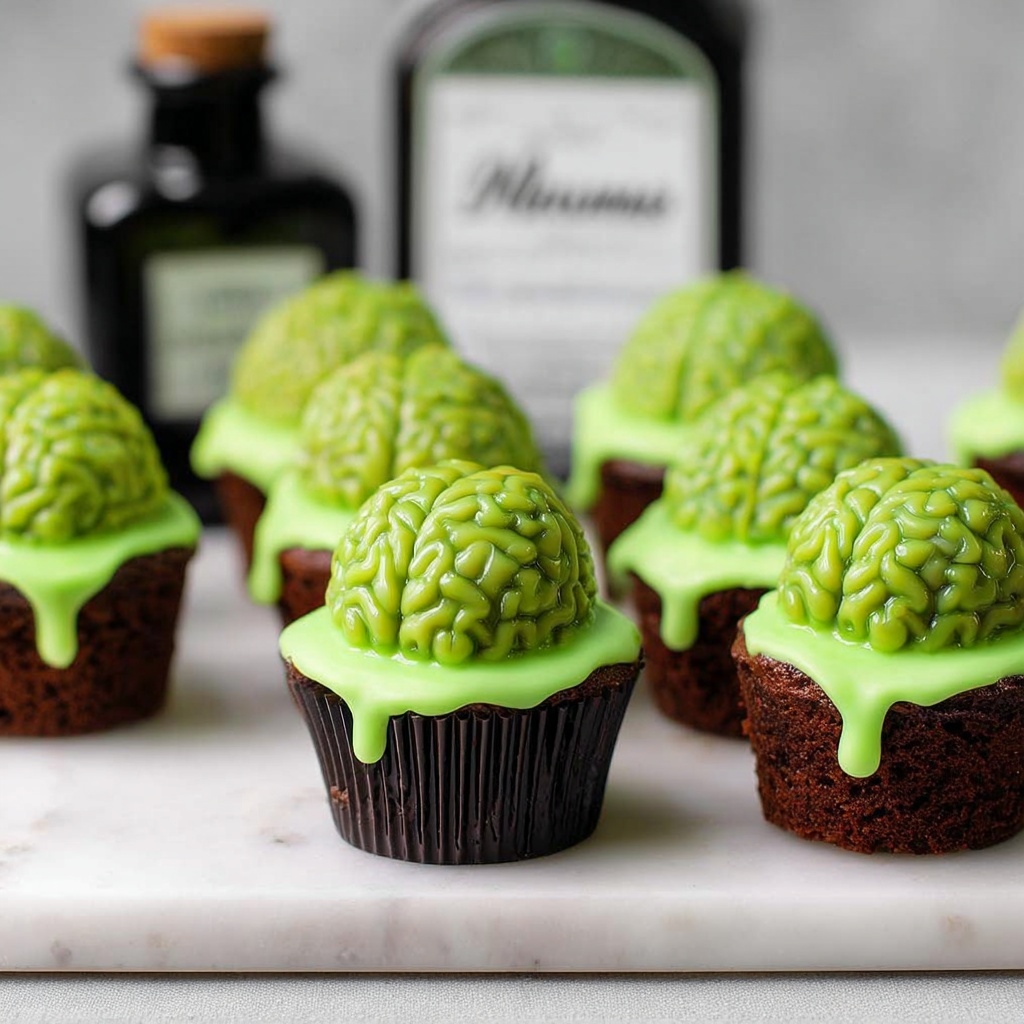
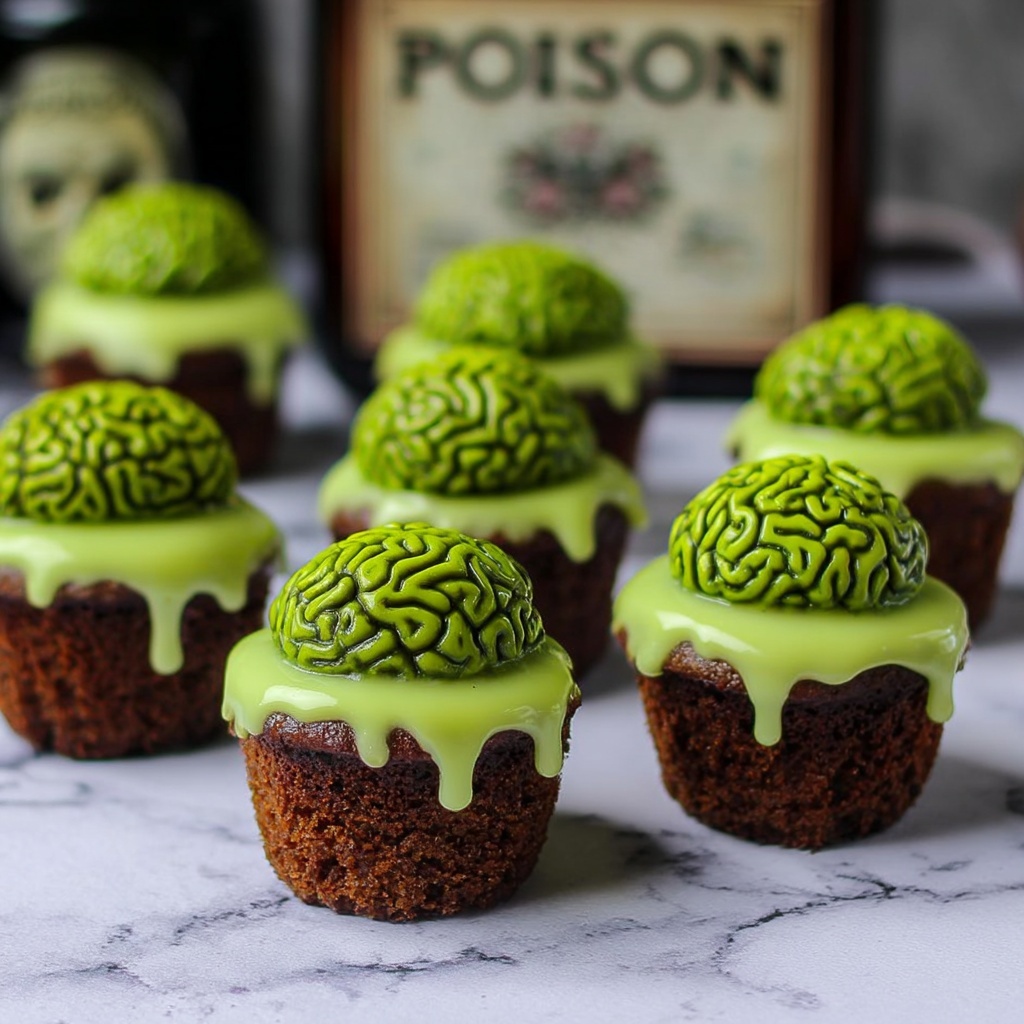
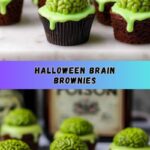
The fun and spooky delight that is the Zombie Brain Brownies Recipe is an absolute showstopper for any Halloween party or themed gathering. Imagine fudgy, moist brownies topped with vibrant neon green fondant brains that are both creepy and irresistibly delicious. This recipe combines simple pantry staples with creative touches that bring this ghoulish dessert to life, making it an exciting treat to bake and even more exciting to share. Whether you’re a seasoned baker or just love a fun kitchen project, these brownies promise smiles, conversation, and maybe a few playful shudders!
Ingredients You’ll Need
Gathering these ingredients is simpler than you might think, and each one plays a special role in delivering flavor, texture, and that unforgettable neon green pop of eerie delight.
- Cornstarch (¼ cup): Essential for dusting the fondant to keep it from sticking and help with shaping the zombie brains perfectly.
- White fondant (1 – 8 oz): This is your canvas for crafting the spooky brain shapes; smooth and pliable for easy molding.
- Neon green gel food coloring (1 gel): Provides that eye-catching, vibrant color that makes the brains truly come to life.
- Box brownie mix (1): The base for your rich, chocolaty brownies—easy to use and always reliable.
- Water (3 Tbsp): Hydrates the brownie mix to ensure moist and tender bites.
- Canola oil (½ cup): Keeps brownies moist while enhancing texture with a light crumb.
- Large eggs (2): Bind your ingredients together and add structure to the brownies.
- White chocolate chips (1 cup): For a creamy, sweet ganache that’s perfect underneath the fondant brains.
- Heavy whipping cream (⅓ cup): Creates a silky smooth ganache when combined with white chocolate, tinted green for effect.
- Corn syrup (1 cup): Mixed with neon green food coloring, this gives the brains a glossy, oozy finish that’s irresistibly gross—in a good way!
How to Make Zombie Brain Brownies Recipe
Step 1: Preparing the Fondant Brains
Dust your hands with cornstarch before removing the fondant from its package. Knead gently to soften it—this is important so the fondant becomes malleable enough to work with. Create a small indent and add neon green gel food coloring directly into this space. Knead and blend until the entire fondant is a glowing, consistent green. This vibrant color is exactly what makes your zombies pop off the plate with personality.
Step 2: Molding the Brains
Dust the inside of your brain mold with cornstarch using a small brush to prevent sticking. Pinch off about 3 tablespoons of your colored fondant and press it firmly into the mold, shaping it carefully. Once done, gently lift the fondant brain out of the mold and set it on a silicone mat-lined baking sheet. Repeat for a total of 12 brains. Let them air dry overnight so they firm up beautifully for assembly later on.
Step 3: Adding the Glossy Ooze
Mix a few drops of the neon green gel food coloring right into the corn syrup until the color is thoroughly combined. Using a small brush, coat each fondant brain with this colored syrup to achieve that unmistakable glossy, slimy texture you want in a zombie brain. This sticky sheen isn’t just visually impressive—it adds a fun, tactile layer to your sweet little monsters.
Step 4: Baking the Brownies
Follow the baking instructions on your brownie mix box for the best results. Preheat your oven to 350 degrees Fahrenheit and lightly spray a mini cupcake pan with baking spray. Fill each cavity about three-quarters full with the brownie batter. Bake for about 20 to 28 minutes, or until a toothpick inserted comes out clean. Let them cool completely before moving on to the fun finishing touches.
Step 5: Making the Neon Green Ganache
Heat the heavy whipping cream gently in a small pot until it just begins to simmer—don’t let it boil. Remove from heat and whisk in a few drops of neon green gel food coloring. Pour this hot cream mixture over the white chocolate chips in a bowl, letting it sit for two minutes to melt the chips. Whisk together until smooth and creamy, creating a luscious ganache that pairs so well with the fudgy brownies and eerie brains.
Step 6: Assembling the Zombie Brain Brownies Recipe
Carefully remove the cooled brownies from the pan and place them on a serving tray or plates. Spoon about two tablespoons of the neon green white chocolate ganache on top of each brownie, right in the center, creating a gooey bed for the fondant brain. Finally, place one of your glossy fondant brains gently on top of each ganache mound. These ghoulish treats are now ready to amaze and delight all your guests!
How to Serve Zombie Brain Brownies Recipe
Garnishes
To add extra zing and visual interest, consider sprinkling edible glitter or tiny candy “blood” droplets around the plate to make the scene even more dramatic. Fresh mint leaves or a dusting of powdered sugar can add a striking color contrast that highlights your neon green brains even more.
Side Dishes
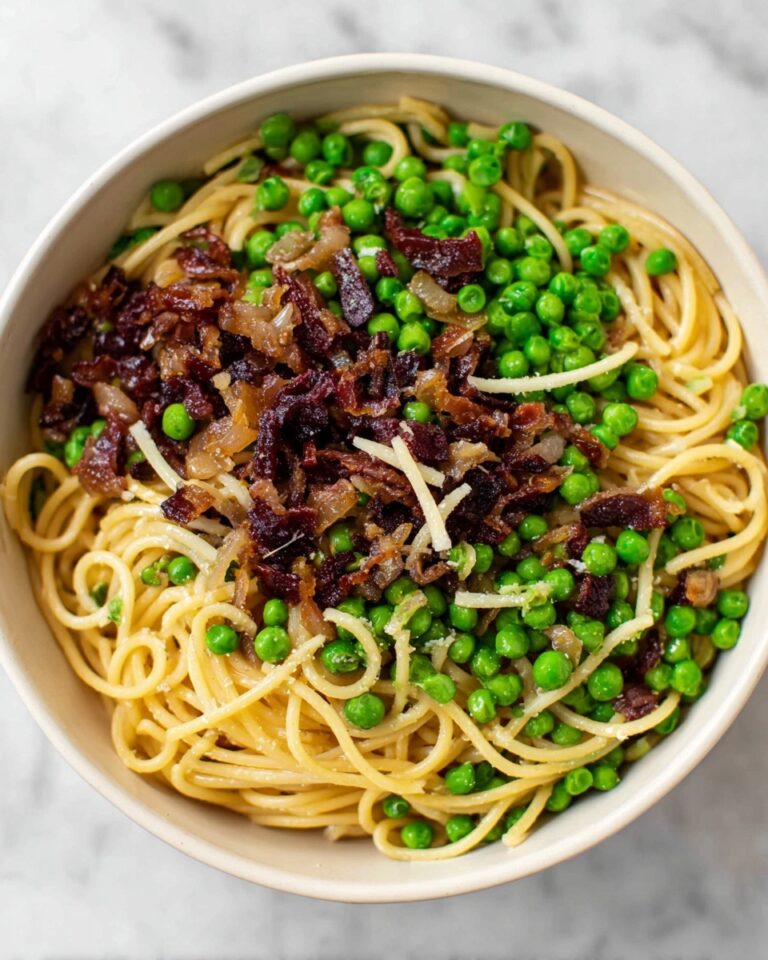
Serve these brownies alongside a chilled glass of homemade lemonade with a splash of green food coloring or a black cherry soda for that perfect eerie vibe. For a spookier theme, pair with a tangy raspberry sauce or dark chocolate mousse to complement the sweetness and add layers of flavor.
Creative Ways to Present
If you want to really wow your guests, arrange the Zombie Brain Brownies Recipe on a platter surrounded by dry ice for a fog effect. Use individual clear boxes or cups to present each brownie as a ‘zombie specimen.’ This type of presentation makes your creepy dessert unforgettable and perfect for parties where presentation counts.
Make Ahead and Storage
Storing Leftovers
Once assembled, store your Zombie Brain Brownies Recipe in an airtight container at room temperature for up to three days. This helps to preserve the freshness of the brownies while keeping the fondant in good shape. Avoid refrigerating if possible, as this can dry out the brownies and harden the fondant.
Freezing
If you want to prepare in advance, freeze the cooled brownies (without ganache or fondant) in a sealed container or bag for up to two months. When ready to serve, thaw completely, then add the ganache and fondant brains fresh for the best texture and appearance.
Reheating
To warm brownies after refrigeration or thawing, gently heat them in the microwave for 10-15 seconds. Avoid heating the ganache or fondant directly, as they can melt or lose their shape. Let brownies come to room temperature naturally before assembling for smooth results.
FAQs
Can I make the fondant brains without a mold?
Absolutely! While a mold helps achieve a perfect brain shape, you can hand-shape small pieces of fondant into ovals and use a toothpick to create the brain’s grooves for a charming homemade appearance.
What if I don’t have neon green food coloring?
Bright green or even a combination of yellow and blue gel food coloring can work well. If you want to push the eerie factor, adding a tiny bit of black or blue can give a more “zombified” look to your fondant and ganache.
Can I substitute the brownie mix for homemade brownies?
Definitely! Any good, moist homemade brownie recipe will work wonderfully. Just ensure your brownies are fully cooled and firm enough to hold the ganache and fondant brains on top.
How long do the fondant brains take to dry?
They need to air dry overnight—about 8 to 12 hours—to firm up properly. This step is important so your brains keep their shape and texture when placed on the brownies.
Is the neon green ganache edible and safe?
Yes! The ganache is made entirely from edible ingredients like white chocolate, heavy cream, and gel food coloring. It adds an eye-catching pop of color without compromising taste or safety.
Final Thoughts
There is something truly magical about bringing the Zombie Brain Brownies Recipe to life—a perfect blend of spooky creativity and genuinely delicious flavors. Whether you’re baking for a party or just want to surprise your friends with a fun twist, this recipe promises both laughter and awe. So grab your ingredients, don your apron, and dive enthusiastically into creating these unforgettable treats that are as fun to make as they are to eat!
Print
Zombie Brain Brownies Recipe
- Prep Time: 15 minutes
- Cook Time: 28 minutes
- Total Time: 43 minutes plus overnight drying time
- Yield: 12 brownies
- Category: Dessert
- Method: Baking
- Cuisine: American
Description
Create spooky Zombie Brain Brownies perfect for Halloween or themed parties. These moist brownies are topped with neon green gelatinous brains made from fondant and corn syrup, finished with a smooth white chocolate ganache for an eerie and delicious treat.
Ingredients
Fondant Brains
- ¼ cup cornstarch
- 1 – 8 oz white fondant
- 1 gel food coloring (neon green)
- 1 cup corn syrup
Brownies
- 1 box brownie mix
- 3 Tbsp water
- ½ cup canola oil
- 2 large eggs
White Chocolate Ganache
- 1 cup white chocolate chips
- ⅓ cup heavy whipping cream
- 1 gel food coloring (neon green)
Instructions
- Prepare Fondant: Remove the fondant from the package and dust your hands with cornstarch to prevent sticking.
- Soften Fondant: Knead the fondant until it becomes soft and pliable for molding.
- Color Fondant: Make an indent in the center of the fondant and add a few drops of neon green gel food coloring.
- Mix Color: Work the food coloring thoroughly into the fondant until it is evenly dyed bright green.
- Prepare Mold: Using a small brush, dust the inside of the brain mold with cornstarch to prevent sticking.
- Mold Fondant: Pinch off approximately 3 tablespoons of fondant and press it firmly into the mold to form the brain shapes.
- Remove Brains: Carefully remove the fondant brains from the mold and place them on a cookie sheet lined with a silicone mat for drying.
- Repeat: Repeat the molding process for a total of 12 brains to cover your batch of brownies.
- Dry Fondant Brains: Allow the fondant brains to air dry overnight to set their shape fully.
- Color Corn Syrup: Mix in a few drops of neon green gel food coloring into the corn syrup to create a slimy glaze.
- Glaze Brains: Using a small brush, dip it in the green corn syrup and gently brush over each fondant brain for a glossy, realistic effect.
- Set Aside: Set the glazed brains aside to allow the syrup to slightly tack up while preparing the brownies.
- Prepare Brownie Batter: Follow the instructions on the brownie mix box, combining the mix with water, canola oil, and eggs as directed.
- Preheat Oven: Preheat your oven to 350°F (175°C) and spray a mini cupcake pan with nonstick baking spray.
- Fill Pan: Fill each cavity of the mini cupcake pan about three-quarters full with the prepared brownie batter.
- Bake Brownies: Bake the brownies in the preheated oven for approximately 28 minutes or until a toothpick inserted in the center comes out clean.
- Cool Brownies: Remove the pan from the oven and allow the brownies to cool completely before removing them from the pan.
- Prepare Ganache: In a small pot, bring the heavy whipping cream to a gentle simmer over medium heat.
- Color Cream: Whisk in a few drops of neon green food coloring into the hot cream to tint the ganache.
- Melt Chocolate: Pour the hot cream over the white chocolate chips in a heat-safe bowl and let sit for 2 minutes.
- Whisk Ganache: Whisk the mixture until smooth and creamy to create the ganache topping.
- Remove Brownies: Carefully remove cooled brownies from the pan and place them on a serving surface.
- Assemble: Spoon about 2 tablespoons of the green white chocolate ganache onto the top of each brownie.
- Top with Brain: Place one fondant brain gently in the center of the ganache on each brownie for a creepy finish.
- Serve and Enjoy: Your Zombie Brain Brownies are ready to serve and impress guests at your next spooky gathering!
Notes
- Allow the fondant brains to dry completely overnight for best texture and stability.
- Use a silicone mat for easy removal of fondant brains without damaging their shape.
- Adjust the amount of neon green food coloring if you prefer a more subtle or intense color effect.
- Mini cupcake pans allow for perfectly sized individual brownie servings and great presentation.
- Ganache can be made ahead of time and gently reheated before assembling the brownies.